TR7500E_Manual_en_v28.pdf - 第163页
C h a p t e r 3 A O I A T P G F u n c t i o n i n s t r u c t i on T R 7500 U S E R M A N U AL 1 56 a r e a . l B e a b l e t o s w i t c h o v e r t h e c i r c l e t o o p e n o r c l o s e t o s e l e c t t o c li c k…
Chapter 3 AOI ATPG Function instruction
TR7500 USER MANUAL
155
l Push Setting button to lighting control edit
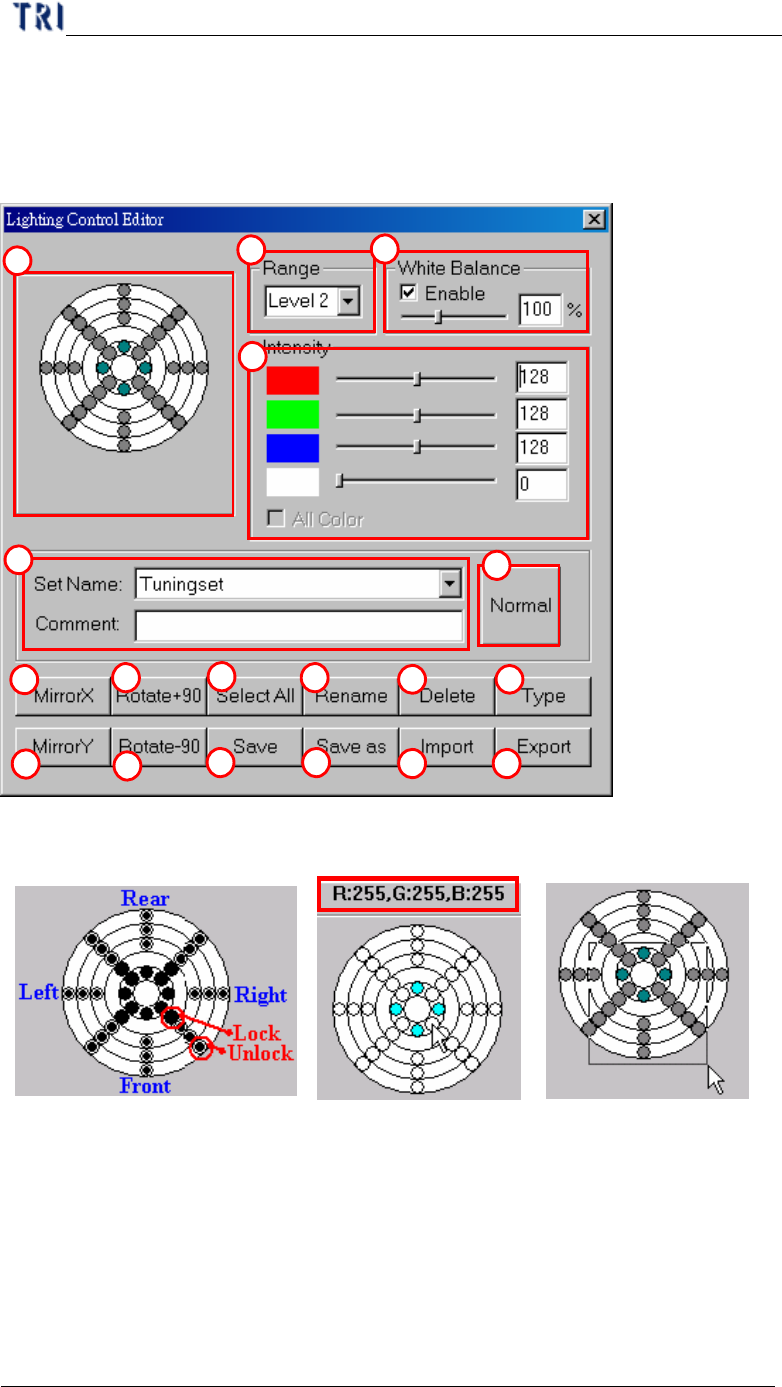
9.1. Lighting control editor
(1) LED control –
l This controller expresses with figure every regional position of LED board,
below of the graphic presentation means the light source of the front, as drawn. It
is adjusted that the lighting can divide into 36 zones; every circle figure means
an adjusted zone.
l Every district of 28 zones except top lighting area of the center can adjust the
power of red, green, and blue three kinds of lighting separately. Because that
LED disposes in at the central area, you can only adjust the white light in the
1
2
4
5
6
7
8
9
11
12
13 14
15 16
17 18
10
3
Chapter 3 AOI ATPG Function instruction
TR7500 USER MANUAL
156
area.
l Be able to switch over the circle to open or close to select to click from the circle
graphic presentation area with the left key of the mouse. The circle graph
originally open will be turned to close by clicking on the circle with left button of
mouse, and the closed one will be turned to be open by clicking on the circle
with left button of mouse.
l You can use the way to open or close and adjust the area by clicking and
selecting the left key of the mouse too. Needing pulls and just has functioned
chosen to the lower right corner from the upper left corner.
l Put the mouse at a circle figure, then the top area of control graphic presentation
will show light setting value of the circle area. [For example
].
(2) Range – Setting electric current for LED. (40mA, 60mA, 80mA, and 100mA).
The larger the electric current is the brighter the LEDs are.
(3) White Balance – When the current lighting that you select is set to do White
Balance, you can check [Enable] to review the image that is white balanced. The
controlled bar below is to adjust the brightness of the image.
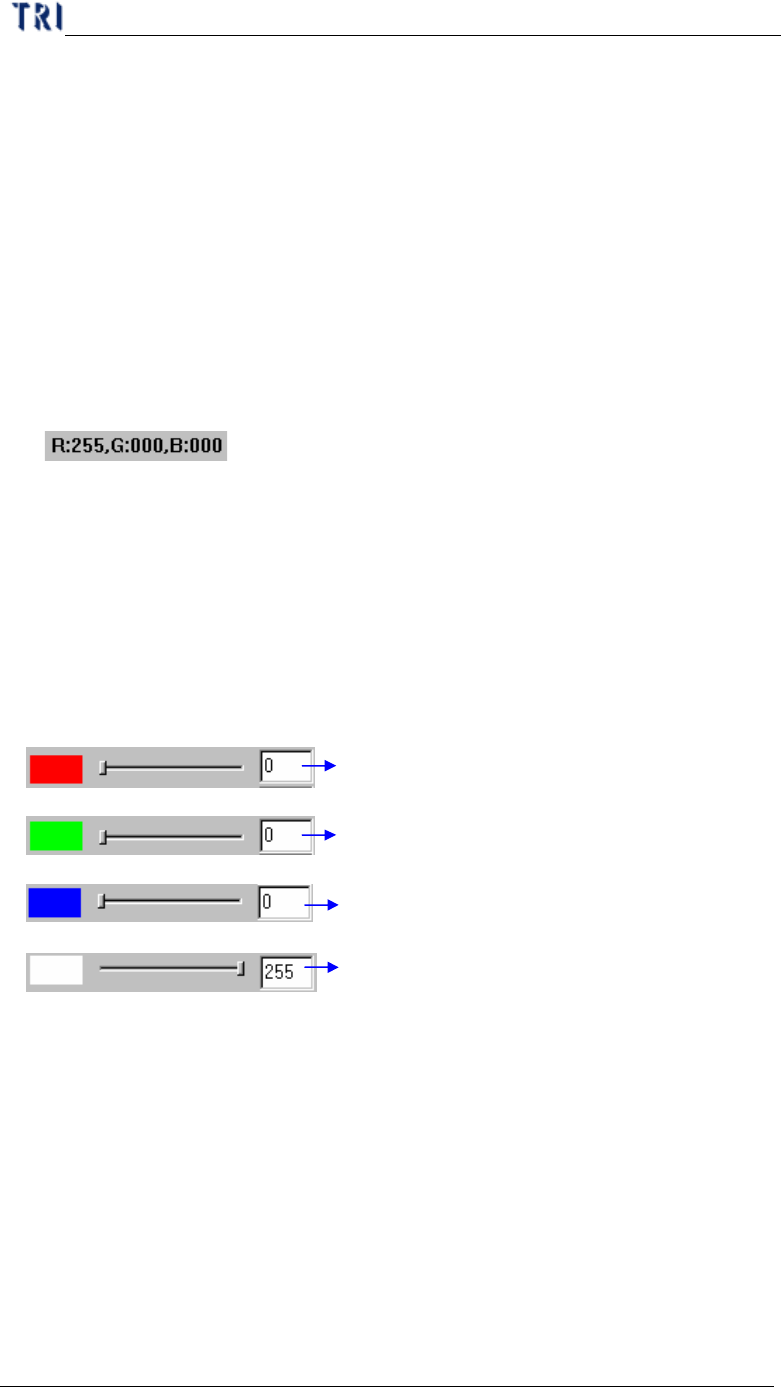
(4) Intensity – Adjustment LED RGB lighting brightness (0~255). The larger the
values are the brighter the LEDs are.
All Color – The function is only for TR7500DT.
Adjustment red color led lighting brightness
Adjustment green color led lighting brightness
Adjustment red blue color lighting brightness
Adjustment all
colors led lighting brightness at same
time
(5) Set Name, Comment – Choosing lighting style (Top light, Topside light, Side
light………) with its comment.
(6) Normal/All
Normal –After pressing the button the combo box of [Set Name] will simplify
and only show the special lightings, which will be used in doing
project. It’s easier to find the lighting. The characters of the button will
be turned into [All] after this button is pressed.
All –After pressing the button the combo box of [Set Name] will show all kinds
of lightings and the characters of the button will be turned into [Normal].
Chapter 3 AOI ATPG Function instruction
TR7500 USER MANUAL
157
(7) MirrorX – Mirror the current lighting according to X axis.
(8) MirrorY – Mirror the current lighting according to Y axis.
(9) Rotate+90 – Rotate the lighting with 90 degrees of clockwise for clicking once.
(10) Rotate-90 –Rotate the lighting with 90 degrees of counterclockwise for clicking
once.
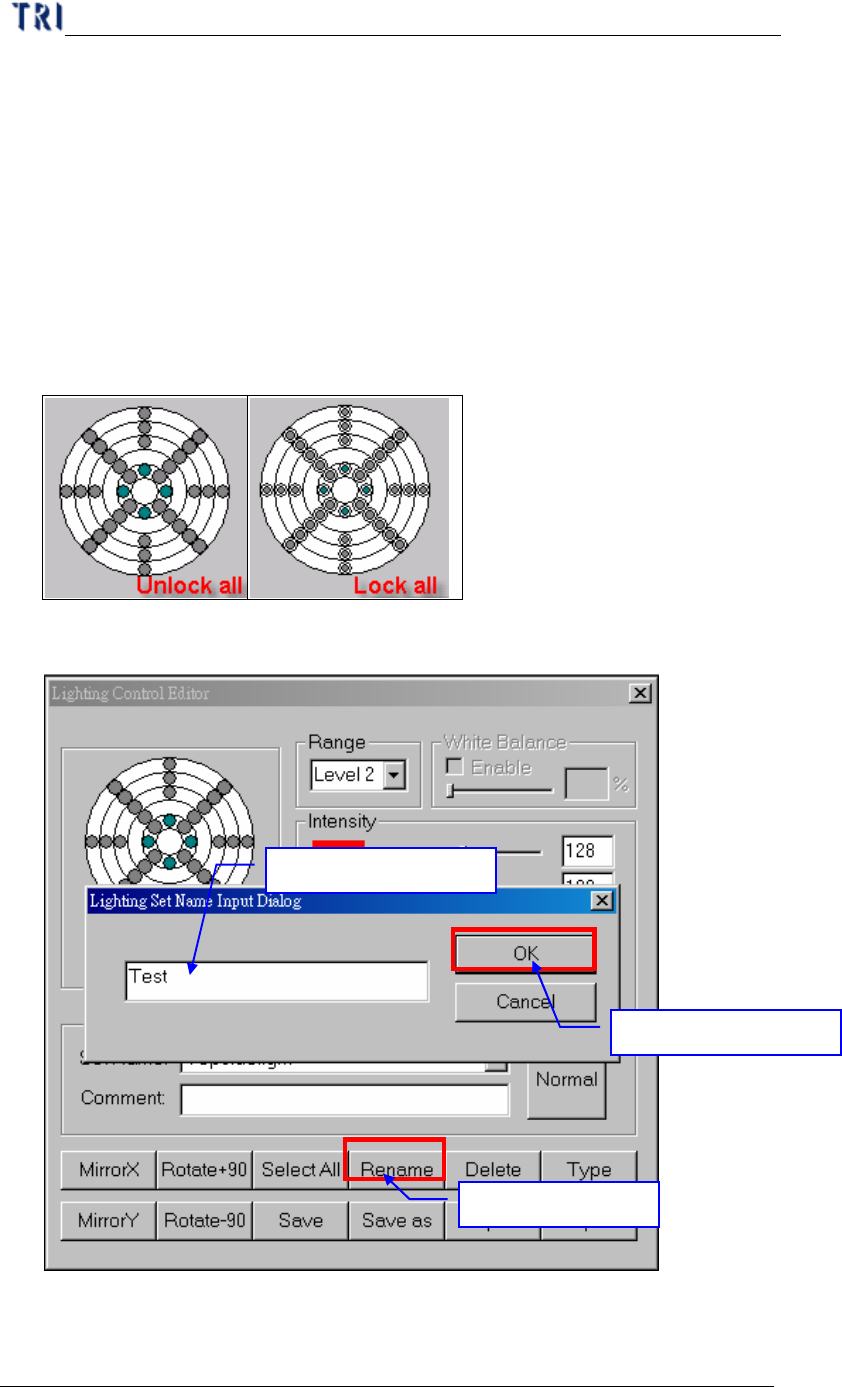
(11) Select All/Unselect All
Select All – After pressing the button all controlled circles will be locked and the
characters of the button will be turned into [Unselect All].
Unselect All –After pressing the button all controlled circles will be locked and
the characters of the button will be turned into [Select All].
(12) Rename – Change name for current lighting.
(13) Delete – Delete exist lighting.
1.
Press [Rename]
2
.
Input a new name
3
.
Press [OK]