LCX_UserManual_en_08_1.pdf - 第129页
General instrument functions R&S ® LCX Series 129 User Manual 1 179.2260.02 ─ 08 Access: 1. Press the [settings] key at the front panel. 2. In the "Device" tab, select "Screenshot". Figure 9-7: Sc…

General instrument functions
R&S
®
LCX Series
128User Manual 1179.2260.02 ─ 08
How to: see Section 6.2, "Configuring the test signal", on page 59
9.3.2 Using the user button function
Depending on the assigned function, pressing the [★ (User)] key executes the action.
The following instructions show how to assign a function, given by the example of the
touchscreen lock. It is also explained how to undo the assignment.
Assigning the touch lock function to the "User Button"
To assign the function to the "User Button":
1. To access the user button settings, select [settings] > "Device" > "User Button".
2. Select "User Button Action".
3. Select "Touch Lock".
4. Confirm with "Select".
5. To activate the touchscreen lock, press the [★ (User)].
A status message informs you that the touch input is disabled.
6. To close the message, press the [Back] key.
Now you can control the instrument only with the front panel keys and navigation
controls.
Activating the locked touch input
To unlock the touchscreen:
► Press the [★ (User)].
The R&S LCX enables the touchscreen input.
9.4 Screenshot
With the screenshot function, you can capture the image of the current screen. The
R&S LCX assigns a unique, generic filename and saves the file in *.png format.
How to: see Section 9.4.2, "Using the screenshot function", on page 129.
9.4.1 Screenshot settings
With a USB flash drive connected, you can save the file on either the USB flash drive
or the internal memory, with "USB1A" as default setting. Without USB connected, the
R&S LCX saves the file internally in the file path /int/screenshot.
Screenshot
General instrument functions
R&S
®
LCX Series
129User Manual 1179.2260.02 ─ 08
Access:
1. Press the [settings] key at the front panel.
2. In the "Device" tab, select "Screenshot".
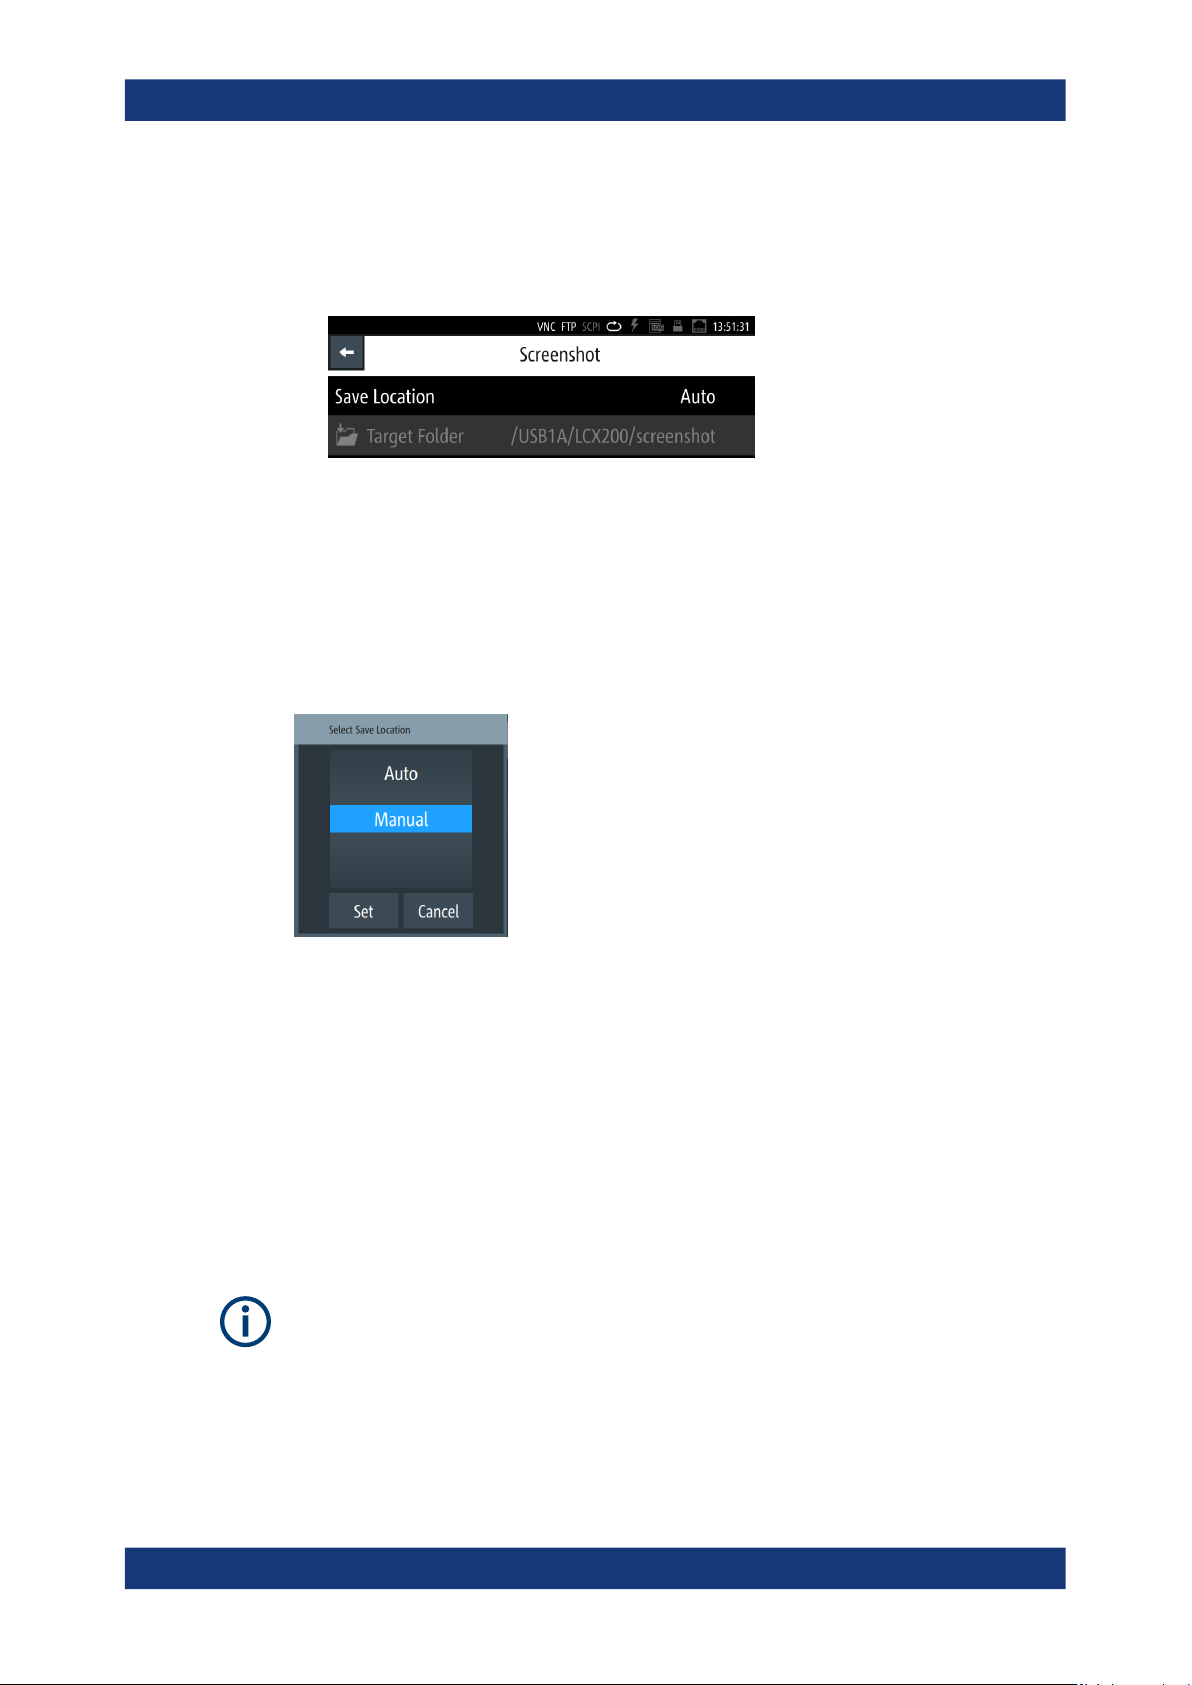
Figure 9-7: Screenshot
The "Screenshot" menu provides access to dialogs and editors for managing and
saving instrument settings.
Save Location............................................................................................................. 129
Save Location
Opens a dialog where you can select how to determine the location for the file.
"Auto"
Selects the target folder automatically.
"Manual"
Enables you to select and define the target folder on the USB flash
drive.
9.4.2 Using the screenshot function
A screenshot is done with the [★ (User)] key, provided the function is assigned to the
key.
The following instructions show how to configure function for use, and how to save a
captured image, e.g., in a user-defined target folder.
Without a USB memory stick connected, the R&S LCX saves the file internally under /
int/screenshot.
See Section 9.1, "File and data management", on page 120 for information on how to
access the memory and manage file export.
Screenshot

General instrument functions
R&S
®
LCX Series
130User Manual 1179.2260.02 ─ 08
Assigning the function to the "User Button"
To assign the screenshot function to the "User Button":
1. Press the [settings] key at the front panel.
2. In the "Device" tab, select "User Button".
3. Select "User Button Action".
4. Select "Screenshot".
5.
Return to the "Device" settings tab with
.
The ★ (User) now captures the screen when pressed.
Setting the screenshot file location manually
To determine a user-defined target folder for the screenshot files, the USB memory
stick must be connected:
1. Connect the USB memory stick to the USB interface at the front panel of the
R&S LCX.
2. Press the [settings] key at the front panel.
3. In the "Device" tab, select "Screenshot".
4. Set "Save Location" > "Manual".
5. Select "Target Folder".
6. In the selection editor, select the memory location, e.g. "USB1A".
7. "Close" the window.
The R&S LCX saves the hardcopy file in the predefined screenshots folder on the
selected memory location.
Dragging screenshots
To capture the current screen, e.g., a measurement result:
1. Press the ★ (User) at the front panel.
The R&S LCX drags a screenshot, generates a filename and saves the file in the
target folder, as defined.
When completed, it shows the "Screenshot" dialog with information on file path and
filename.
2. Confirm with "OK".
The R&S LCX returns to the measurement.
For further use of the screenshots, you can open the files in any application that
supports *.png file format.
For information on how to access the memory and manage file export, see Sec-
tion 9.1, "File and data management", on page 120.
Screenshot