LCX_UserManual_en_08_1.pdf - 第174页
Network operation and remote control R&S ® LCX Series 174 User Manual 1 179.2260.02 ─ 08 ● Y ou have established the correct interface address, see Section 10.2, "Remote control interfaces and protocols" , …
Network operation and remote control
R&S
®
LCX Series
173User Manual 1179.2260.02 ─ 08
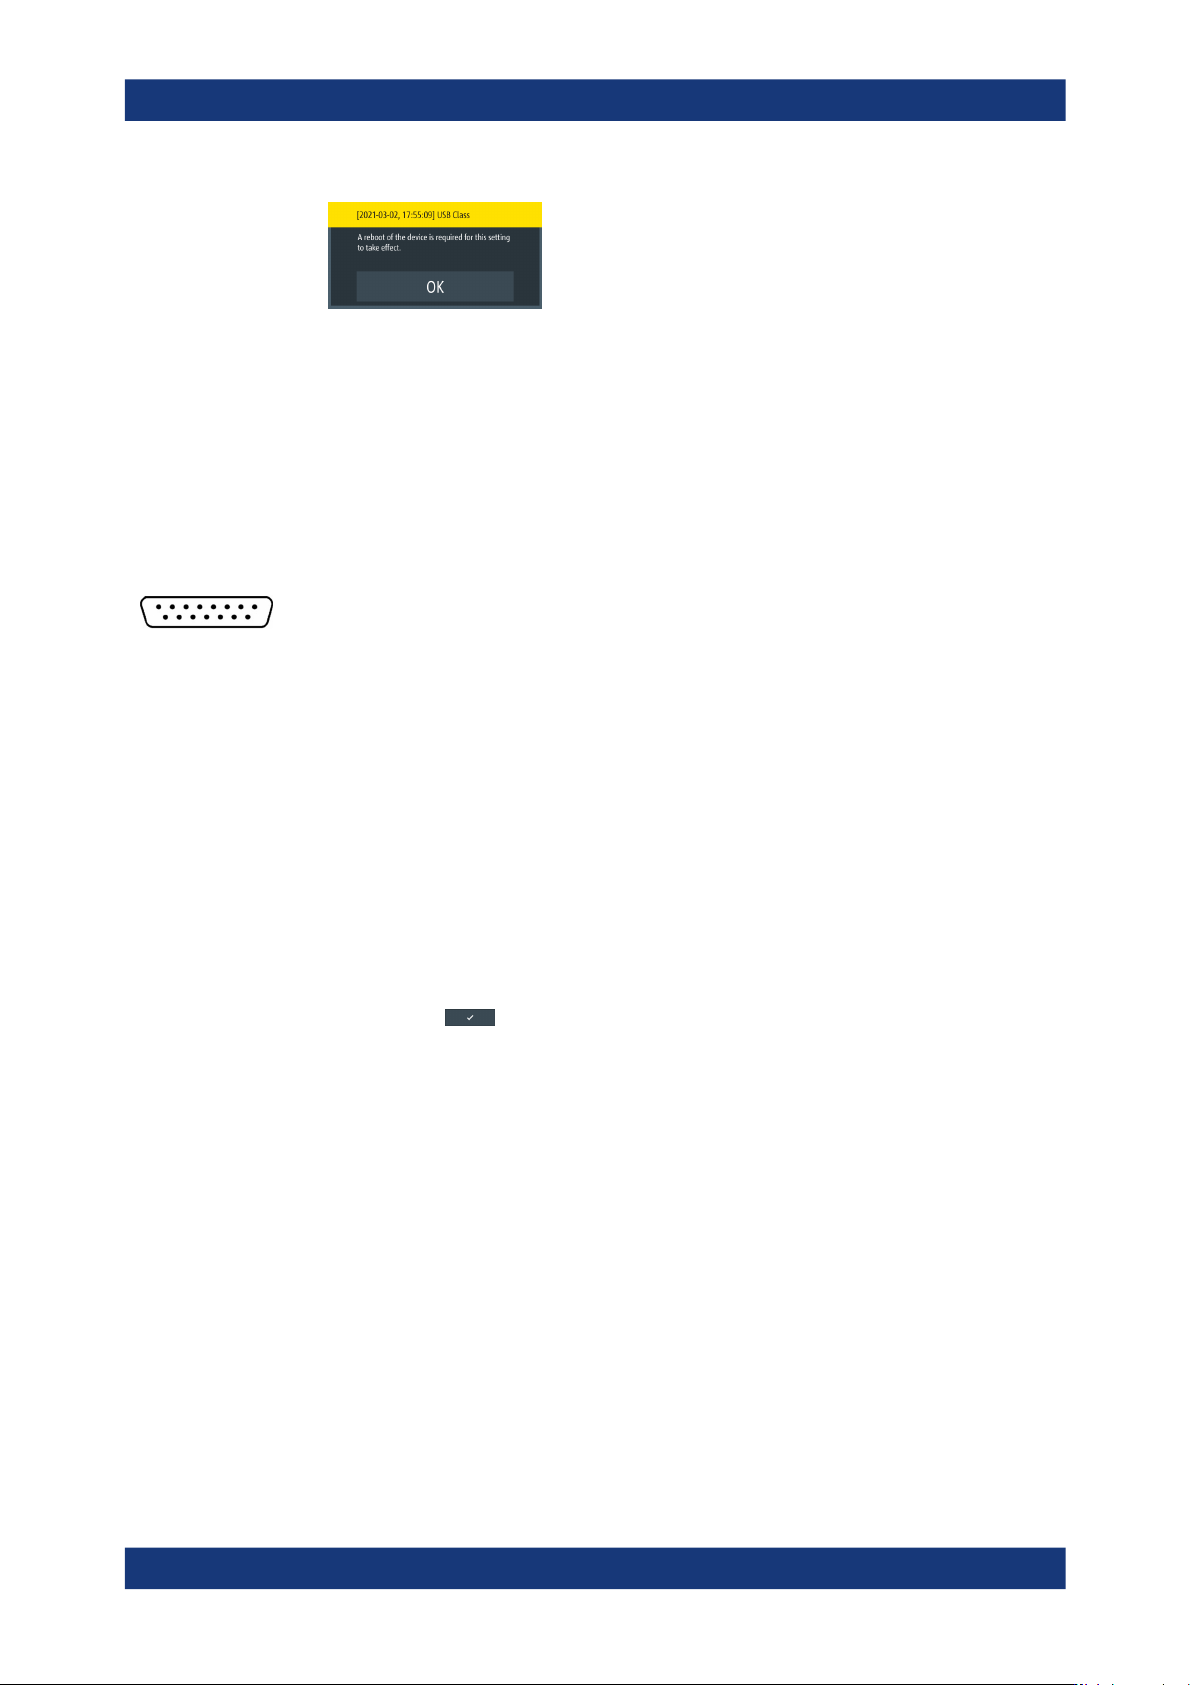
The instrument must reboot to load the corresponding protocol driver.
5. To proceed, you have the following options:
a) Confirm with "OK".
The R&S LCX reboots and activates the connection. It indicates the selected
USB interface port in the device status bar on top of the screen.
b) If you want to undo your selection, tap any point of the screen outside the mes-
sage.
The message disappears and you can correct your selection.
Assigning the GPIB address manually
Option: R&S NG-B105 GPIB (IEC 625/IEE 488) bus interface
The controller addresses the instrument within the GPIB bus channel, providing
addresses from 0 to 30. The R&S LCX has the factory-set address 20, but you can
adjust it manually according to your network environment. It is assumed that you have
established the connection, see "Establishing the GPIB remote control connection"
on page 168.
To select and enter the GPIB manually:
1. To access the setting, the [settings] key at the front panel.
2. In the device settings menu, select "Interfaces" > "GPIB Address".
An on-screen keypad opens.
3. Enter the channel number.
4.
Confirm with .
The R&S LCX changes the GPIB address accordingly.
Note: The address is maintained after a reset of the instrument settings.
10.6 Operating the R&S LCX remotely
When you switch on the instrument, it is always in manual operation state (local state).
You can operate it using the controls on the front panel. To operate the instrument from
a remote location, see the following possibilities, how to set up remote control connec-
tions over the available interfaces.
Prerequisites to proceed with the following instructions are:
●
You have set up the connection between the R&S LCX and the controller, see Sec-
tion 10.4, "Connecting the R&S LCX for remote access", on page 167.
●
The instrument and the controller are turned on and ready for operation.
Operating the R&S
LCX remotely

Network operation and remote control
R&S
®
LCX Series
174User Manual 1179.2260.02 ─ 08
●
You have established the correct interface address, see Section 10.2, "Remote
control interfaces and protocols", on page 151.
10.6.1 Controlling the R&S LCX over LAN
10.6.1.1 Using SCPI commands
Activating the LAN interface
The LAN interface is enabled automatically, when the connection is established and
the IP addresses are valid. To check the settings:
1. Press the [settings] key at the front panel.
2. In the device settings menu, select "Interfaces".
3. Select "Network".
4. Select "LAN".
5.
If turned off, enable "DHCP & Auto IP" .
The "LAN settings" dialog shows the current address configuration of the interface.
Starting a remote control session
To start remote control:
1. Send a command from the controller.
2. VXI-11 protocol (LAN or USB interface): Use >R interface message.
The instrument switches to remote control and executes the command.
On the screen, a status symbol indicates that remote control is active. The display
remains on and you can still operate it manually using the front panel controls.
Returning to manual operation
The instrument switches back to manual operation once you close the remote connec-
tion. You can also return to manual operation manually or with a remote command:
To return to manual control:
► VXI-11 protocol (LAN or USB interface): Use >L interface message.
The instrument switches to manual control.
Operating the R&S
LCX remotely

Network operation and remote control
R&S
®
LCX Series
175User Manual 1179.2260.02 ─ 08
10.6.1.2 Accessing the R&S LCX over VNC
Enabling the VNC service for remote access
For remote access over VNC, you must connect the controller PC and the R&S LCX in
a LAN, see "Establishing the LAN connection" on page 24.
To enable the service on the R&S LCX:
1. Press the [settings] key at the front panel.
2. In the device settings menu, select "Interfaces".
3. Select "Network".
4. Select "VNC".
5. If necessary, configure the VNC port address, see "Assigning the VNC port man-
ually" on page 170.
6.
Return to the "Network" settings menu.
7.
Turn
"VNC".
8. Select "LAN".
9.
Turn "DHCP & Auto IP".
The R&S LCX indicates the IP address that you can use for accessing the instru-
ment over a web application.
10. For accessing the instrument remotely, you have several options, see e.g.:
● Setting up a VNC remote access connection with a web browser
● Setting up a VNC connection with a dedicated desktop client
Setting up a VNC remote access connection with a web browser
Prerequisite: the controller PC and the R&S LCX are connected in a LAN, see "Estab-
lishing the LAN connection" on page 24.
To enable the VNC connection, follow the instructions as given under Enabling the
VNC service for remote access:
1. Open any web browser on the controller PC.
2. Enter the IP address of the R&S LCX in the URL address bar.
3. Confirm with enter.
The webpage of your LCR meter appears.
4. Select the "VNC Device Control".
The web based VNC client window opens and displays the front panel view of your
instrument.
In the status line at the bottom, you can see the port address.
Operating the R&S
LCX remotely