LCX_UserManual_en_08_1.pdf - 第133页
General instrument functions R&S ® LCX Series 133 User Manual 1 179.2260.02 ─ 08 Access: 1. Press the [settings] key at the front panel. 2. In the "Device" tab, select "Date & T ime". Figure 9…

General instrument functions
R&S
®
LCX Series
132User Manual 1179.2260.02 ─ 08
"Dot"
Sets a decimal point.
"Comma"
Uses a comma.
Error Designator
Selects whether an empty cell is filled with 0.
"IEE Float"
Fills empty cells with 0.
"Empty"
Leaves empty cells.
Line End Marker
Selects the character representing a line break.
"CR/LF"
Inserts a line break with both, either a CR or an LF.
"LF"
Inserts a line beak with an LF.
9.5.2 Configuring CSV data
For subsequent acquisition of logged data with a PC application, you can determine
the separators and designators of the measurement values accordingly.
Configuring csv data
To configure the format of data within the file:
1. Press the [settings] key at the front panel.
2. Select
3. To access the csv settings, select [settings] > "Device" > "CSV Settings".
4. Set the field and line separators, e.g:
a) Select "Field delimiter" > "Semicolon".
A selection dialog opens where you can set the delimiter.
b) Confirm the selection with "Set".
5. Repeat the configuration for each data separator and the error indicator.
9.6 Date & time
Using the "Date & Time" function, you can set a date and time.
The time is regarded as UTC. There is no timezone selectable.
The R&S LCX records the time during operation and creates a time stamp on printed
outputs or in saved data sets.
Date & time
General instrument functions
R&S
®
LCX Series
133User Manual 1179.2260.02 ─ 08
Access:
1. Press the [settings] key at the front panel.
2. In the "Device" tab, select "Date & Time".
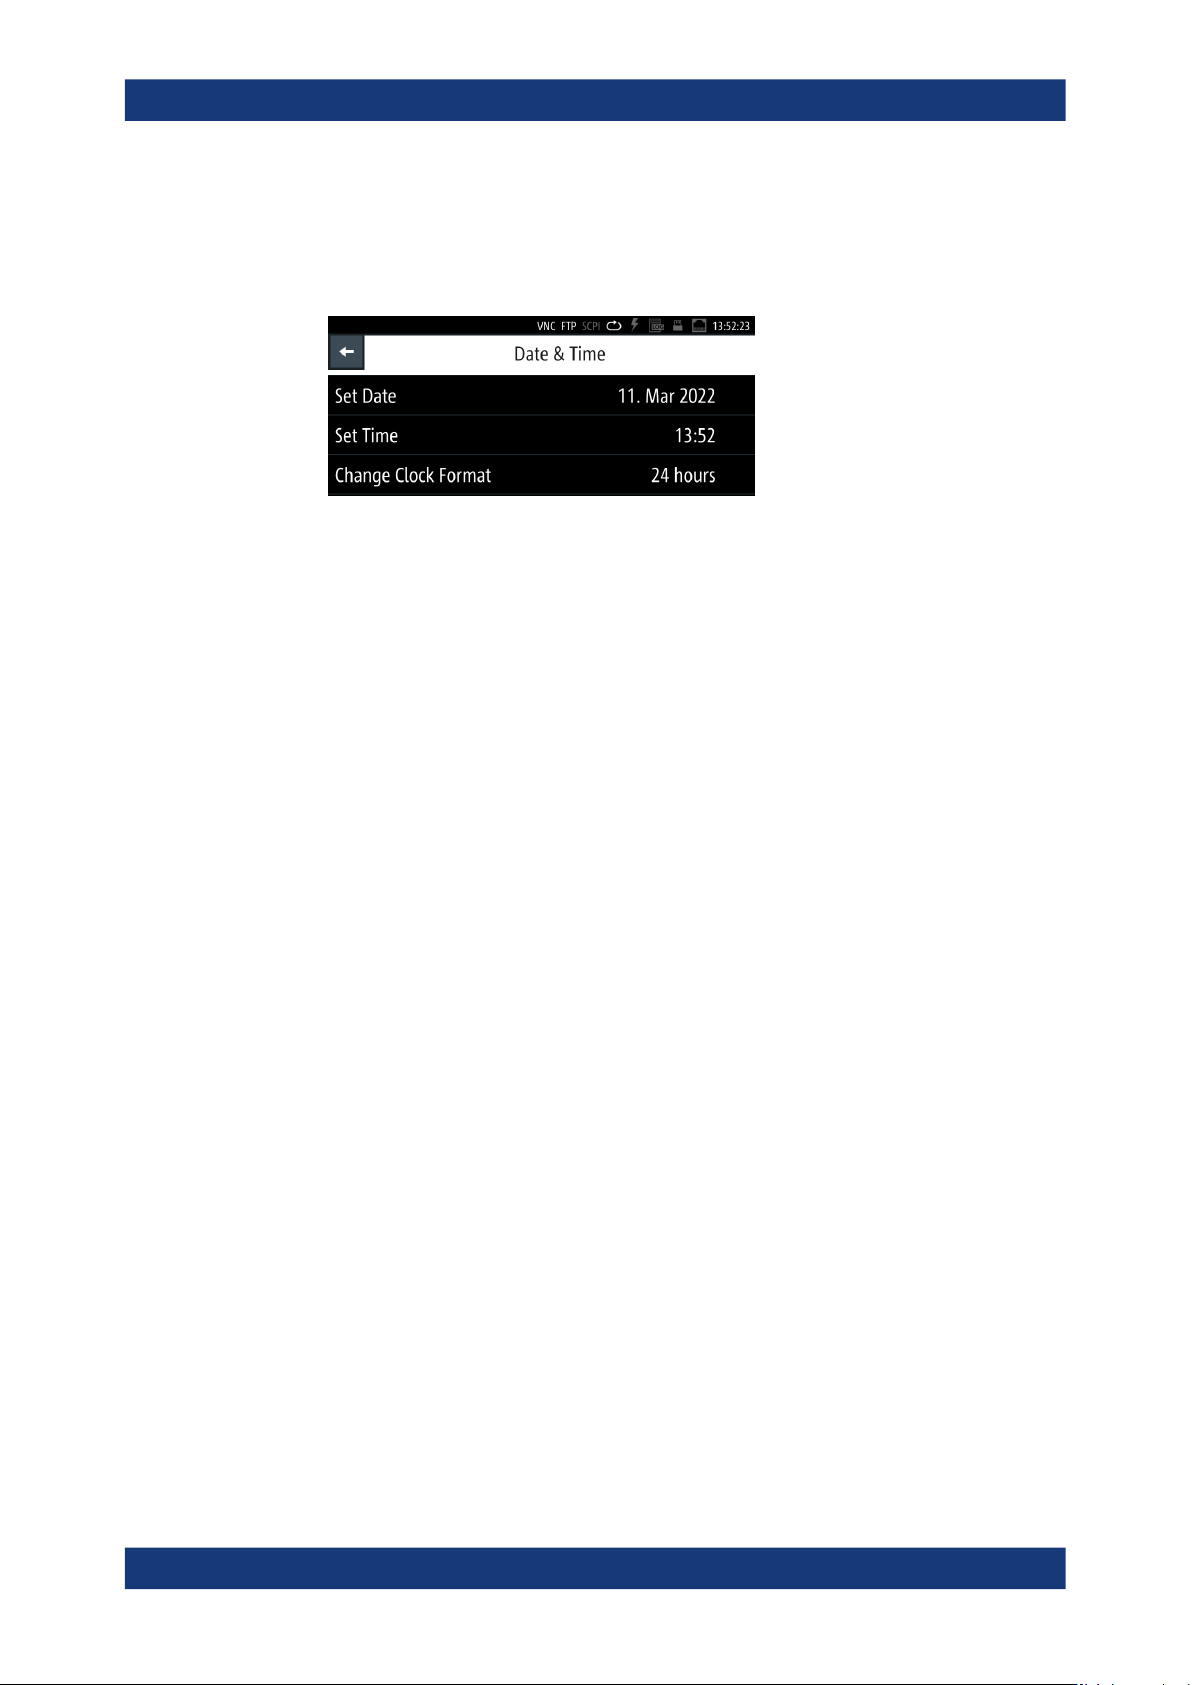
Figure 9-9: Date and time settings menu
The "Date & Time" menu provides access to dialogs and editors for setting the cor-
responding parameters. Initially, the R&S LCX indicates the date and time setting
of the operating system. You can update or modify this setting individually.
The required remote commands are described in Section 11.18, "SYSTem subsys-
tem", on page 231.
How to: see "Setting date and time" on page 146.
Set Date
Sets the date in the format [yyyy.mm.dd].
Remote command:
SYSTem:DATE on page 239
Set Time
Sets the time in the format [hh.mm.ss].
Remote command:
SYSTem:TIME on page 241
Change Clock Format
Sets the hour display of a day.
You can switch between "24 hours"and "48 hours" display.
9.7 Appearance
The R&S LCX enables you to customize the appearance of the screen and the front
panel keys.
Access:
1. Press the [settings] key at the front panel.
2. In the "Device" tab, select "Appearance".
Appearance
General instrument functions
R&S
®
LCX Series
134User Manual 1179.2260.02 ─ 08
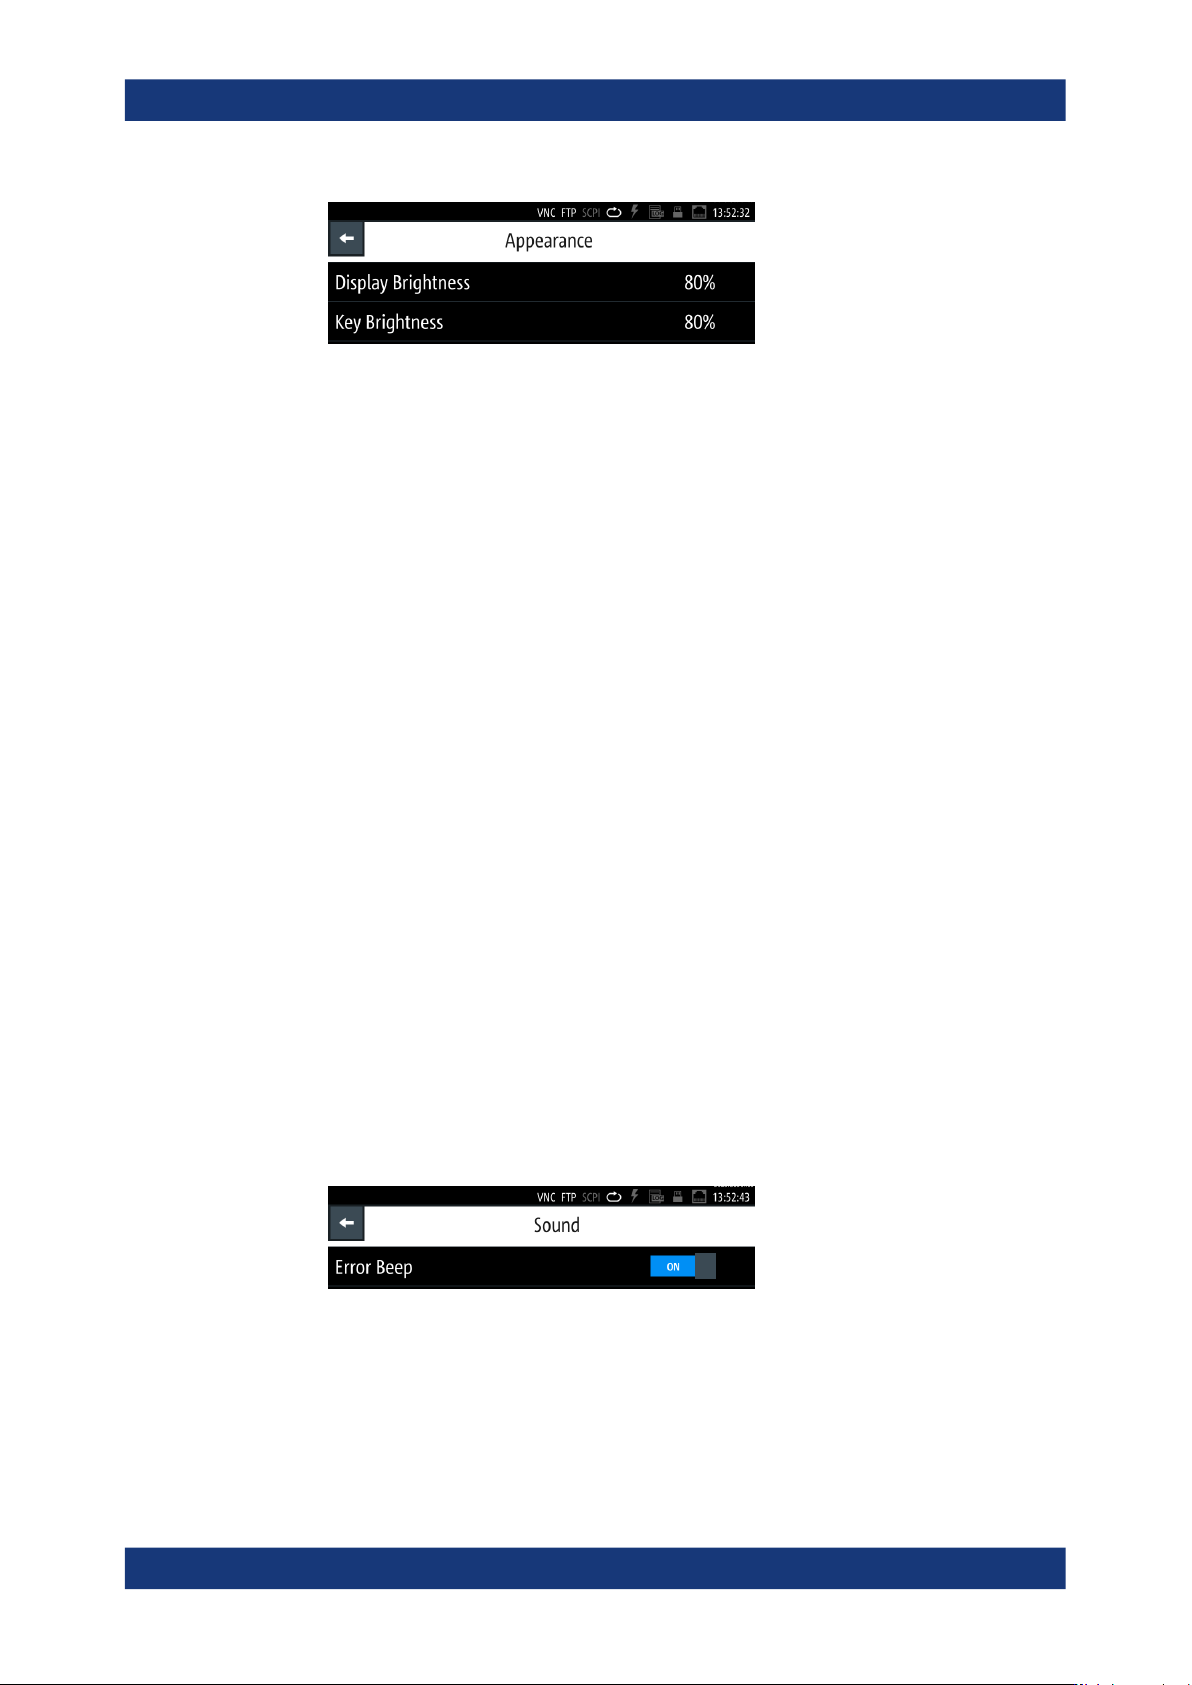
Figure 9-10: Appearance settings menu
The appearance menu provides access to on-screen editors for adjusting the
brightness of the screen and front panel keys.
The required remote commands are described in Section 11.9, "DISPLay subsys-
tem", on page 202 and Section 11.18, "SYSTem subsystem", on page 231.
How to: see "Customizing the appearance" on page 147.
Display Brightness...................................................................................................... 134
Key Brightness............................................................................................................134
Display Brightness
Sets the brightness of the display in percent.
Remote command:
DISPlay:BRIGhtness on page 204
Key Brightness
Sets the intensity of the key illumination in percent.
Remote command:
SYSTem:KEY:BRIGhtness on page 240
9.8 Sound
The R&S LCX provides the option for issuing an acoustic signal if there is an error.
Access:
1. Press the [settings] key at the front panel.
2. In the "Device" tab, select "Sound".
Figure 9-11: Sound settings menu
In the "Sound Settings" dialog, you can set an alert.
The required remote commands are described in Section 11.18, "SYSTem subsys-
tem", on page 231.
Sound