2OM-1733-005w_F8.pdf - 第349页
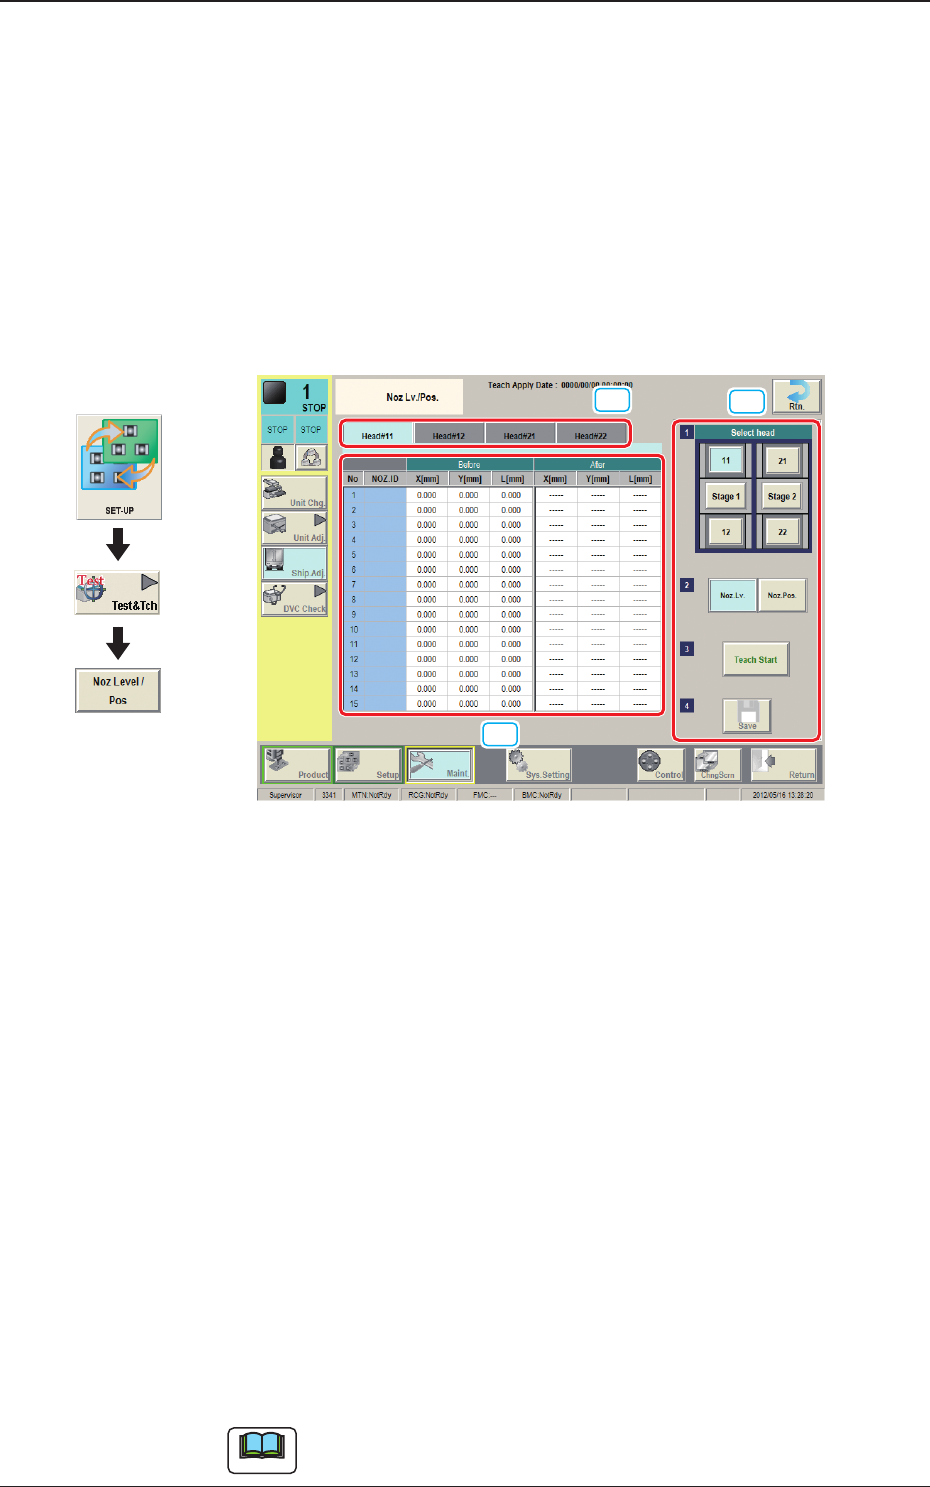
2OM-1733 6-7-31 1212-002 7.5 "Noz Lv ./Pos." Window 7.5 "Noz Lv ./Pos." Window Noz.Lv. This wind ow e nabl es y ou to per form tea chin g op erati ons on t he n ozzl e lev el ( lowe r surface) offsets…
2OM-1733
6-7-30
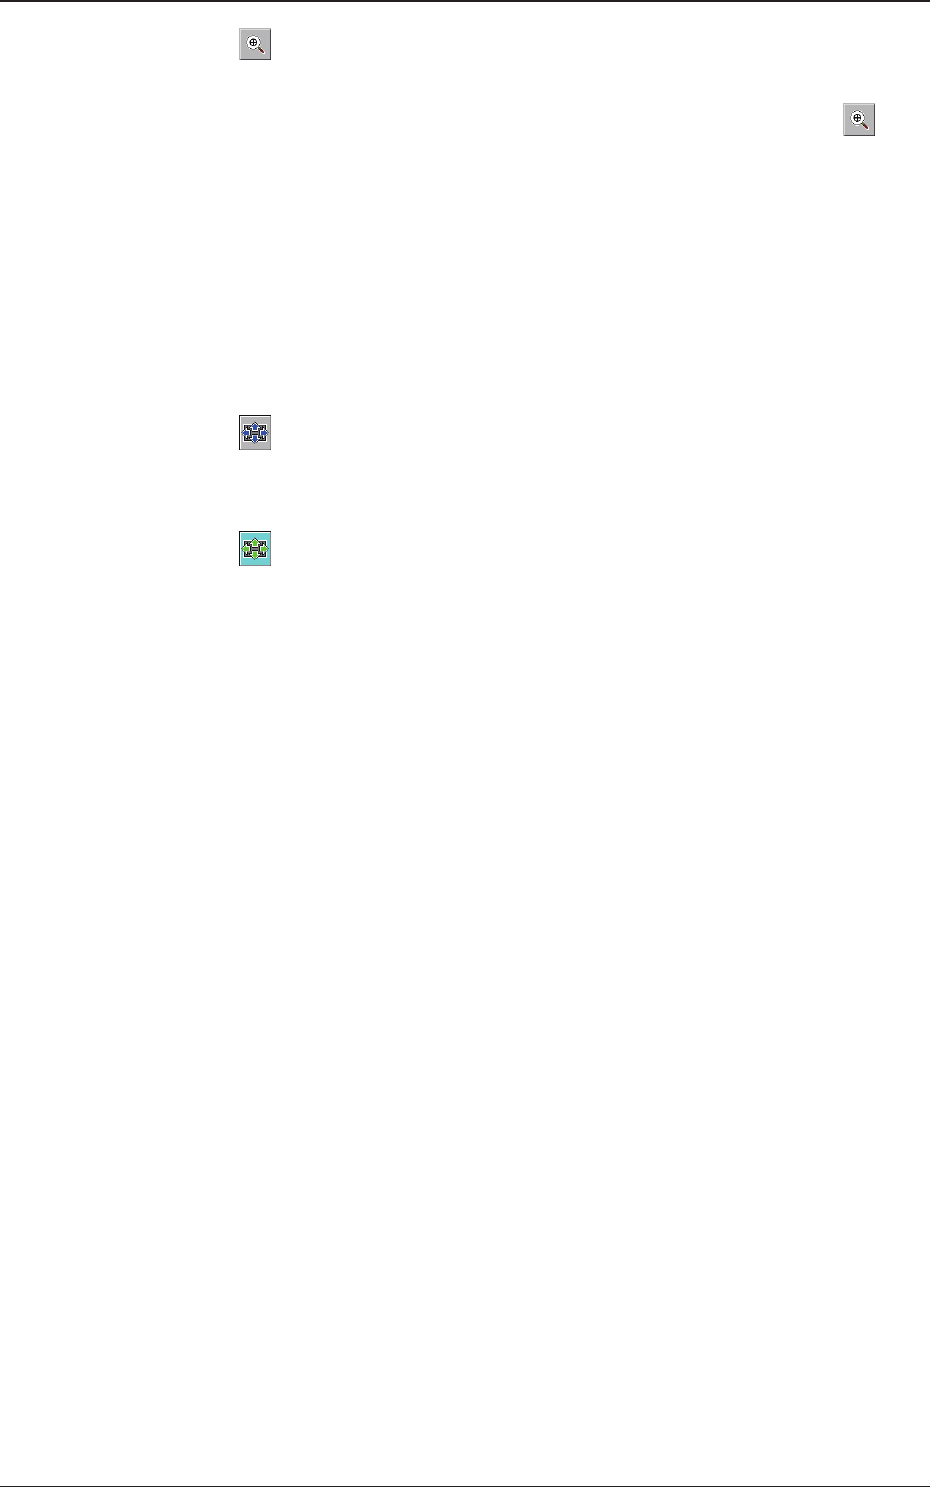
[
] Button
: Image Fitting Mode (the image is displayed fully using the
recognition image display domain).
After changing to the image tting mode using the [
]
button (the shape of the pointer is changed to ), when the
image to be t is touched, or the left button of the mouse
is clicked on the image, the image is displayed fully using
the recognition image display domain, from the pointer
position as the center.
When the image is to be displayed in the image tting mode
with its position xed, place the pointer on the center of the
image before the image tting operation.
[
] Button
: Using this button, the image displayed in the display area
in the recognition window can be moved to the desired
position.
[
] Button
: This button is used when the displayed image position is
aligned with the graphic image position.
1212-001
7.4 "Plc Pos Corr Tch" Window
2OM-1733
6-7-311212-002
7.5 "Noz Lv./Pos." Window
7.5 "Noz Lv./Pos." Window
Noz.Lv.
This window enables you to perform teaching operations on the nozzle level (lower
surface) offsets of the ordinary nozzles on the heads.
Noz.Pos.
This window enables you to perform teaching operations on the deviations from
the reference values between the head rotational centers and the nozzle end
positions.
[2]
[3]
[1]
Fig. 2F7-22
[1] Head Change Tabs
When each tab is pressed, the corresponding tab sheet for the head for each
teaching operation, appears.
[2] Teaching Data Display Section
Displayed are the teaching data items for the nozzle in the designated head.
[3] Teaching Procedure Display Area
Displayed are the buttons to be used for the teaching operations.
Select head
The positions of the heads corresponding to each nozzle are displayed as
images. Select the head corresponding to the nozzle for which the teaching is
performed.
Select [Stage 1] or [Stage 2] when the teaching operation is performed for
each stage.
Note
When the head is selected in Item Head Selection, the window is changed
accordingly.
Graphic
Development

2OM-1733
6-7-321212-002
7.5 "Noz Lv./Pos." Window
Change window display
Pressing each button corresponding to each teaching operation, changes over
the window to the corresponding teaching window.
When the window is changed over, the teaching in the displayed window is
performed.
The buttons corresponding to each window are as follows.
Noz. Lv.
: The window is changed to the teaching window for the nozzle
level.
Noz. Pos.
: The window is changed to the teaching window for the
reference nozzle position.
[Teach Start] button
When pressed, this button executes the teaching operation.
[Save] button
When this button is pressed, the teaching results are saved.
•
Nozzle Level Teaching Procedure
Procedure
(1) Select the head for which the nozzle level offset teaching is performed.
(2) Press the [Teach Start] button.
(When nozzle level will be measured using the line sensor and the read data
will be used as offset data.)
•
When the teaching is started, the start conditions are checked.
•
The teaching results are displayed in the "After" section in the "Noz Lv.
Offset" Display Area.
When the teaching is completed, the designated head is returned to the home
position automatically.
(3) Press the [Save] button.
(When this button is pressed, the teaching results are saved.)