OM-1068-001.pdf - 第204页
01 12-001 C h ap t er 3 2-43 Tg0252-PM-SO 4. Troubleshooting after Error Message 14 0 1 04 EV2-AXIS ORIGIN ELEV A TOR #1 ORIGIN [BPH581] SENSOR MA Y BE DEFECTIVE. 14 0 1 05 EV2-AXIS ORIGIN ENCODER ORIGIN WAS NOT DETECTED…
0112-001 Chapter 3 2-42 Tg0252-PM-SO
4. Troubleshooting after Error Message
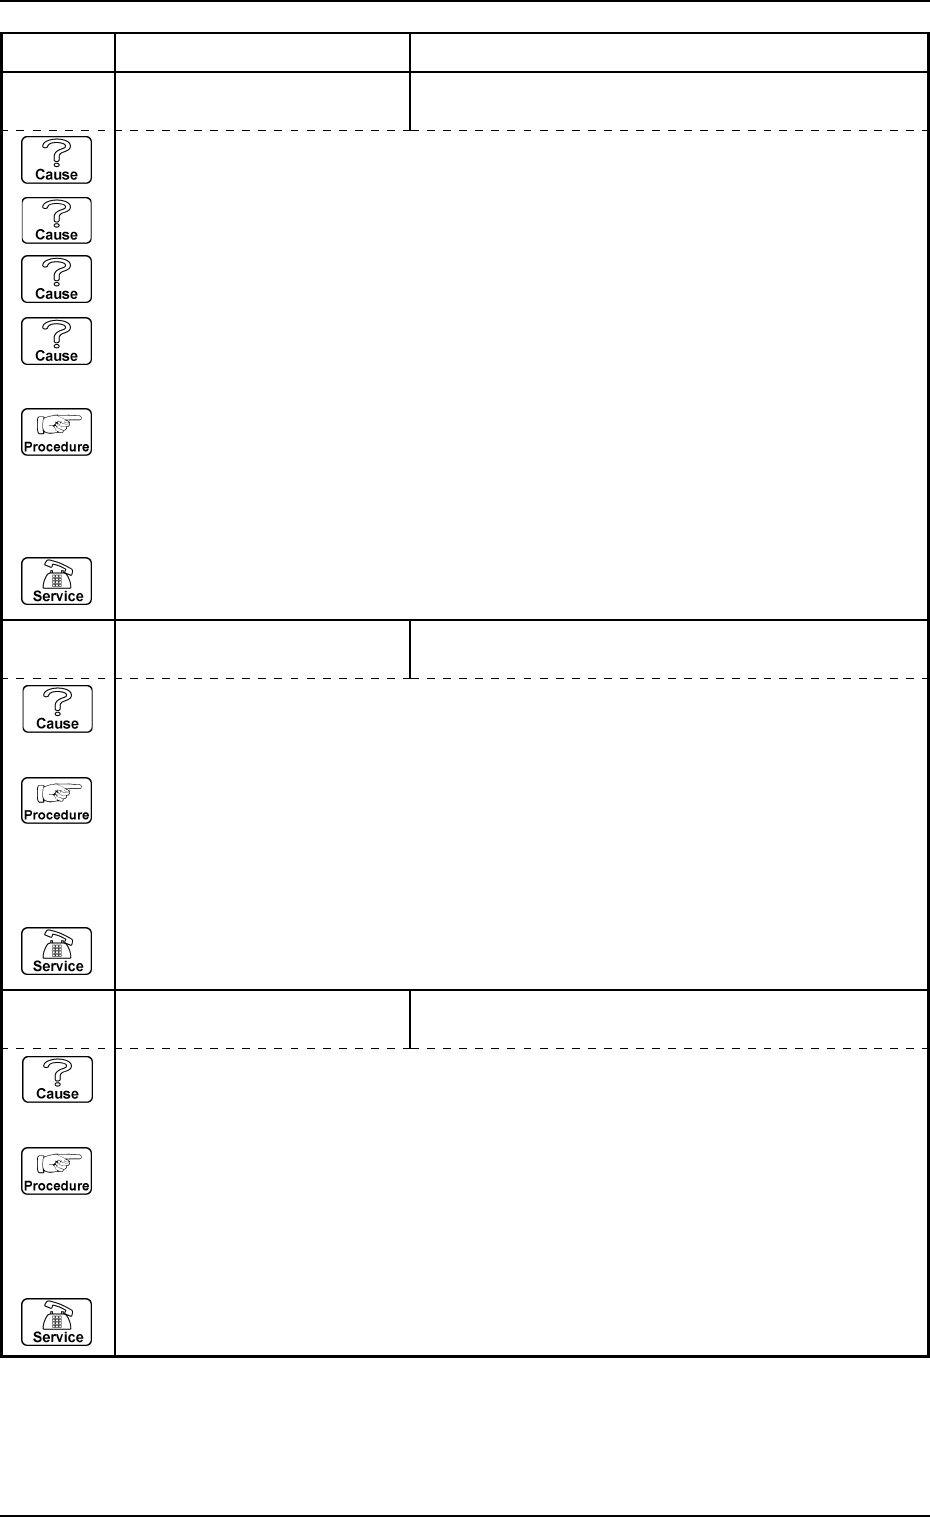
14 01 01 EV2-AXIS ORIGIN CARRIAGE JERKED OUT OF MAGAZINE DETECTED.
14 01 02 EV2-AXIS ORIGIN ELEVETOR #1 SENSOR MAY BE DEFECTIVE.
Error Code Display A Display B
(Cause 1) This is the device’s self-diagnostic message.
(Reset Procedure in the case of Cause 1)
Reset Procedure
(1) Press the [CLEAR ALARM] key to stop the buzzer sound.
(2) Press the [RESET] button to cancel the error mode.
(3) Press the [ZERO] button to return all axes to their original positions. Continue the production
according to the “WARM Start Operation Procedure”.
(4) If the device can’t be reset after the above procedure, contact our service personnel.
TRAVERSE #1 MIDDLE ORIGIN [BPH258] NOT DE-
TECTED.
(Cause 1) This is the device’s self-diagnostic message.
(Reset Procedure in the case of Cause 1)
Reset Procedure
(1) Press the [CLEAR ALARM] key to stop the buzzer sound.
(2) Press the [RESET] button to cancel the error mode.
(3) Press the [ZERO] button to return all axes to their original positions. Continue the production
according to the “WARM Start Operation Procedure”.
(4) If the device can’t be reset after the above procedure, contact our service personnel.
14 01 03 EV2-AXIS ORIGIN
(Cause 1) The pallet is projecting toward the side of the machine.
(Cause 2) The [BPH586] sensor light is shielded.
(Cause 3) The [BPH586] sensor is not adjusted correctly.
(Cause 4) The [BPH586] sensor is broken.
(Reset Procedure in the case of Causes 1, 2, 3, and 4)
Reset Procedure
(1) Press the [CLEAR ALARM] key to stop the buzzer sound.
(2) Press the [RESET] key and cancel the error mode.
(3) Press the [ZERO] button to return all axes to their original positions. Continue the production
according to the “WARM Start Operation Procedure”.
(4) If the device is not reset after the above procedure, contact our service personnel.
0112-001 Chapter 3 2-43 Tg0252-PM-SO
4. Troubleshooting after Error Message
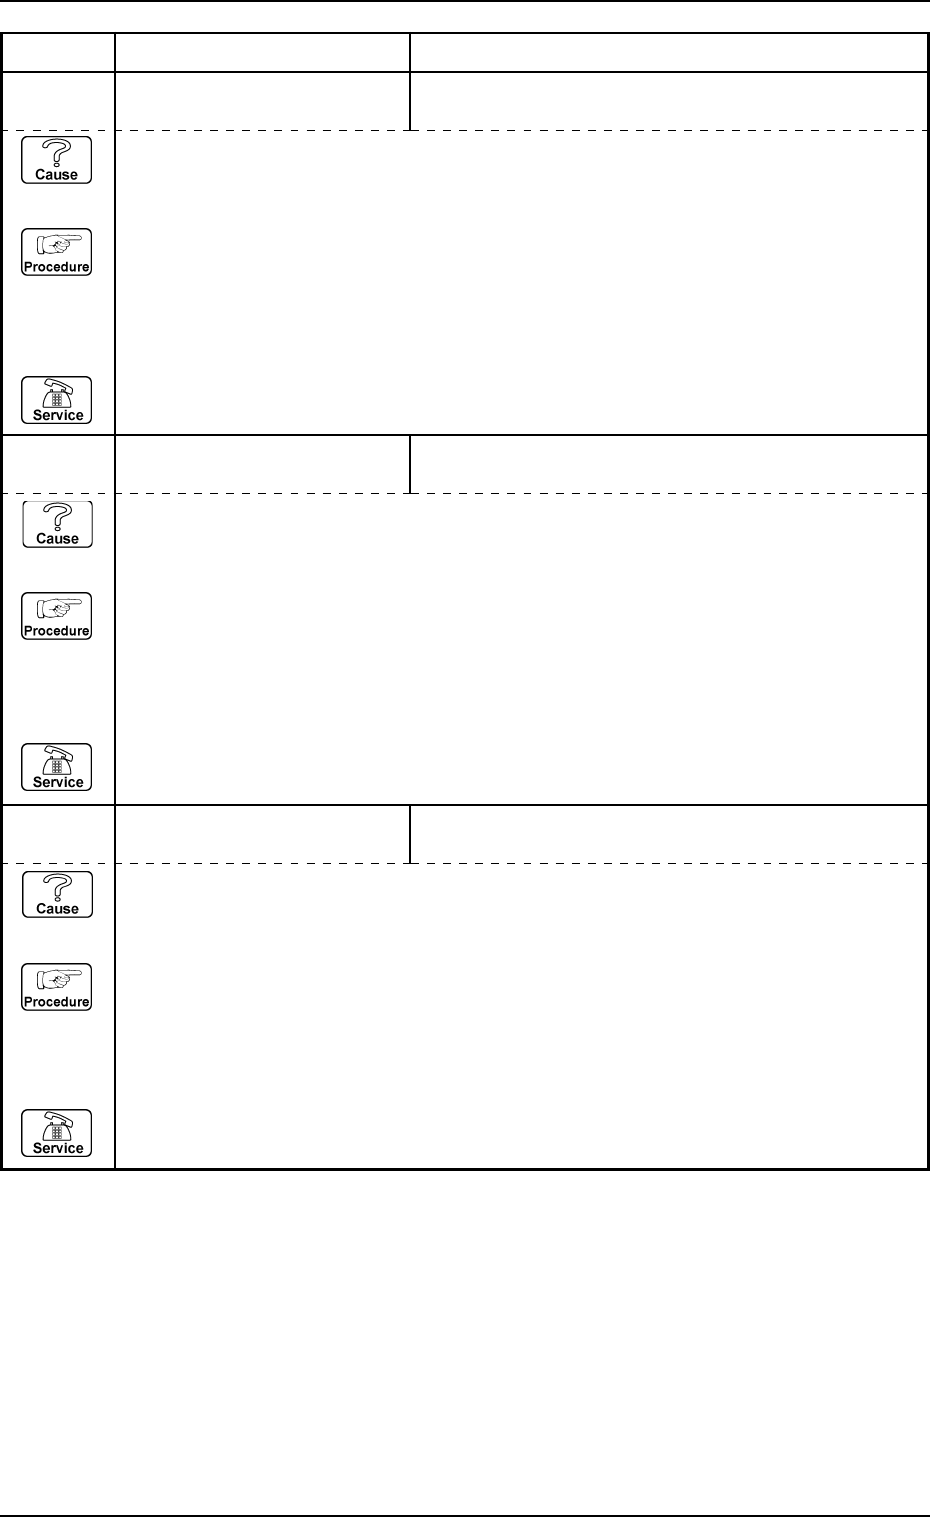
14 01 04 EV2-AXIS ORIGIN ELEVATOR #1 ORIGIN [BPH581] SENSOR MAY BE
DEFECTIVE.
14 01 05 EV2-AXIS ORIGIN ENCODER ORIGIN WAS NOT DETECTED.
Error Code Display A Display B
14 01 06 EV2-AXIS ORIGIN ENCODER ORIGIN WAS DETECTED AT POINT OUT OF
ELEVATOR #1 ORIGIN.
(Cause 1) This is the device’s self-diagnostic message.
(Reset Procedure in the case of Cause 1)
Reset Procedure
(1) Press the [CLEAR ALARM] key to stop the buzzer sound.
(2) Press the [RESET] button to cancel the error mode.
(3) Press the [ZERO] button to return all axes to their original positions. Continue the production
according to the “WARM Start Operation Procedure”.
(4) If the device can’t be reset after the above procedure, contact our service personnel.

0112-001 Chapter 3 2-44 Tg0252-PM-SO
4. Troubleshooting after Error Message
14 01 07 EV2-AXIS ORIGIN ORIGIN IS NOT SET FOR THIS AXIS.
14 01 08 EV2-AXIS ORIGIN
Error Code Display A Display B
14 02 01 EV2-AXIS TIMING PREVIOUS TASK WAS NOT COMPLETED. UNABLE TO
CONTINUE.
(Cause 1) This is the device’s self-diagnostic message.
(Reset Procedure in the case of Cause 1)
Reset Procedure
(1) Press the [CLEAR ALARM] key to stop the buzzer sound.
(2) Press the [RESET] button to cancel the error mode.
(3) Press the [ZERO] button to return all axes to their original positions. Continue the production
according to the “WARM Start Operation Procedure”.
(4) If the device can’t be reset after the above procedure, contact our service personnel.