MV-9_Chapter 5. Teaching.pdf - 第13页
错误 ! 使用“开始” 选项卡将 제목 2 应用于要在此处显示的文字。 错误 ! 使用“开始”选项卡将 제목 2 应用 于要在此处显示的 文字。 . 5- 13 [Figure 5- 16 Whole PCB imaging screen] 2) Setting th e mo du le Fiduc ial mark Module Fiducial mark is a reference mark to check PCB m oun…
MV-9 User Manual
5-12
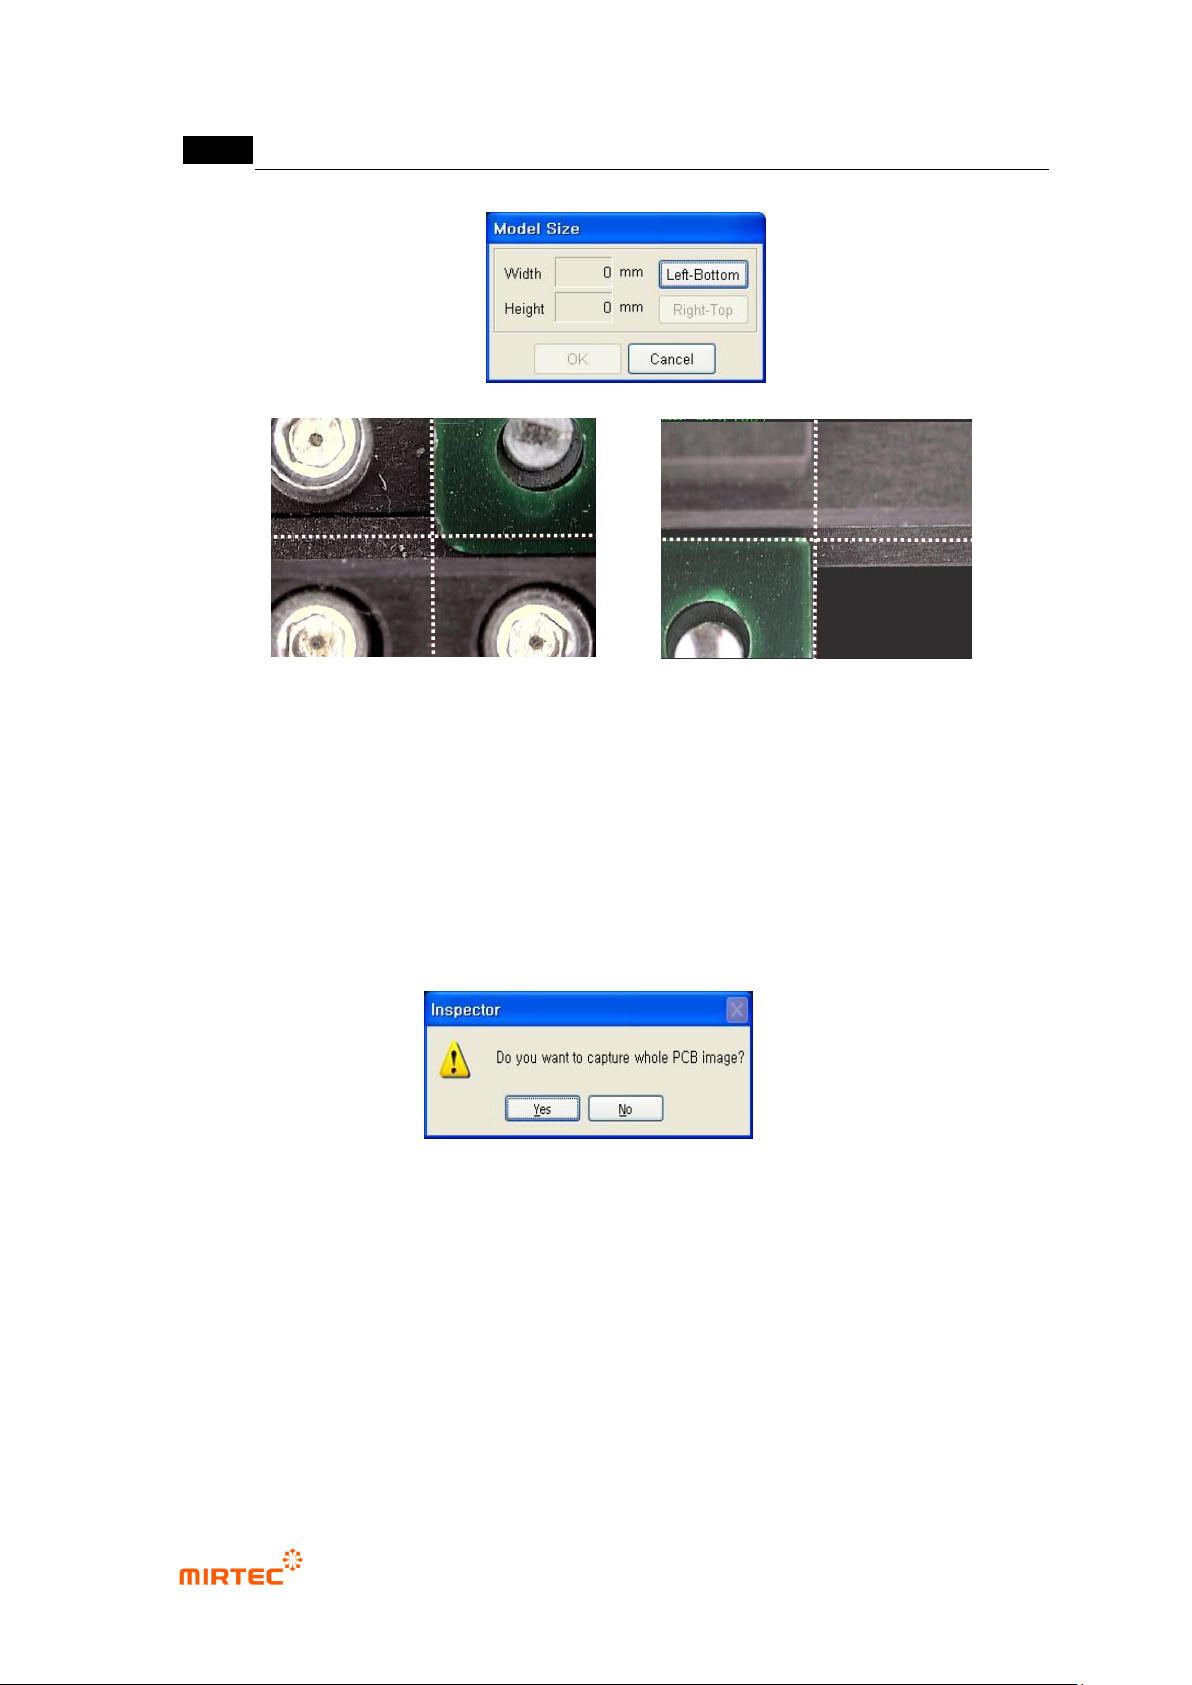
[Figure 5-15 PCB area setting screen]
⑤ Move the robot to the left down part of PCB, click <Down/left> button, and move the robot to
right up part and then click <Up/right> button in model area screen to set the size of new
PCB model. After setting, click <OK> button.
⑥ After size setting of a new PCB model, screen to ask if a user wants to image an image that
will be displayed in whole image screen. Click <Yes (Y)> button to image whole PCB image.
[Figure 5-16 Whole imaging confirmation screen]
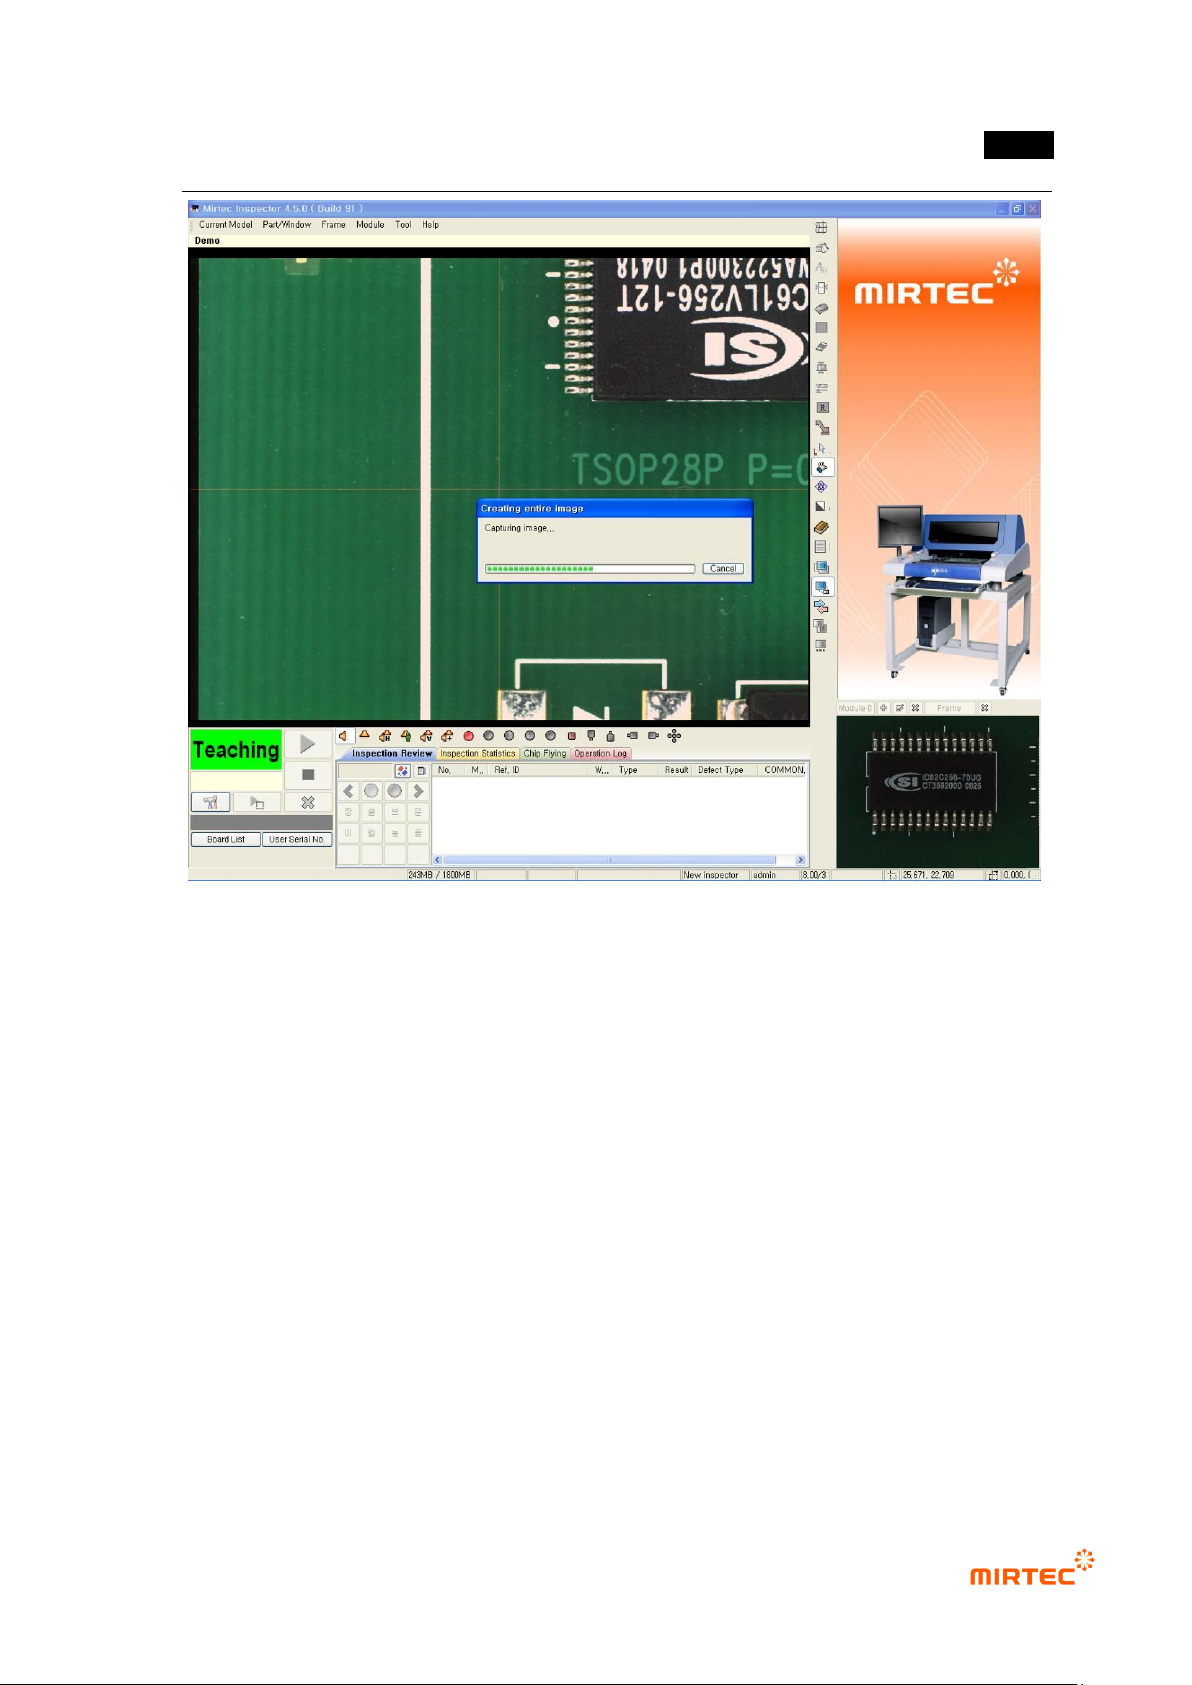
⑦ As shown in [Figure5-16], robot will image the whole PCB image from down/left part to
up/right part of PCB. At this point, currently imaged image will be displayed in whole image
screen.
(Left Bottom)
PCB
PCB
(Right Top)
错误!使用“开始”选项卡将 제목 2 应用于要在此处显示的文字。错误!使用“开始”选项卡将 제목 2 应用
于要在此处显示的文字。 .
5-13
[Figure 5-16 Whole PCB imaging screen]
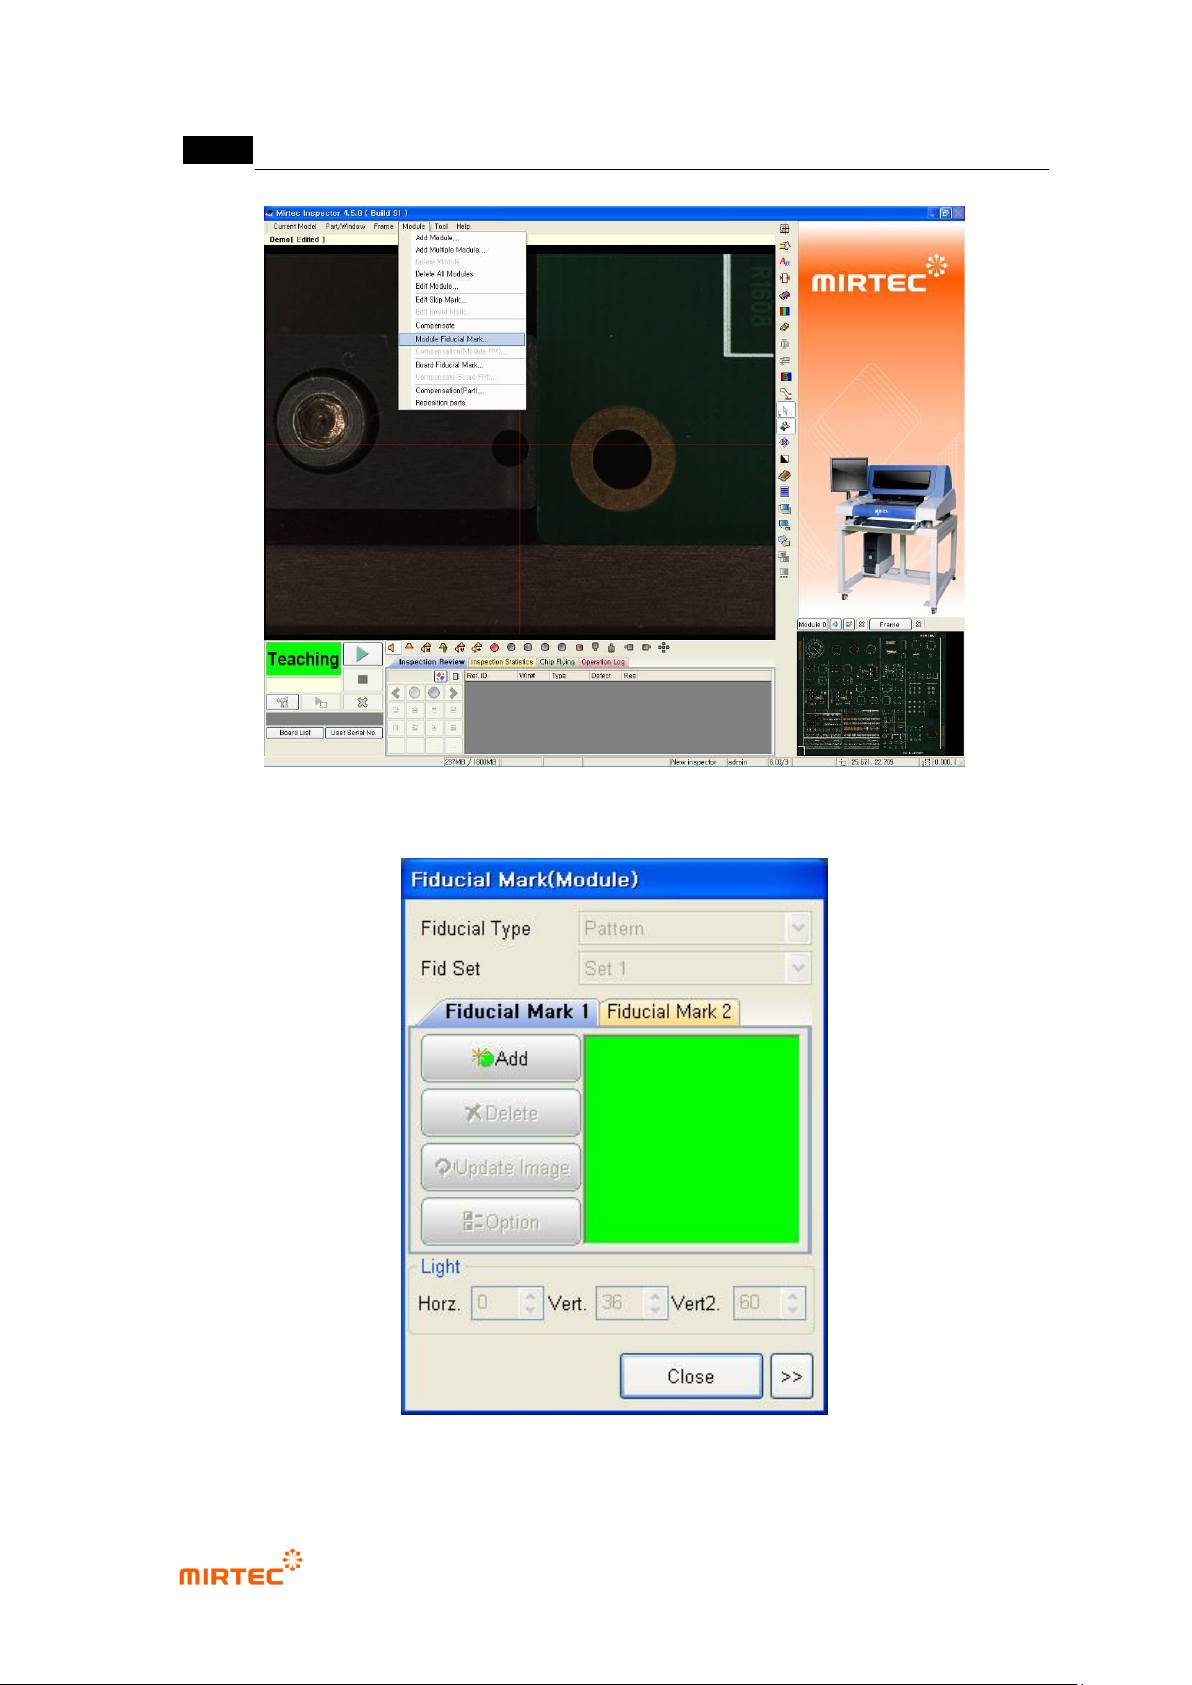
2) Setting the module Fiducial mark
Module Fiducial mark is a reference mark to check PCB mount position among created images in
created many frames in module (PCB piece) and to compensate position.
① Select „Set module Fiducial mark‟ in „current model‟ in menu bar or popup menu in whole
image screen. Fiducial mark registration screen will be displayed and it will be changed to
Fiducial mark light among „light setting types‟.
MV-9 User Manual
5-14
[Figure 5-1 Selecting Fiducial mark setting item]
[Figure 5-2 Fiducial mark setting screen]