MV-9_Chapter 5. Teaching.pdf - 第277页
错误 ! 使用“开始” 选项卡将 제목 2 应用于要在此处显示的文字。 错误 ! 使用“开始”选项卡将 제목 2 应用 于要在此处显示的 文字。 . 5- 277 - The highest height out of the he i ghts around f our corners. 54 Max i m u m Height - The lowest height out of the heights around four c…
MV-9 User Manual
5-276
Shift is created to invade the other pad.
⑩ In case the LED is long, there may be a remarkable difference in the y-Shift value
between the position of Center Points and the left/right edge parts. In this case, it is
impossible to detect the poor quality with Center Point Shift. In order to compensate
for this, „Insp Edge Point‟ option is used.
- Before the use of Insp Edge Point : Inspect y Shift with the Center Point of
LED.
- After the use of Insp Edge Point : Inspect y-Shift with LED Max of both
edges.
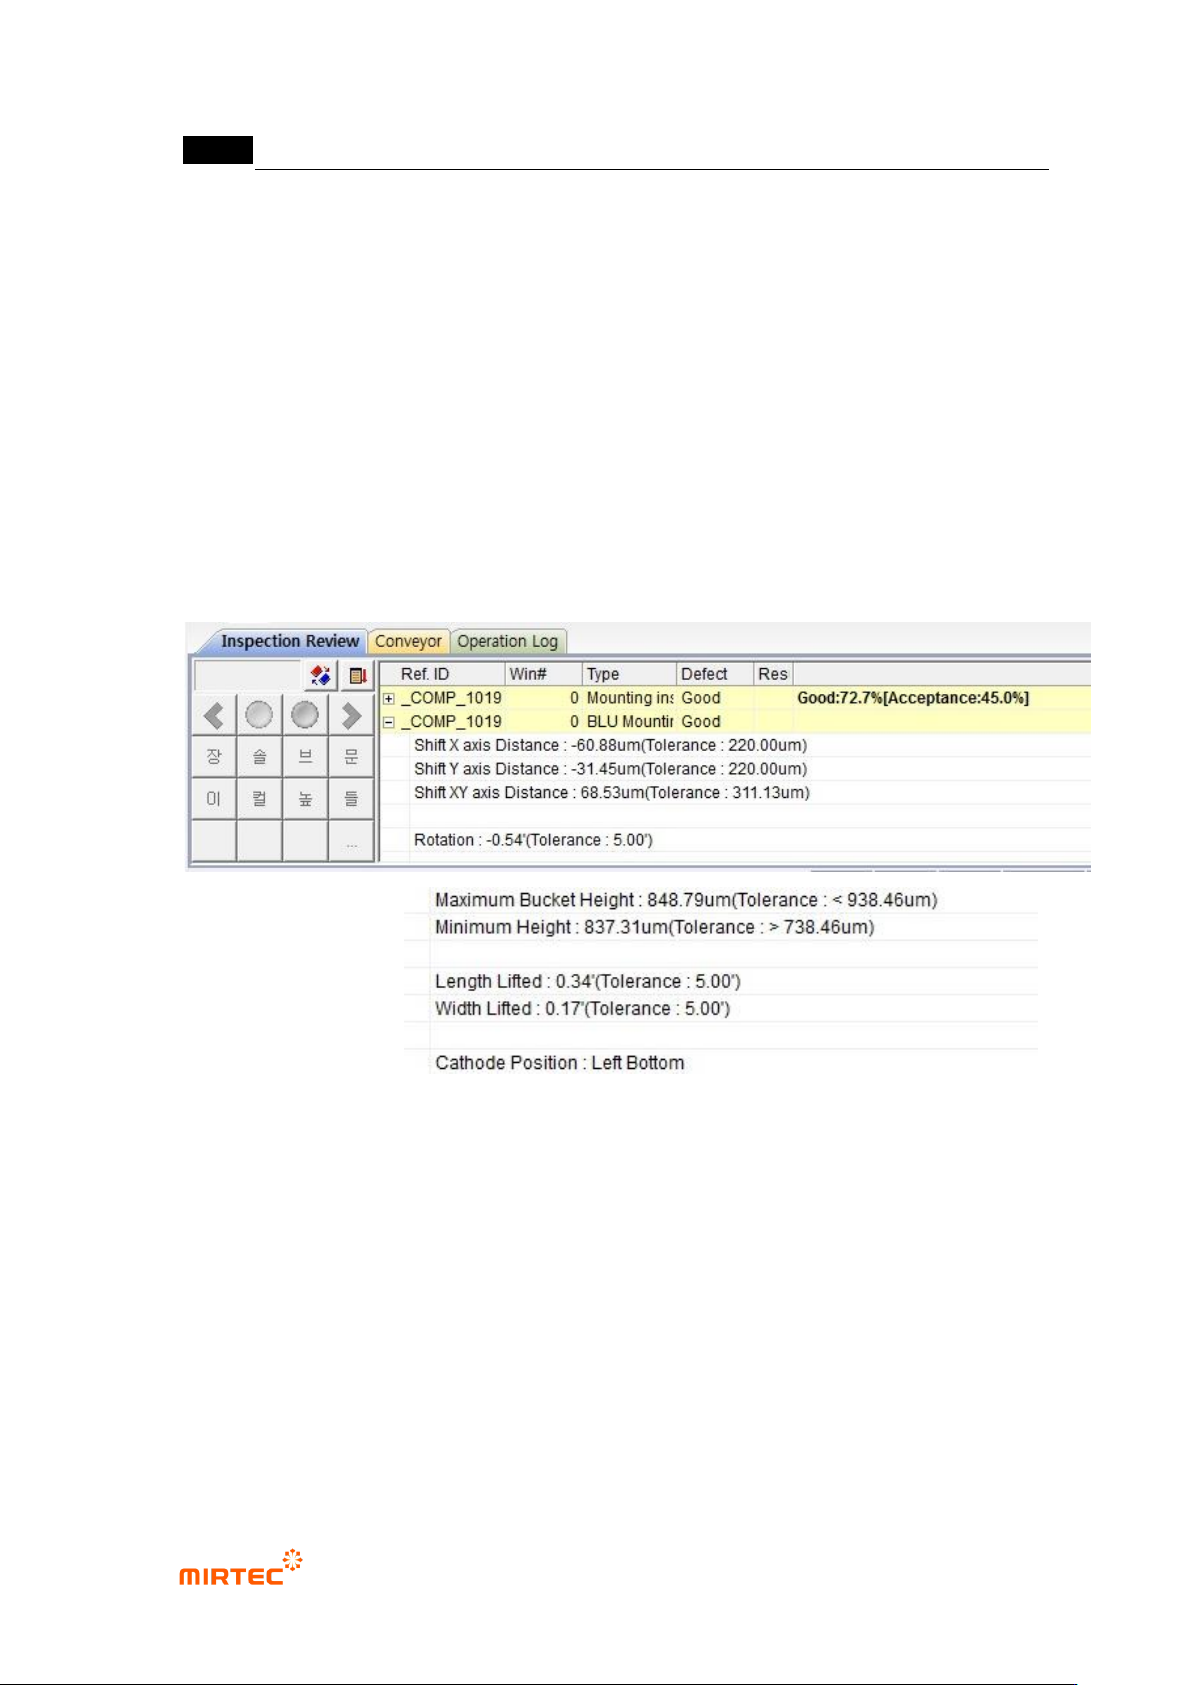
5.9.10 Inspection Results
50 Shift X axis Distance
- X axis distance between the reference Center Point and the current LED PKG
Center Point..
51 Shift Y axis Distance
- Y axis distance between the reference Center Point and the current LED PKG
Center Point..
52 Rotation
- Rotated angle of LED PKG.
53 Maximum Bucket Height
错误!使用“开始”选项卡将 제목 2 应用于要在此处显示的文字。错误!使用“开始”选项卡将 제목 2 应用
于要在此处显示的文字。 .
5-277
- The highest height out of the heights around four corners.
54 Maximum Height
- The lowest height out of the heights around four corners.
55 Length Lifted
- The lifted angle in the long-axis direction.
56 Width Lifted
- The lifted angle in the short-axis direction .
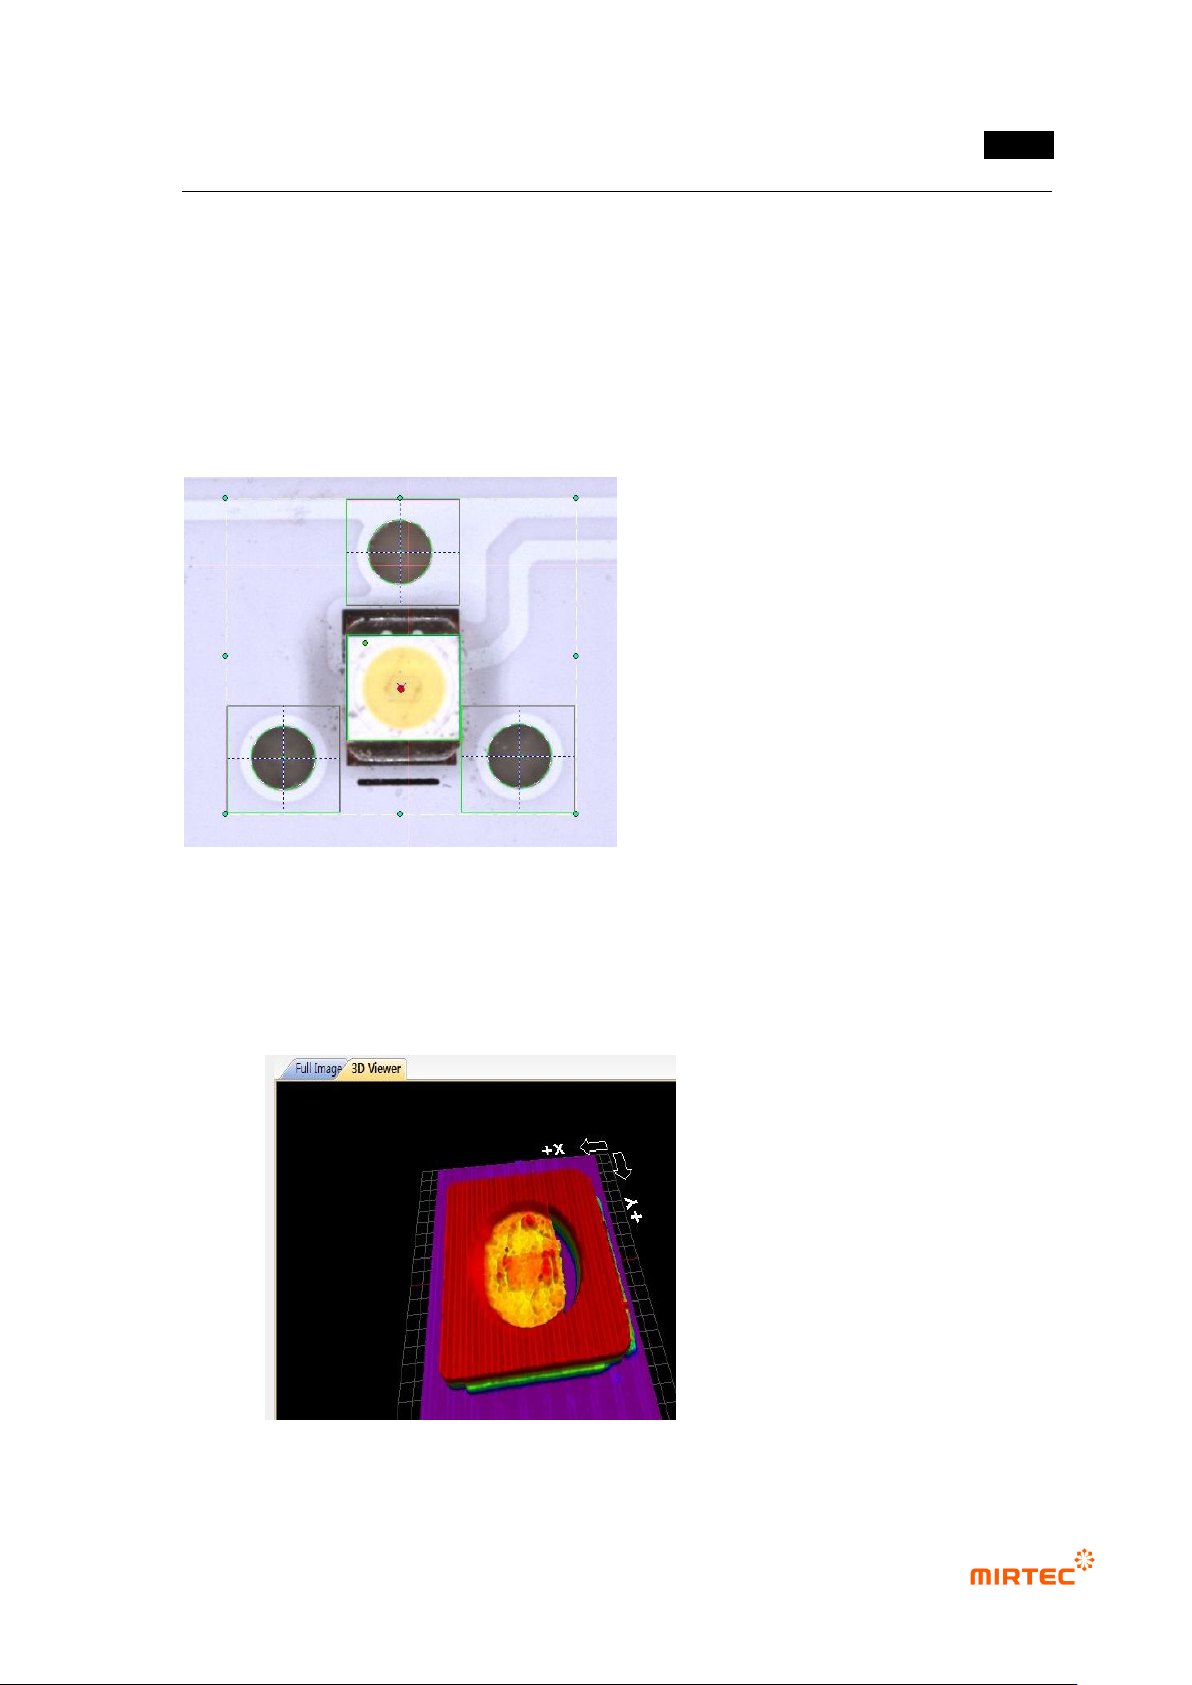
57 Center Point Marking
- The reference Center Point is marked with a red circle, and the Center Point of the
current LED PKG with blue X.
- 3D Model Marking
- The 3D Model measured by 3D Viewers is displayed..
MV-9 User Manual
5-278
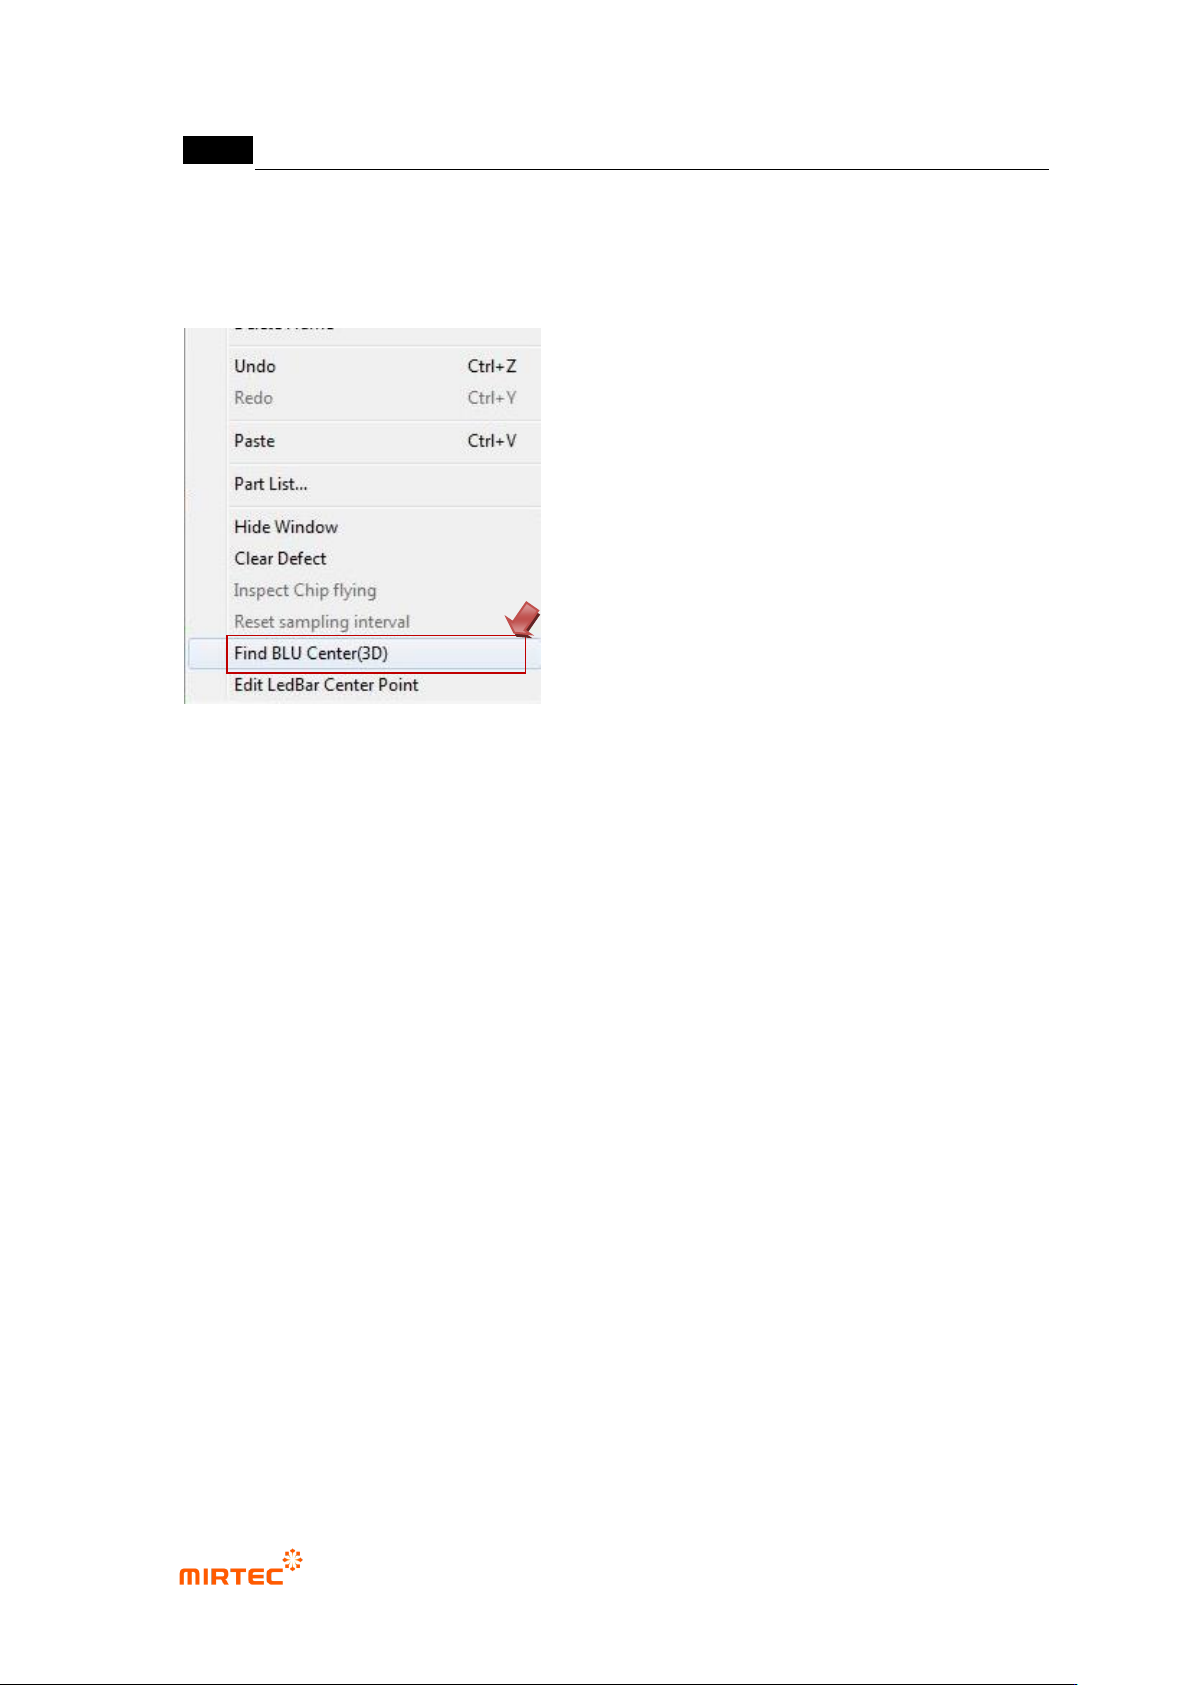
5.9.11 Automatic Teaching
Teach LED PKG using the automatic teaching mode after completing the teaching of
one LED PKG and registering it through the library..
58 Find BLU Center(3D)
- Select „Find BLU Center (3D)‟ by clicking the right mouse button on the main
screen.
59 Input BLU Information
- Ref. ID: Select „Ref ID‟ of the window automatically taught.
- Bar No: Set the number of the bar taught..
- Number Of LED‟s (+Start, End LED)
· Input the number of LED‟s between „Start LED‟ and „End LED‟ (including „Start LED‟
and „End LED).
· „Start LED‟ and „End LED‟ are determined by the window added during automatic
teaching.
- “+ Left, + Right”
· If there are LED‟s on the more left or right side of „Start LED‟ and,‟ End LED‟, input the
number of the LED‟s.
· These are used in case the first LED or the last LED of the bar is of poor quality.
60 Use Manual Mode
- Set manually the Center Position of „Start LED‟ and „End LED‟.
- Set „Start LED and „End LED‟ by adding Offset X, Offset Y, LED Width, and LED
Length on the basis of the current robot coordinate.