00196625-03_AI_SX12_PCB_Barcode_de_en.pdf - 第164页
Setting up and Commissioning Configuring the PCB Barcode Scanner 1D PCB Bar code Scanner 164 PCB Barcode LP-Barcode 3.3.1.2 Installing and Configuring the Barcode Scanner Software The barcode scanner softwa re Datalogic …
Setting up and Commissioning
1D PCB Barcode Scanner Configuring the PCB Barcode Scanner
PCB Barcode LP-Barcode 163
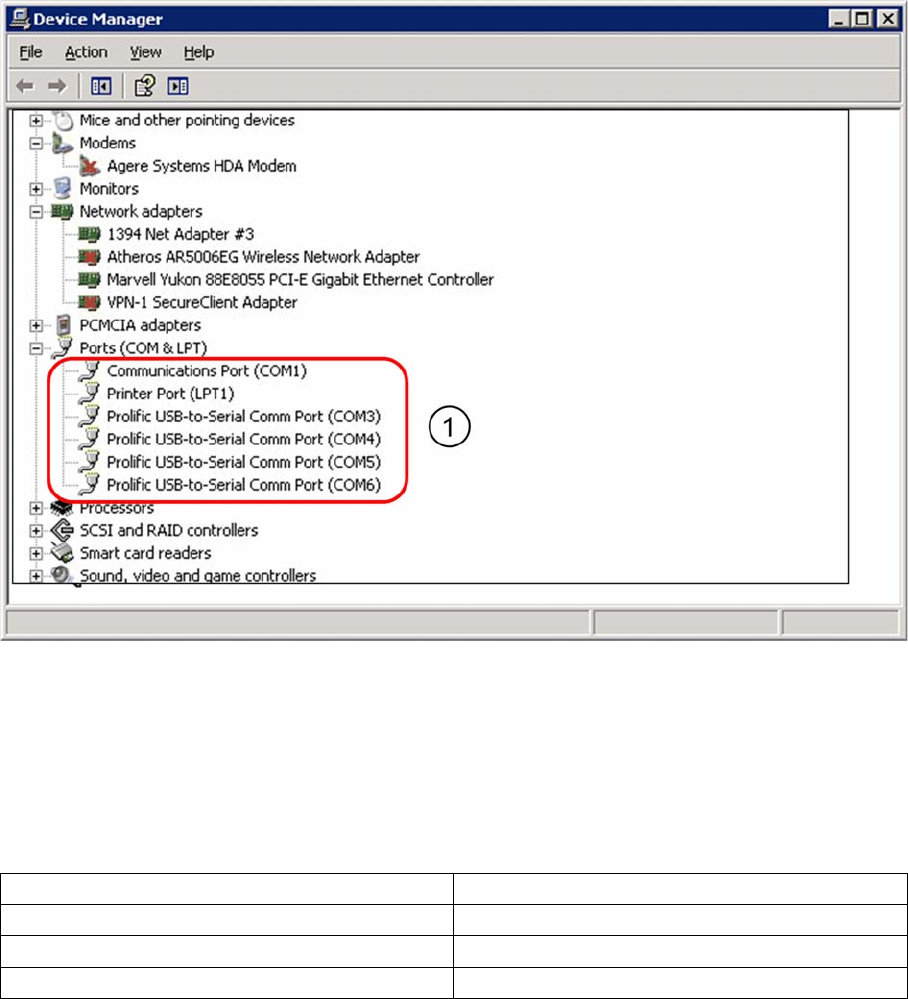
Occupied COM ports in the Device Manager
Legend
1. Virtual COM ports for connecting the barcode scanner
The COM ports 3-6 have been defined in the example shown. However, other ports can be defined if
required.
The barcode scanners are assigned to the virtual COM ports as follows:
In these examples, "n" specifies the lowest of the 4 COM port numbers assigned.
The next step shows how to install and configure the barcode scanner software.
Conveyor lane 1 (right), underside COM_n
Conveyor lane 1 (right), upper side COM_n+1
Conveyor lane 2 (left), underside COM_n+2
Conveyor lane 1 (left), upper side COM_n+3
Setting up and Commissioning
Configuring the PCB Barcode Scanner 1D PCB Barcode Scanner
164 PCB Barcode LP-Barcode
3.3.1.2 Installing and Configuring the Barcode Scanner Software
The barcode scanner software Datalogic WinHost is supplied on a CD. However, it can also be down-
loaded from the Download Center.
This software is used to configure the scanner. It is not needed during productive operations. If required,
it can be started from the Windows interface of the station computer.
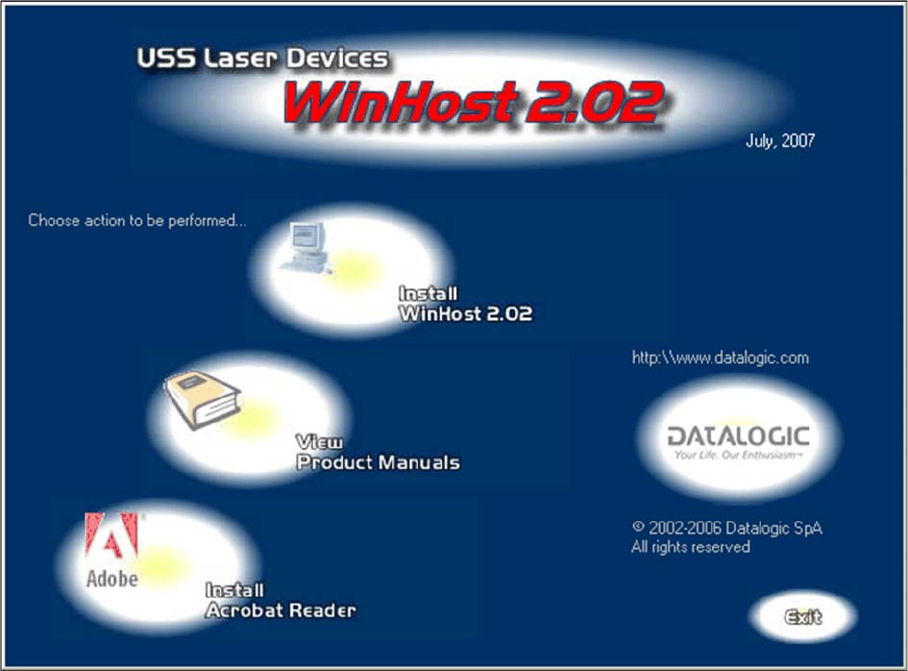
Installing the Barcode Scanner Software
► Log into Windows at the station computer as an administrator.
► Place the CD into the drive.
► Doubleclick on the file IndexD0.exe.
The WinHost 2.02 window will open.
WinHost 2.02 window
► Click on the Install WinHost 2.02 icon.
This starts the InstallShield Wizard for WinHost 2.02.
Setting up and Commissioning
1D PCB Barcode Scanner Configuring the PCB Barcode Scanner
PCB Barcode LP-Barcode 165
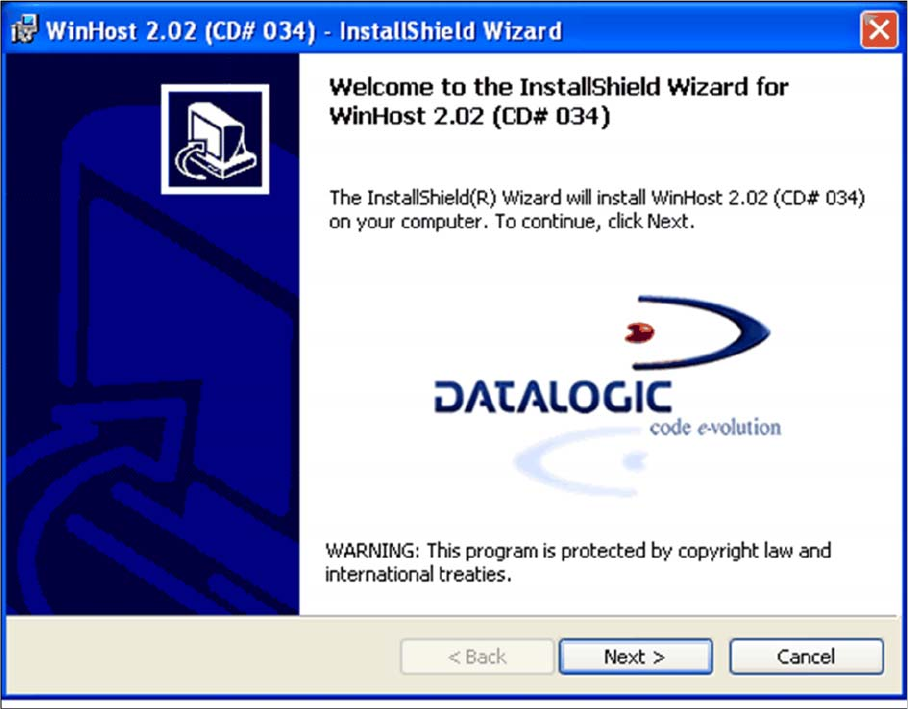
InstallShield Wizard - Welcome
► Click on Next> and follow the instructions issued by the InstallShield Wizards.
► Accept the license conditions.
► Enter the required user information in the Customer Information dialog and confirm with Next>.