00196625-03_AI_SX12_PCB_Barcode_de_en.pdf - 第167页
Setting up and Commissioning 1D PCB Barcode Scanner Configuring the PCB Barcode Scanner PCB Barcode LP-Barcode 167 "InstallShield Wizard C ompleted" dialog Once the software has been succ essfully installed, th…
Setting up and Commissioning
Configuring the PCB Barcode Scanner 1D PCB Barcode Scanner
166 PCB Barcode LP-Barcode
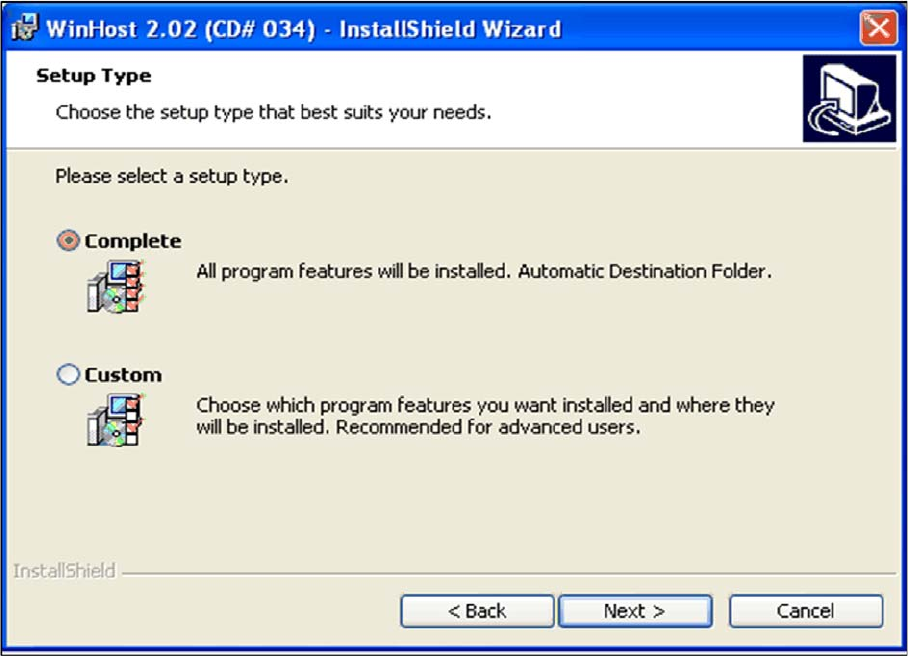
"Setup Type" dialog
► Click on Complete, to install the software in the default installation folder and then confirm with
Next>.
► Click on Custom to install the software in your chosen folder and confirm with Next>.
Enter the required installation folder in the next dialog and then click on Next> to confirm.
The installation procedure will start.
Setting up and Commissioning
1D PCB Barcode Scanner Configuring the PCB Barcode Scanner
PCB Barcode LP-Barcode 167
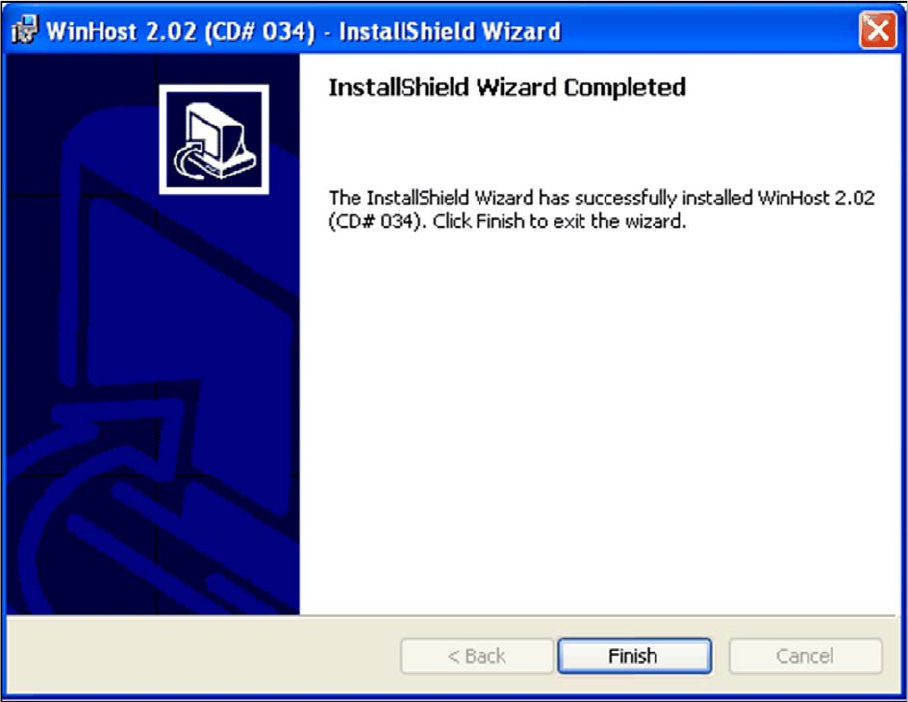
"InstallShield Wizard Completed" dialog
Once the software has been successfully installed, the "InstallShield Wizard Completed" dialog will be
shown.
► Click on "Finish" to end the installation.
A WinHost icon will be placed on the desktop and a Readme file will be shown.
► Close the Readme file.
► Close the WinHost 2.02 window with Exit.
Setting up and Commissioning
Configuring the PCB Barcode Scanner 1D PCB Barcode Scanner
168 PCB Barcode LP-Barcode
Configuring the Barcode Scanner Software
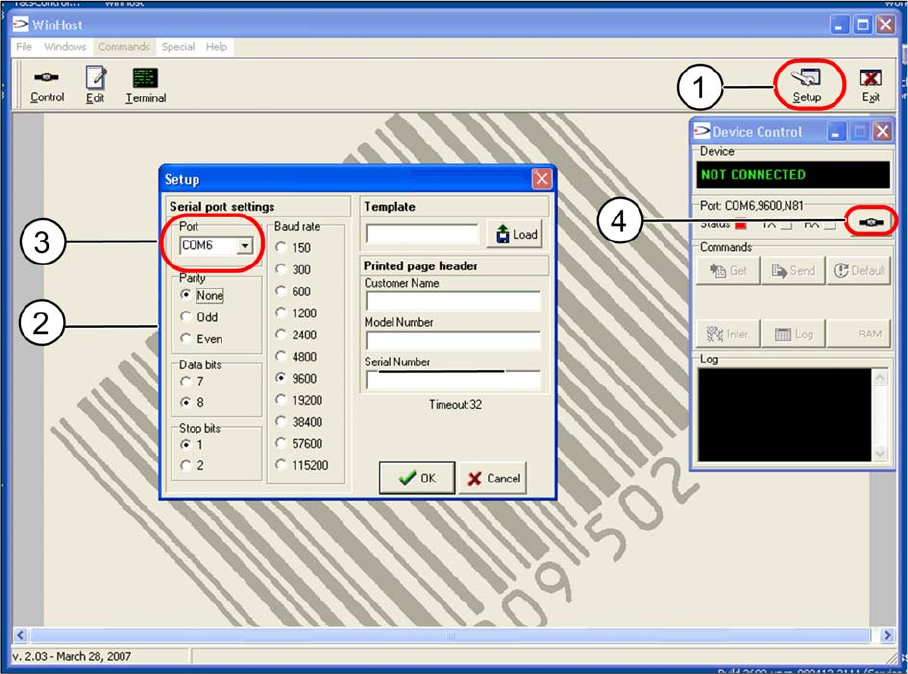
WinHost configuration program
► Doubleclick on the WinHost icon on your desktop.
This opens the WinHost configuration program.
► Click on the Setup (1) button.
The Setup dialog will open (2).
► Go to Serial port settings and select the virtual COM port for the barcode scanner to be configured
from the Port (3) list box (the example shows COM6 for the barcode scanner at conveyor lane 1,
bottom).
► Accept the pre-filled values for the other port settings without changes.
► Confirm the settings with OK.
► Confirm the Update device control query with Yes.
► Go to the Device Control dialog and click on the Connect to device (4) button.