CM602all_EJM8AESM_Service Manual.pdf - 第1084页
EJ M8A-E- 090101-A01- 00 Page 9- 1- 1-9 Sof twar e Sof twar e Inst allation 3.5 The “Sel ect Install Sourc e and Dest inati on” w indow is disp l ayed. (F ig . 3.5) Select the m achine fr om “D est Machi ne.” Press [Next…
EJM8A-E-090101-A01-00
Page 9-1-1-8
Software Software Installation
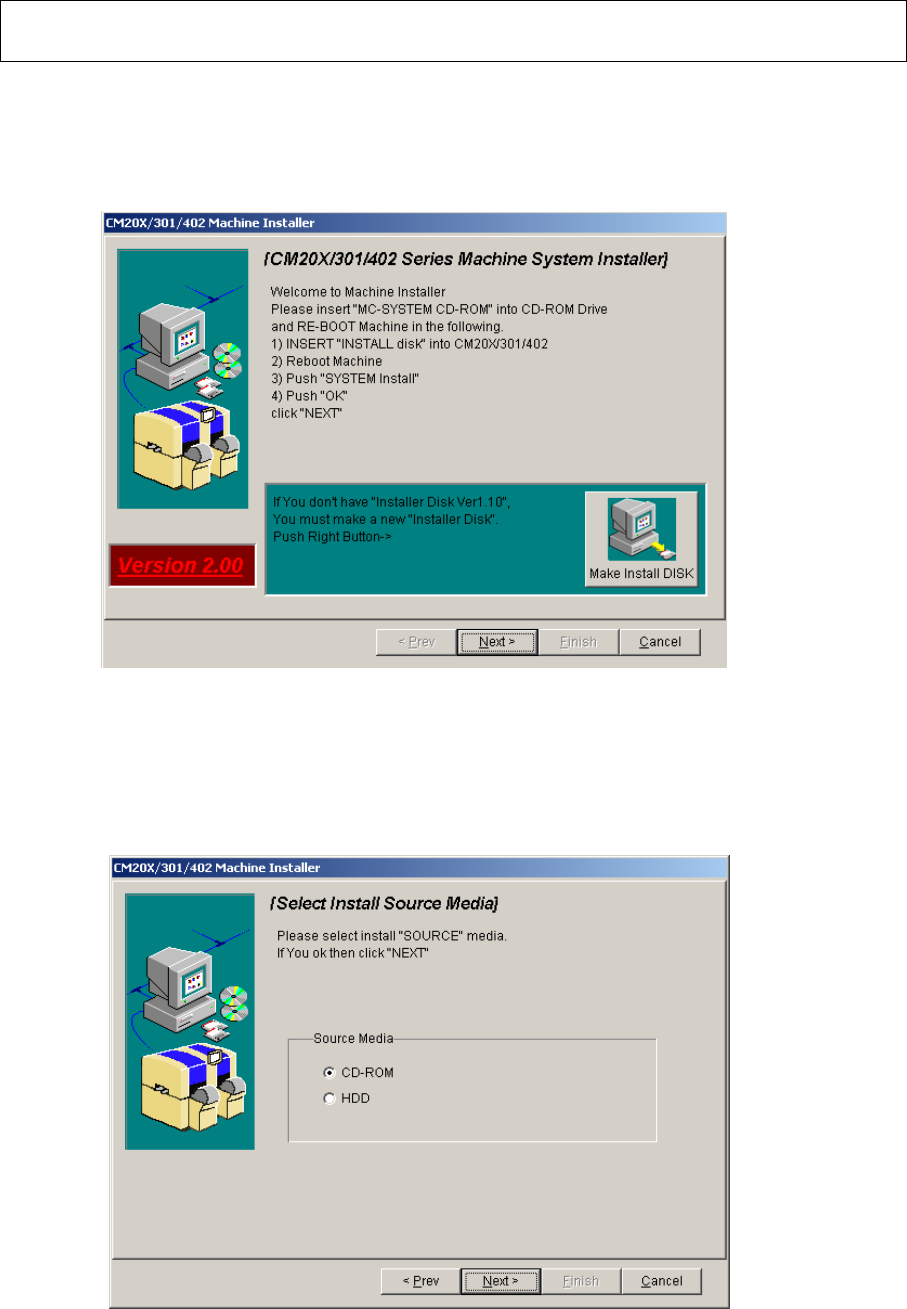
3.3 Boot up the CM20X/301/602 system installer.
Select [Next] from the “CM20X/301/602 system installer” window displayed on the
PT200. (Fig. 3.3.)
Fig. 3.3 CM20X/301/402 system installer screen PT200
3.4 After ”Select Install Source Media” screen is displayed (Fig. 3.4), insert the CM602-L
system CD-ROM into the PT200 CD-ROM drive.
Select “CD-ROM” from “Source Media.” Press [Next].
Fig. 3.4 Select Install Source Media PT200
EJM8A-E-090101-A01-00
Page 9-1-1-9
Software Software Installation
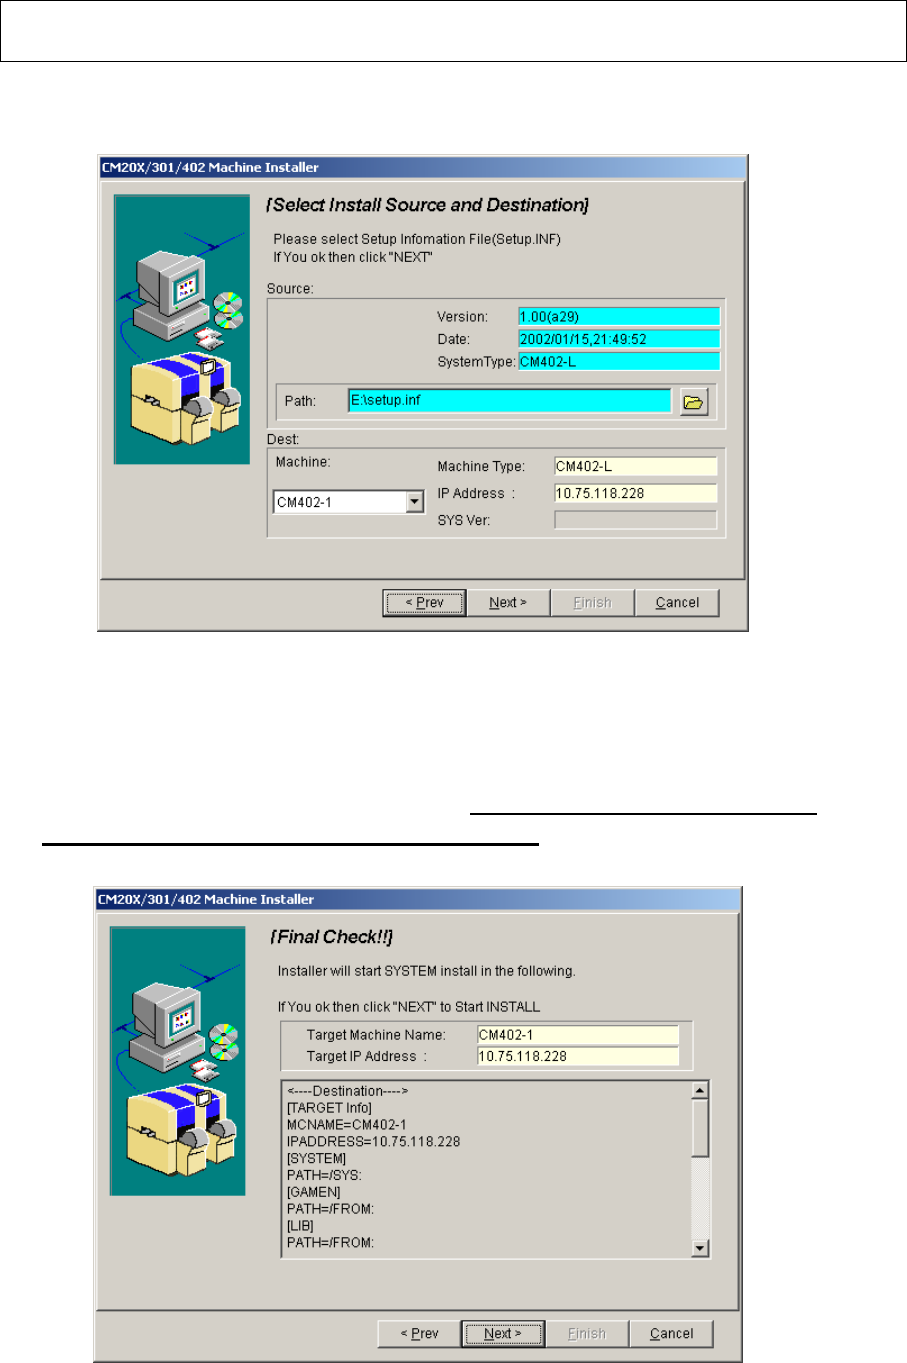
3.5 The “Select Install Source and Destination” window is displayed. (Fig. 3.5)
Select the machine from “Dest Machine.” Press [Next].
s
Fig. 3.5 Select Install Source and Destination PT200
Installation options:
- Full installation
- Difference installation
3.6 The “Final Check” window is displayed. (Fig. 3.6) Check that the IP address displayed
on this window is the same as that on the CM602-L. When the IP address is correct,
press [Next].
;
.6l:「インストール最終確認」画面_PT200
Fig.3.6 Final Check PT200
EJM8A-E-090101-A01-00
Page 9-1-1-10
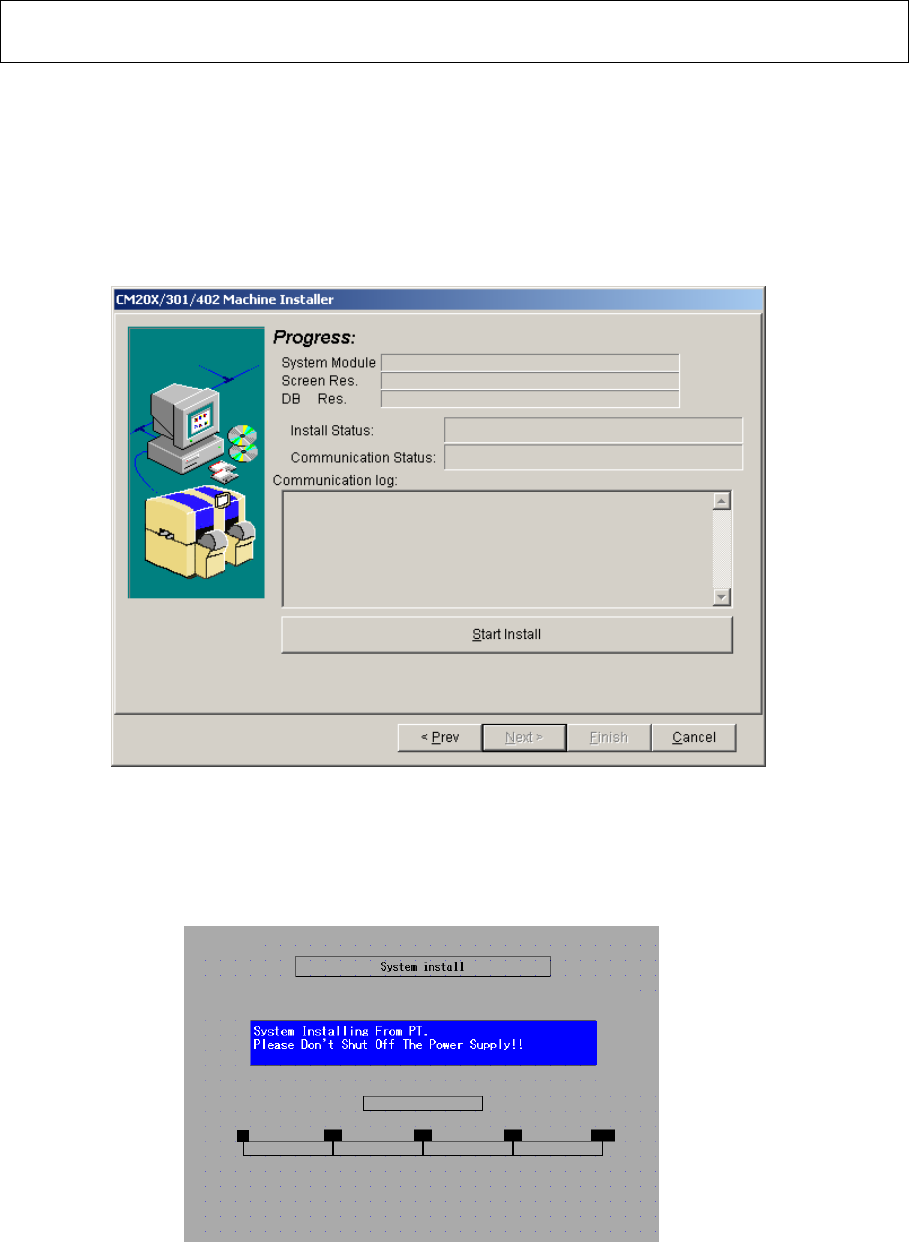
3.7 The “Progress” screen is displayed. (Fig. 3.7) Press [Start install].
・ “System Module” installation is started.【Time: 3 min. approx】
・ When the above is finished, “Screen Res.” Installation is started.
【Time: 40 min. approx】
・ When the above is finished, “DB Res.” Installation is started.
【Time: 1 min. approx.】
Fig. 3.7 Progress PT200
The “System install” window is displayed on the CM602-L touch panel. (Fig. 3.8)
Fig. 3.8 System install screen CM602-L
Software Software Installation