CM602all_EJM8AESM_Service Manual.pdf - 第469页
Machinery Part Replacement Remarks Remove the head assembly. Refer to "Transfer Head Replacement." [Check when replacing the board!!] When replacing the board, all the head driver software versions should be th…
Machinery Part Replacement
This section describes the procedures for replacing the spline shafts.
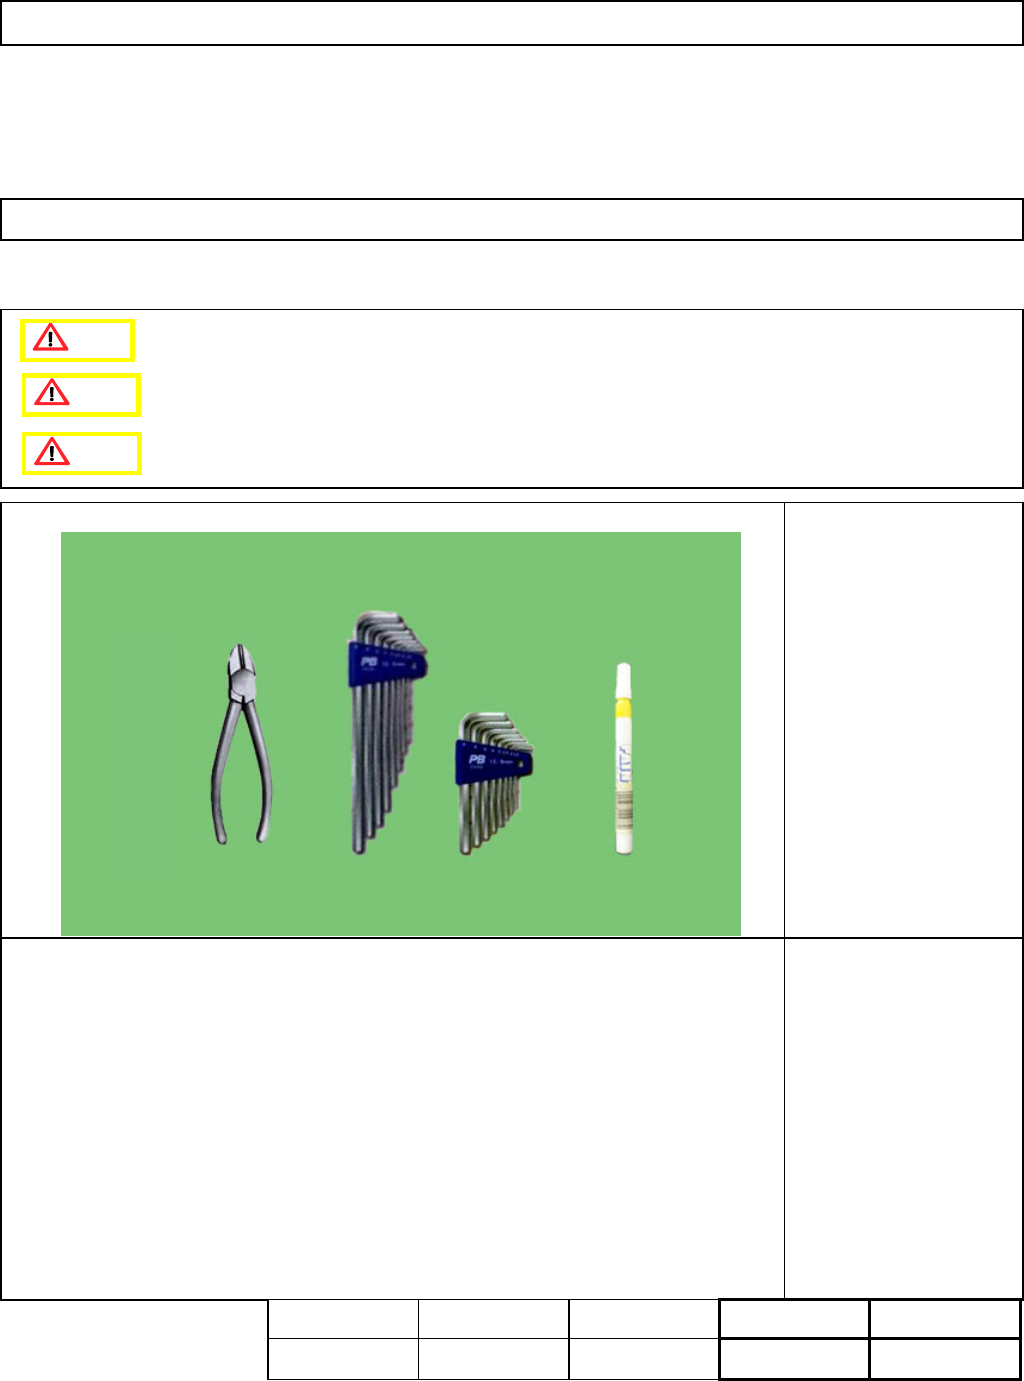
・Tools
Allen key 3 mm
Nipper
Magic marker
・Jig
None
5-3-14 Separating the Z-Unit from the Board
[Check before replacement!!]
All head driver software versions should be the same.
If all the versions are not the same, trouble may occur.
L
ight Transfer-Head Assembly (8-nozzle type
)
Caution
Dange
r
Warning
Assembly
Adjustment
50min.
Teaching
min.
Total Time Weight of
Part
Removal
Disassembly
50min.
100mi kgs
EJM8A-E-SMA050314-A01-00
Page 5-3-14-1
Machinery Part Replacement
Remarks
Remove the head assembly.
Refer to "Transfer Head Replacement."
[Check when replacing the board!!]
When replacing the board, all the head
driver software versions should be the
same.
* If they are not the same, trouble may
occur.
Section 5-3-1
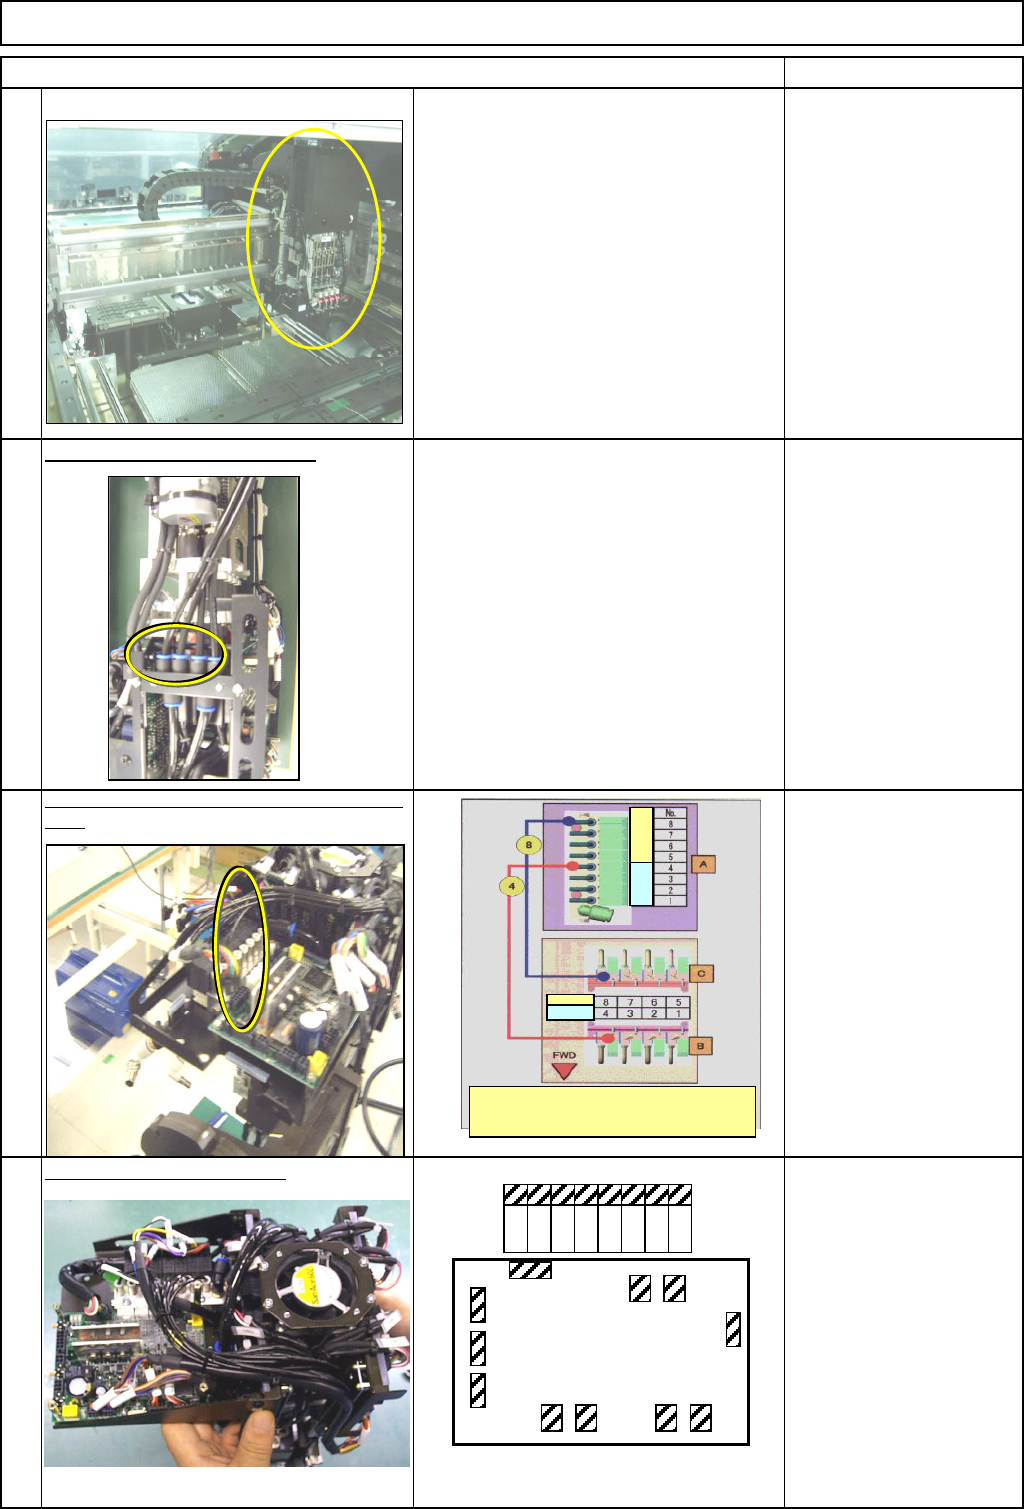
Remove the vacuum air tubes.
Put a mark on the vacuum release tubes. Remove
them.
Magic marker
Air tube 8 pcs.
Disconnect the connectors.
Item
1
L
ight Transfer-Head Assembly (8-nozzle type
)
2
3
4
CN1
CN2
CN3
CN4 CN5 CN6 CN7
CN12
CN8CN9
CN10
MC15CX
8 7 6 5 4 3 2 1
The tube A, B and C numbers are the same as part
numbers. Connect the other
tubes referring to the figures above:
Rear Front
R
ea
r
Fron
t
EJM8A-E-SMA050314-A01-00
Page 5-3-14-2
Machinery Part Replacement
Remarks
Item
L
ight Transfer-Head Assembly (8-nozzle type
)
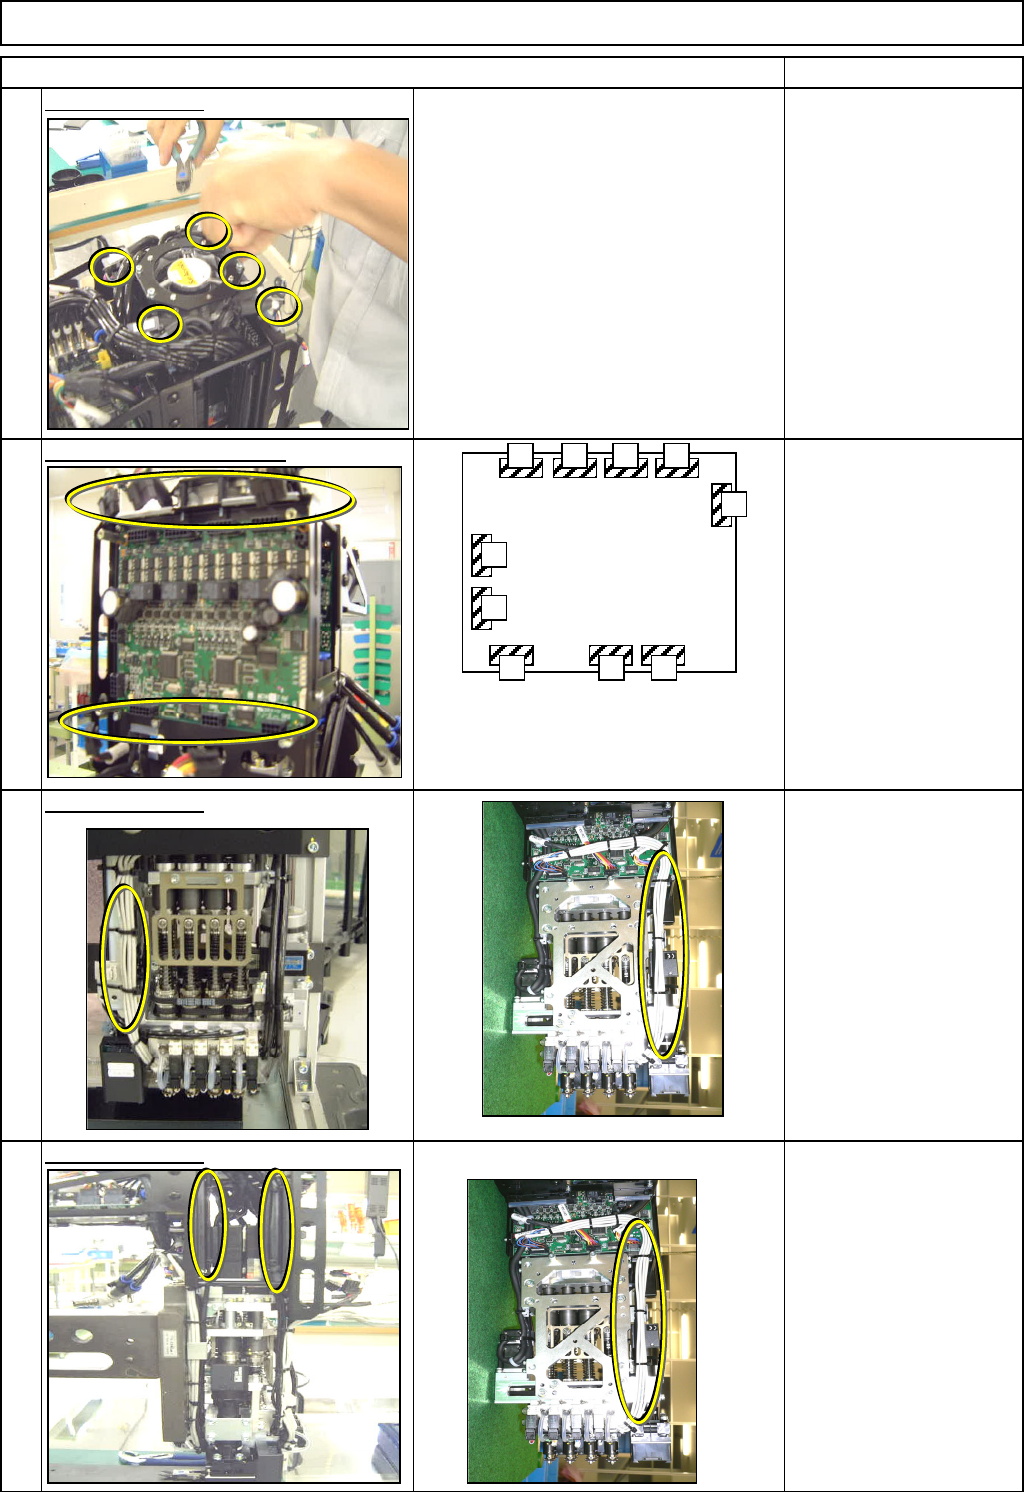
Cut the cable ties.
Nipper
Disconnect the connectors.
Cut the cable ties.
Nipper
Cable tie 100 mm
Cut the cable ties.
Nipper
5
6
7
8
CN1
CN2
CN3 CN4
CN5
CN12
CN10CN9
CN7
CN6
MC14CX
The same boards are installed
at the front and the rear sides
of the head assembly.
EJM8A-E-SMA050314-A01-00
Page 5-3-14-3