CM602all_EJM8AESM_Service Manual.pdf - 第612页
Machinery Part Replacement This section describes the procedures for replacing the spline shaft. Tools Phillips screwdriver #1 Phillips screwdriver #2 Torque screwdriver Allen key 2.5 mm Allen key 4 mm Nipper Magic marke…

Machinery Part Replacement
Remark
Item
12-Nozzle Head Unit
Put the nozzle back on.
Turn on the power and air supply.
Adjustment
Teaching
Head Camera Adjustment (Focus and q)
Board Recognition Camera XY Origin
Offset
Z-axis Origin Offset
Chip Recognition Camera, θ-axis Origin
Offset
Width Adjusting-axis Origin Offset
Mount Height and Board Positioning
XY Plane Calibration
Pickup Position
Light Intensity
Nozzle Change Position
Mount Position
Section 5-11-1
Section 5-11-2
Section 5-11-3
Section .5-11-4
Section 5-11-5
Section 5-11-6
Section 5-11-7
Section 5-11-8
Section 5-11-9
Section 5-11-10
Section 5-11-11
29
30
31
1
2
EJM8A-E-SMA051001-A01-00
Page 5-10-1-9
Machinery Part Replacement
This section describes the procedures for replacing the spline shaft.
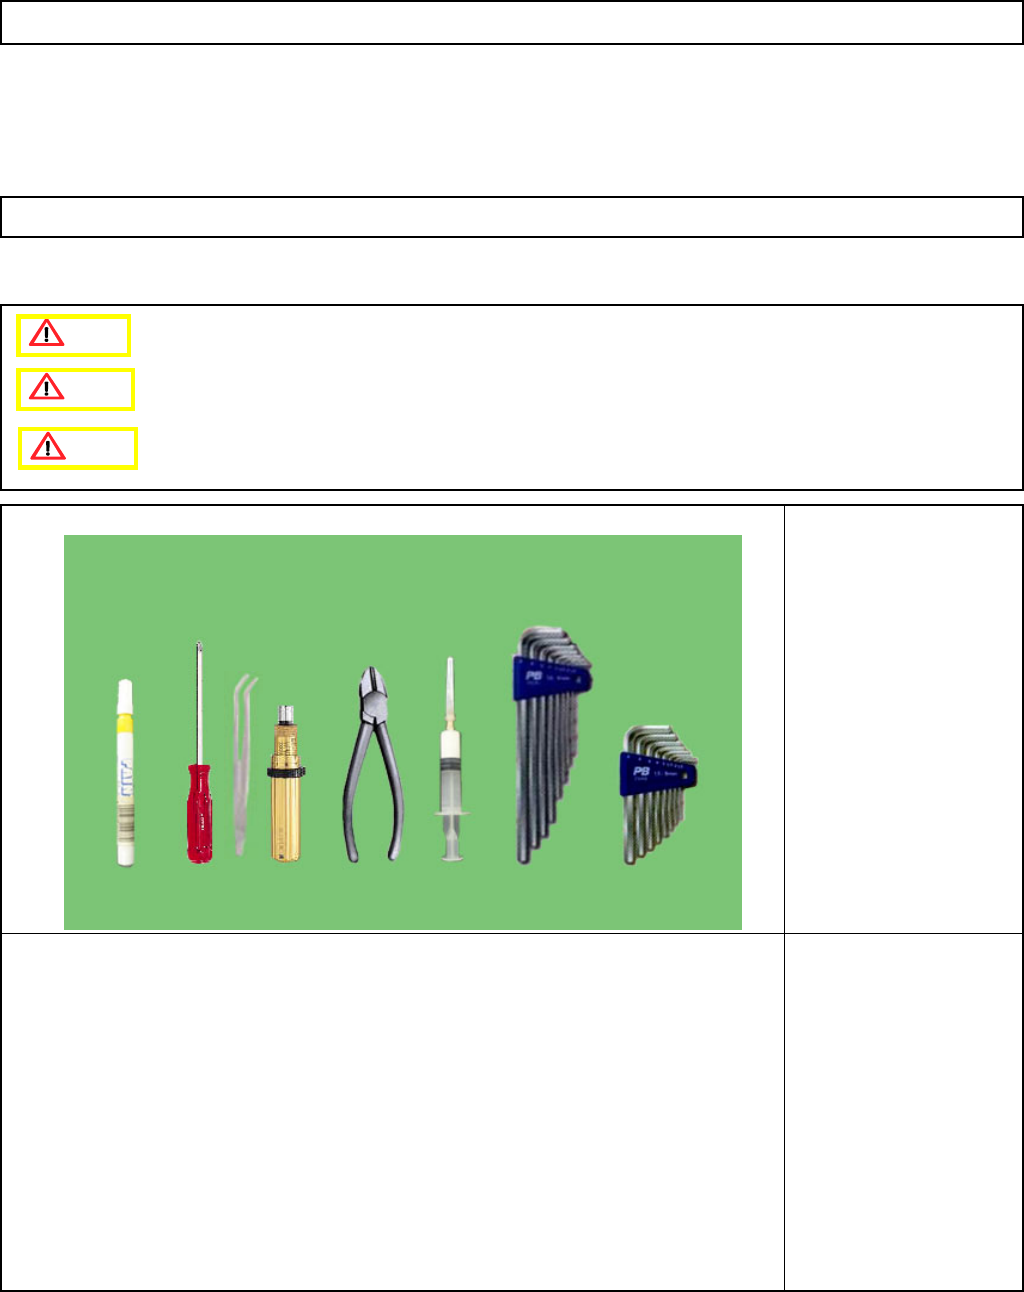
Tools
Phillips screwdriver #1
Phillips screwdriver #2
Torque screwdriver
Allen key 2.5 mm
Allen key 4 mm
Nipper
Magic marker
Barrierta IEL/V
Tweezers
MP Grease 2S
Jig
Insertion jig (FM-1737)
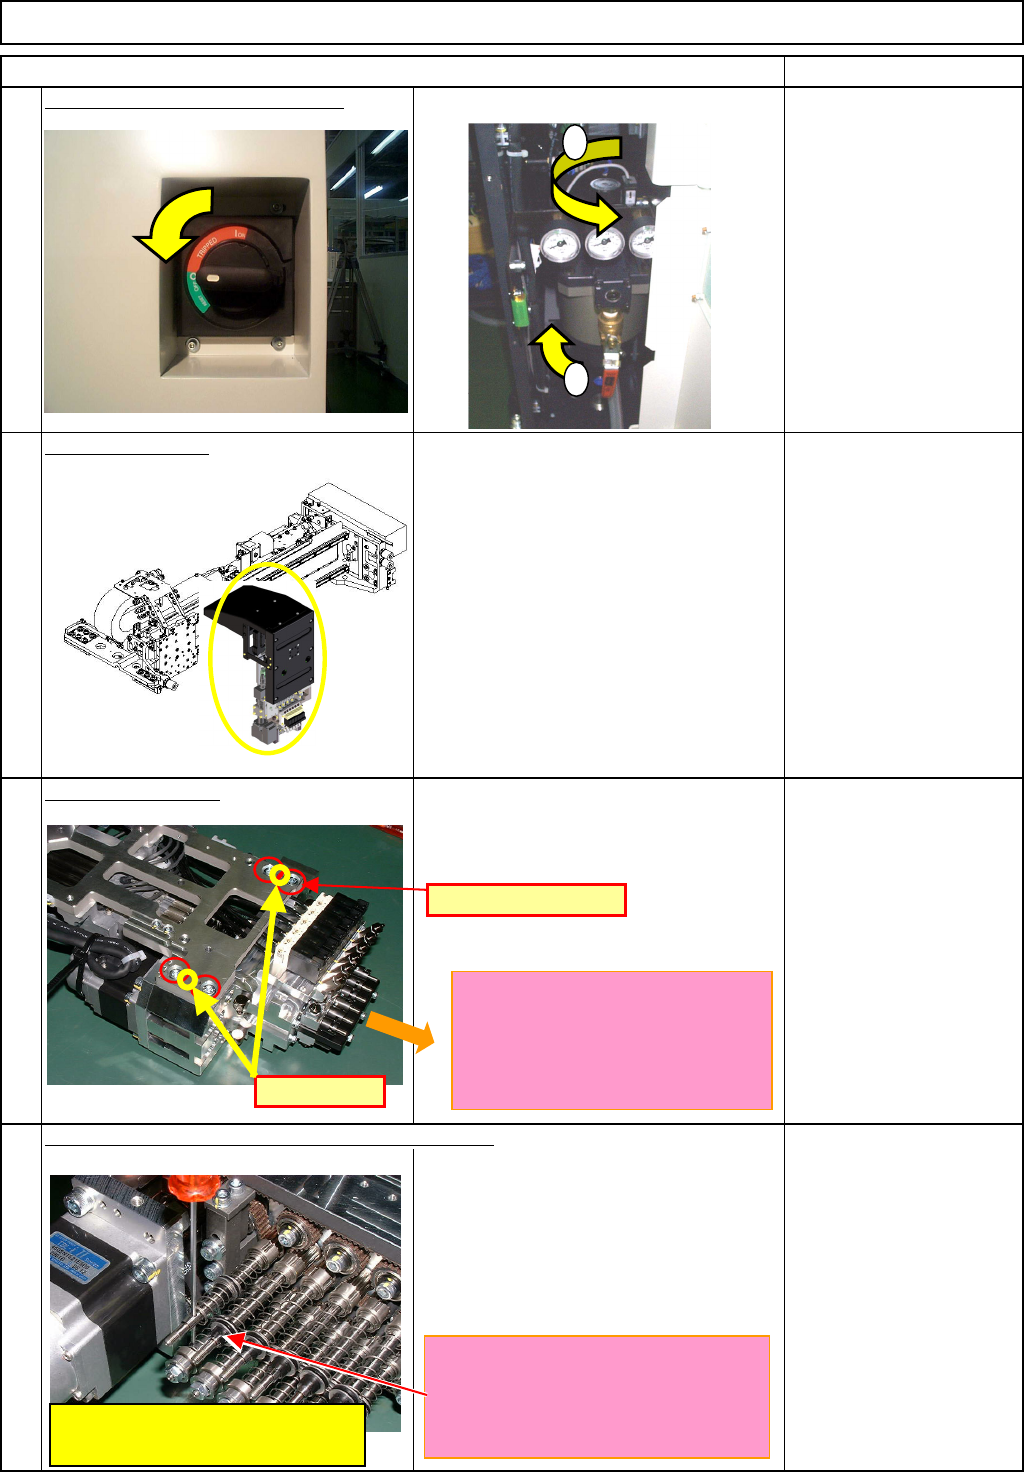
5-10-2 Spline Shaft Replacement
12-Nozzle Head Unit
When there is no problem with the bearing case, replace the spline shaft only.
Caution
Dange
r
Warning
EJM8A-E-SMA051002-A01-00
Page 5-10-2-1
Machinery Part Replacement
Remark
Turn off the power and air supply.
Remove the head.
See "12-Nozzle-Head-Unit
Replacement."
Section 5-10-1
Se
p
arate the θ-unit.
See "θ-Unit Removal."
Section 5-10-8
Be careful; the spring jumps out.
M3 nut
4
Remove the upper bearings from the spline shafts.
12-Nozzle Head Unit
1
2
3
Item
1
2
D-PIN
Pin position
M5 x 12L (4 pcs.)
Put the shaft through the axis so that
the spring is held cnotracted.
Be sure to use a rod.
Using an Allen key or an equivalent
tool may leave a dent on the end of
the spline-shaft hole.
The ball-spline shafts should be
extended so that the ends of the
shafts do not touch any other parts
when mounting the unit on the θ-
axis.
EJM8A-E-SMA051002-A01-00
Page 5-10-2-2