CM602all_EJM8AESM_Service Manual.pdf - 第420页
Machinery Part Replacement Remarks Switch off the main power and power supply. Remove the cover from the head assembly. Phillips screwdriver #2 Screw M4 4 pcs. Remove the connectors and the air tubes from the valves. Put…
Machinery Part Replacement
This section describes the procedures for replacing the blow valves.
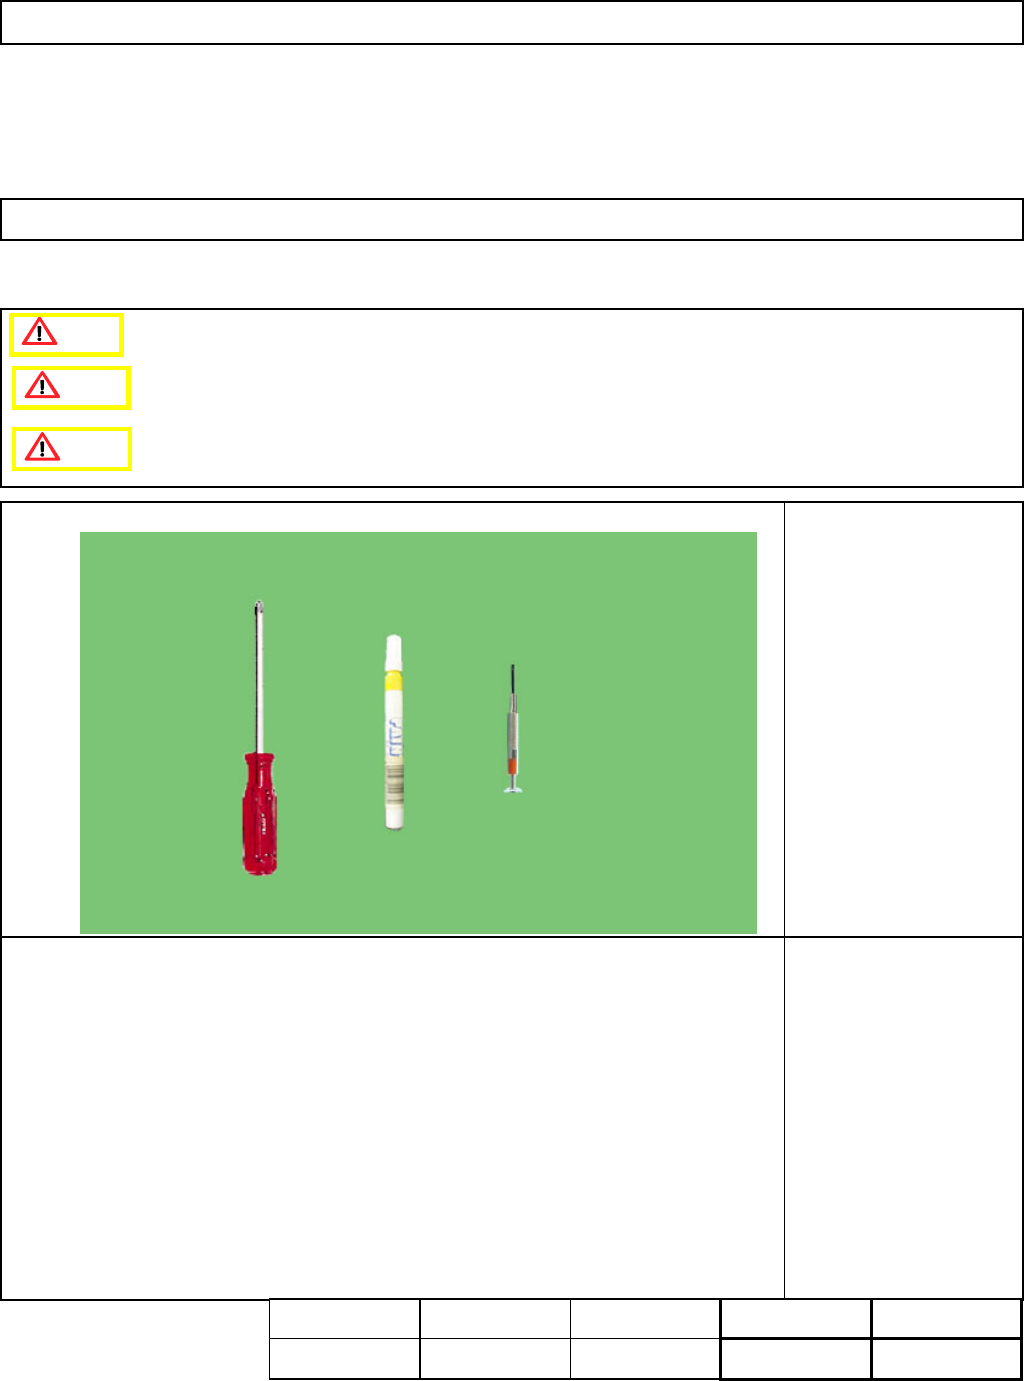
・Tools
Precision screwdriver
Phillips screwdriver #2
Magic marker
・Jig
None
5-3-4 Blow Valve Replacement
L
ight Transfer-Head Assembly (8-nozzle type
)
Caution
Dange
r
Warning
Assembly
Adjustment
5min.
Teaching
min.
Total Time Weight of
Part
Removal
Disassembly
5min.
10min.
kgs
EJM8A-E-SMA050304-A01-00
Page 5-3-4-1
Machinery Part Replacement
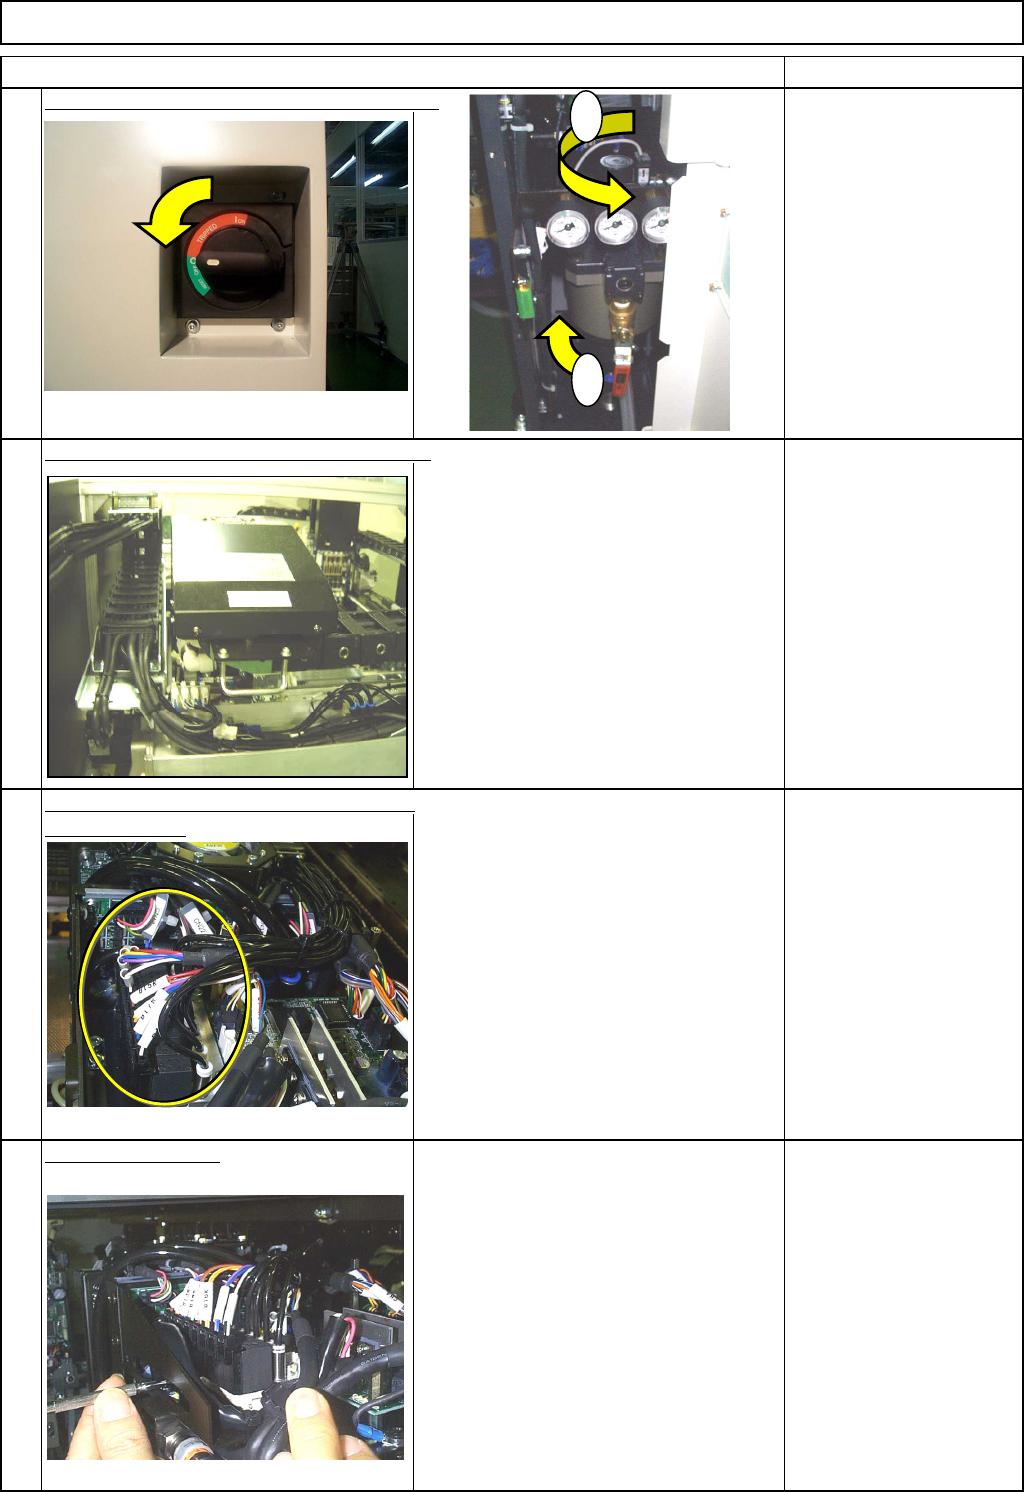
Remarks
Switch off the main power and power supply.
Remove the cover from the head assembly.
Phillips screwdriver #2
Screw M4 4 pcs.
Remove the connectors and the air tubes
from the valves. Put a mark on each air tubes so that they
can be re-connected in the correct
position.
Magic marker
Remove the valves.
1-000308
Precision screwdriver
Valve holding screws
2 pcs.
3
4
1
2
L
ight Transfer-Head Assembly (8-nozzle type
)
Item
1
2
EJM8A-E-SMA050304-A01-00
Page 5-3-4-2
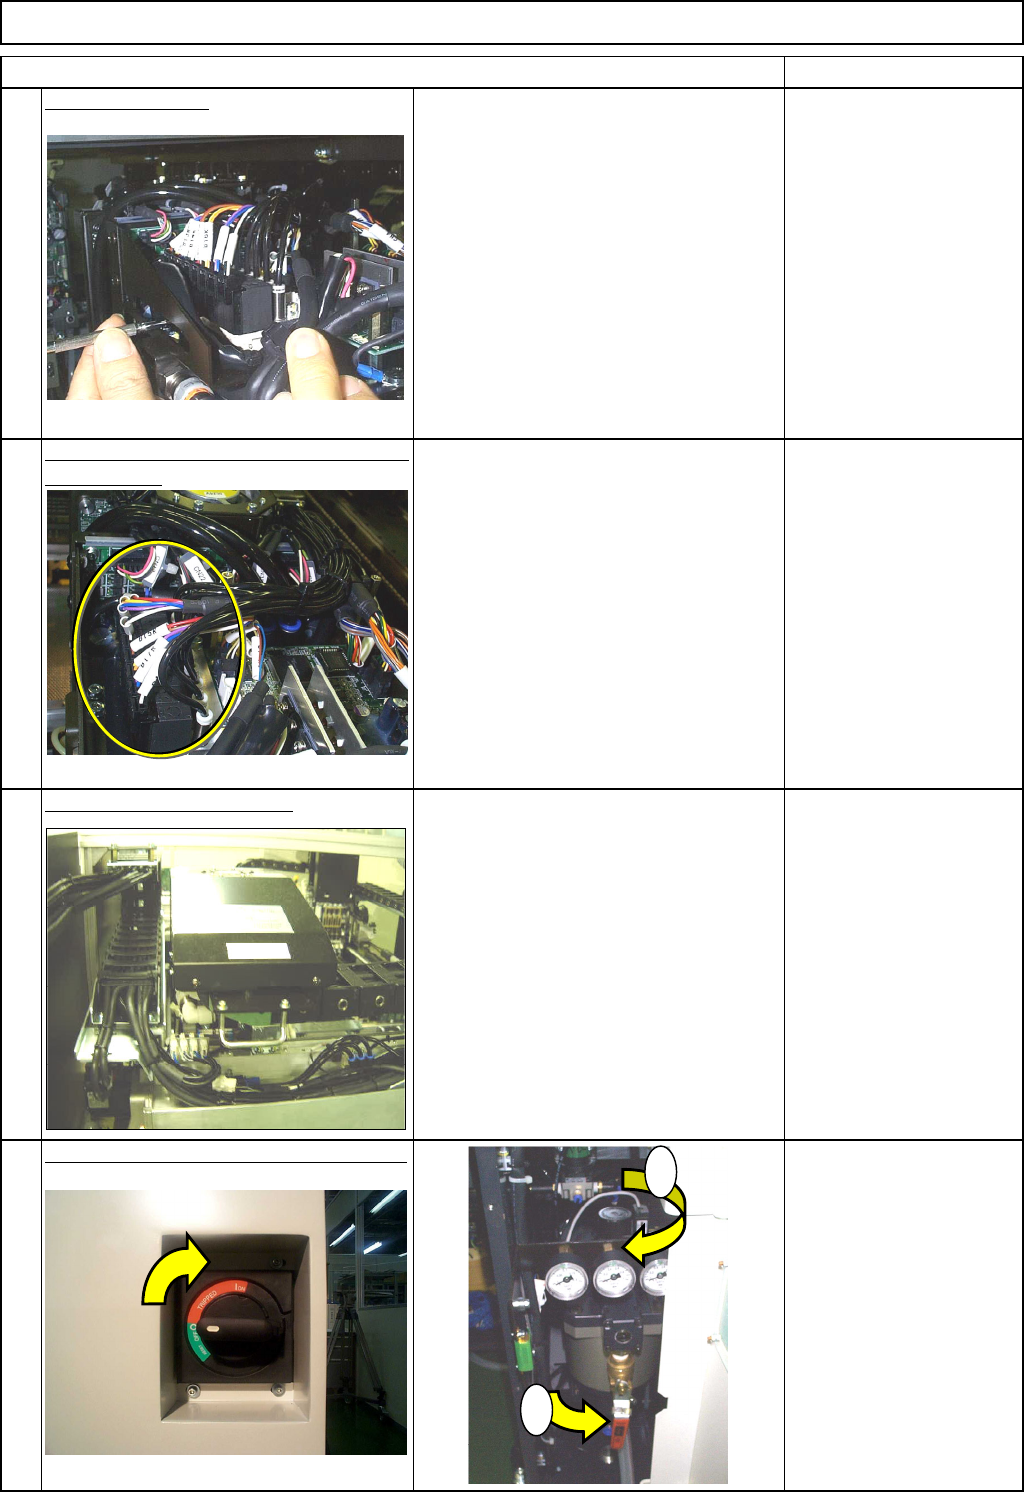
Machinery Part Replacement
Remarks
L
ight Transfer-Head Assembly (8-nozzle type
)
Item
Fit the new valves.
1-000308
Precision screwdriver
Valve holding screws
2 pcs.
Connect the connectors and the air tubes
to the valves.
Put the head cover back on.
Phillips screwdriver #2
Screw M4 4 pcs.
Switch on the main power and air supply.
7
8
5
6
1
2
EJM8A-E-SMA050304-A01-00
Page 5-3-4-3