CM602all_EJM8AESM_Service Manual.pdf - 第417页
Remarks Switch off the main power and the air supply. Remove the feeder cover. Put bubble wrap over the line sensor camera. Phillips screwdriver #2 Bubble wrap Screw M4 2 pcs. Remove the valve connectors. Remove the valv…
This section describes the procedures for replacing the vacuum valves.
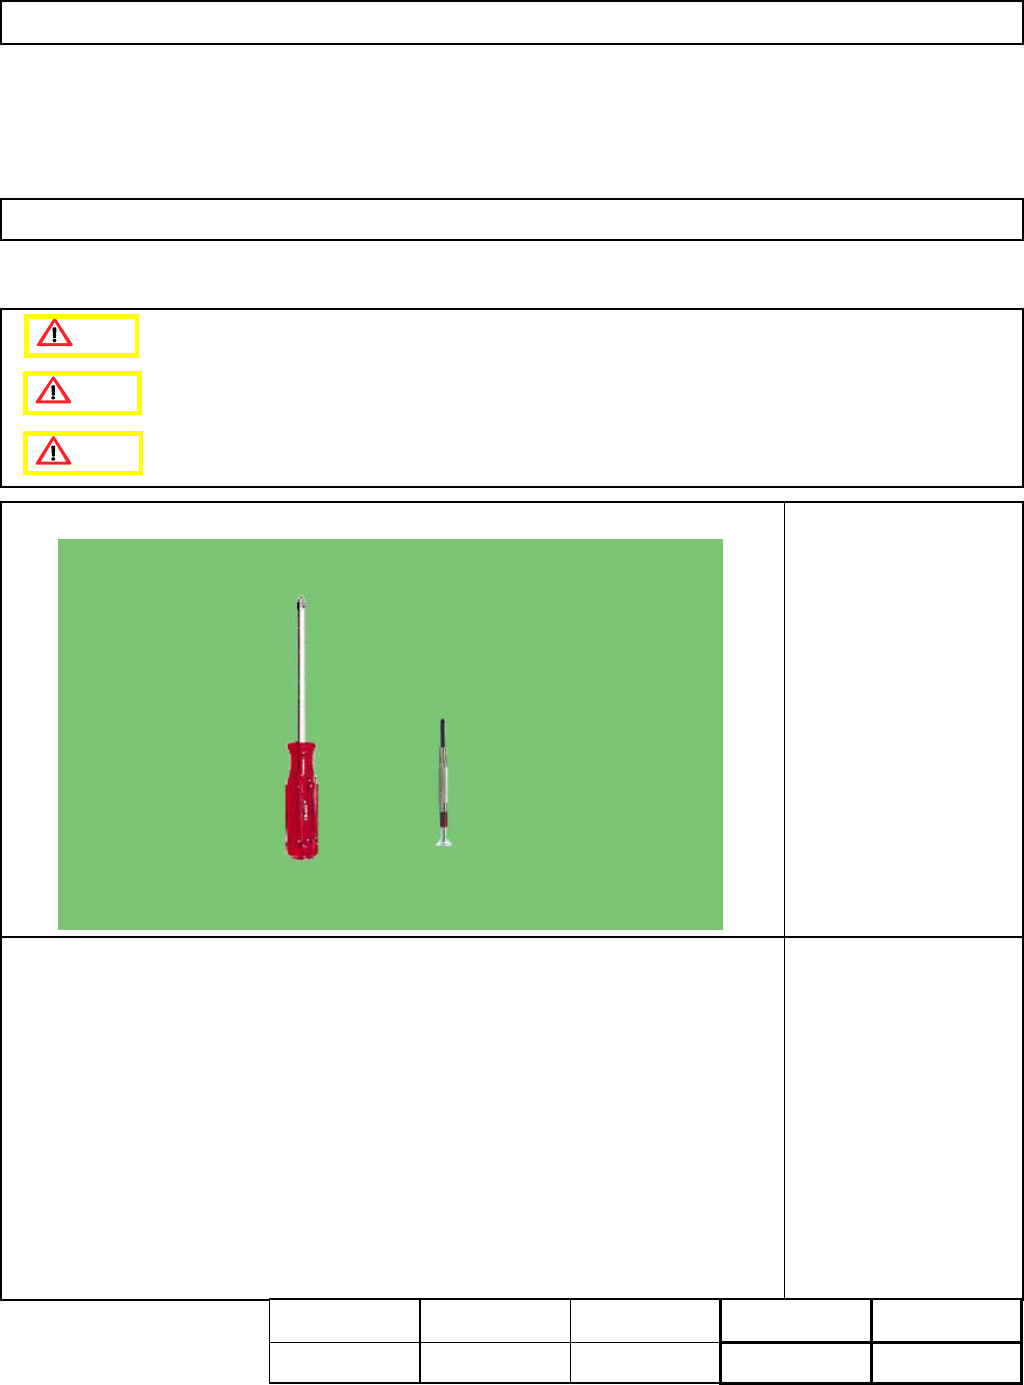
・Tools
Phillips screwdriver #2
Precision screwdriver
・Jig
None
5-3-3 Vacuum Switch Valve Replacement
L
ight Transfer-Head Assembly (8-nozzle type
)
Machinery Part Replacement
Caution
Dange
r
Warning
Assembly
A
d
j
ustment
5min.
Teaching
min.
Total Time Weight of
Part
Removal
Disassembl
y
5min.
10min.
kgs
EJM8A-E-SMA050303-A01-00
Page 5-3-3-1
Remarks
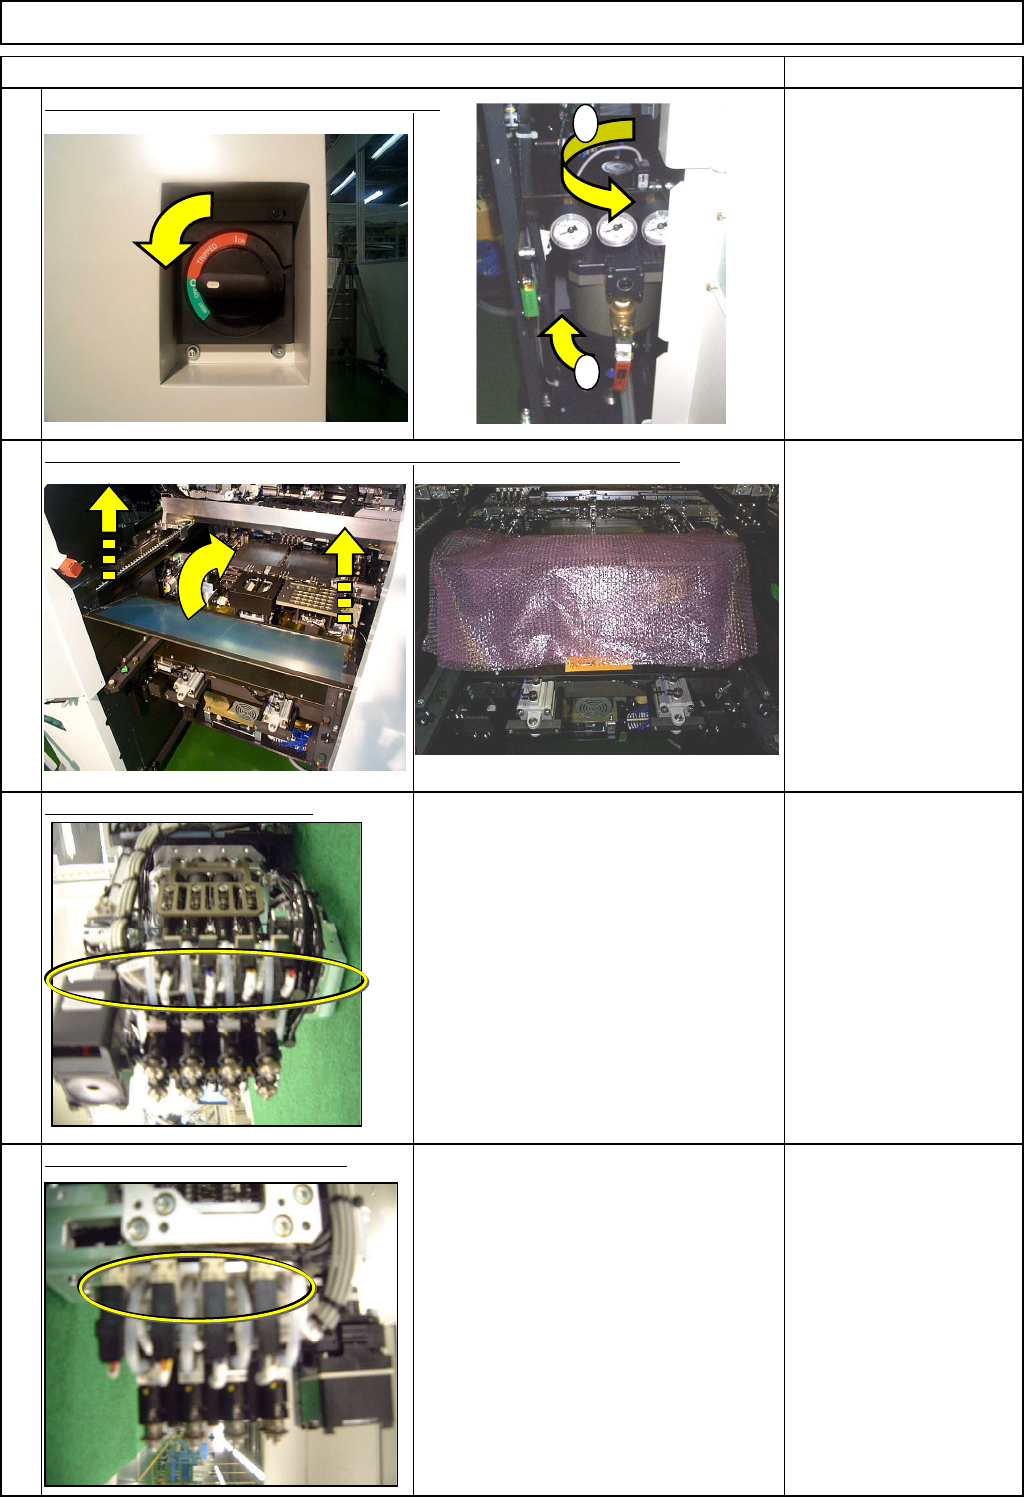
Switch off the main power and the air supply.
Remove the feeder cover. Put bubble wrap over the line sensor camera.
Phillips screwdriver #2
Bubble wrap
Screw M4 2 pcs.
Remove the valve connectors.
Remove the valve holding screws.
Precision screwdriver
Valve holding screws
2 pcs.
3
4
1
Item
2
L
ight Transfer-Head Assembly (8-nozzle type
)
Machinery Part Replacement
1
2
EJM8A-E-SMA050303-A01-00
Page 5-3-3-2
Remarks
Item
L
ight Transfer-Head Assembly (8-nozzle type
)
Machinery Part Replacement
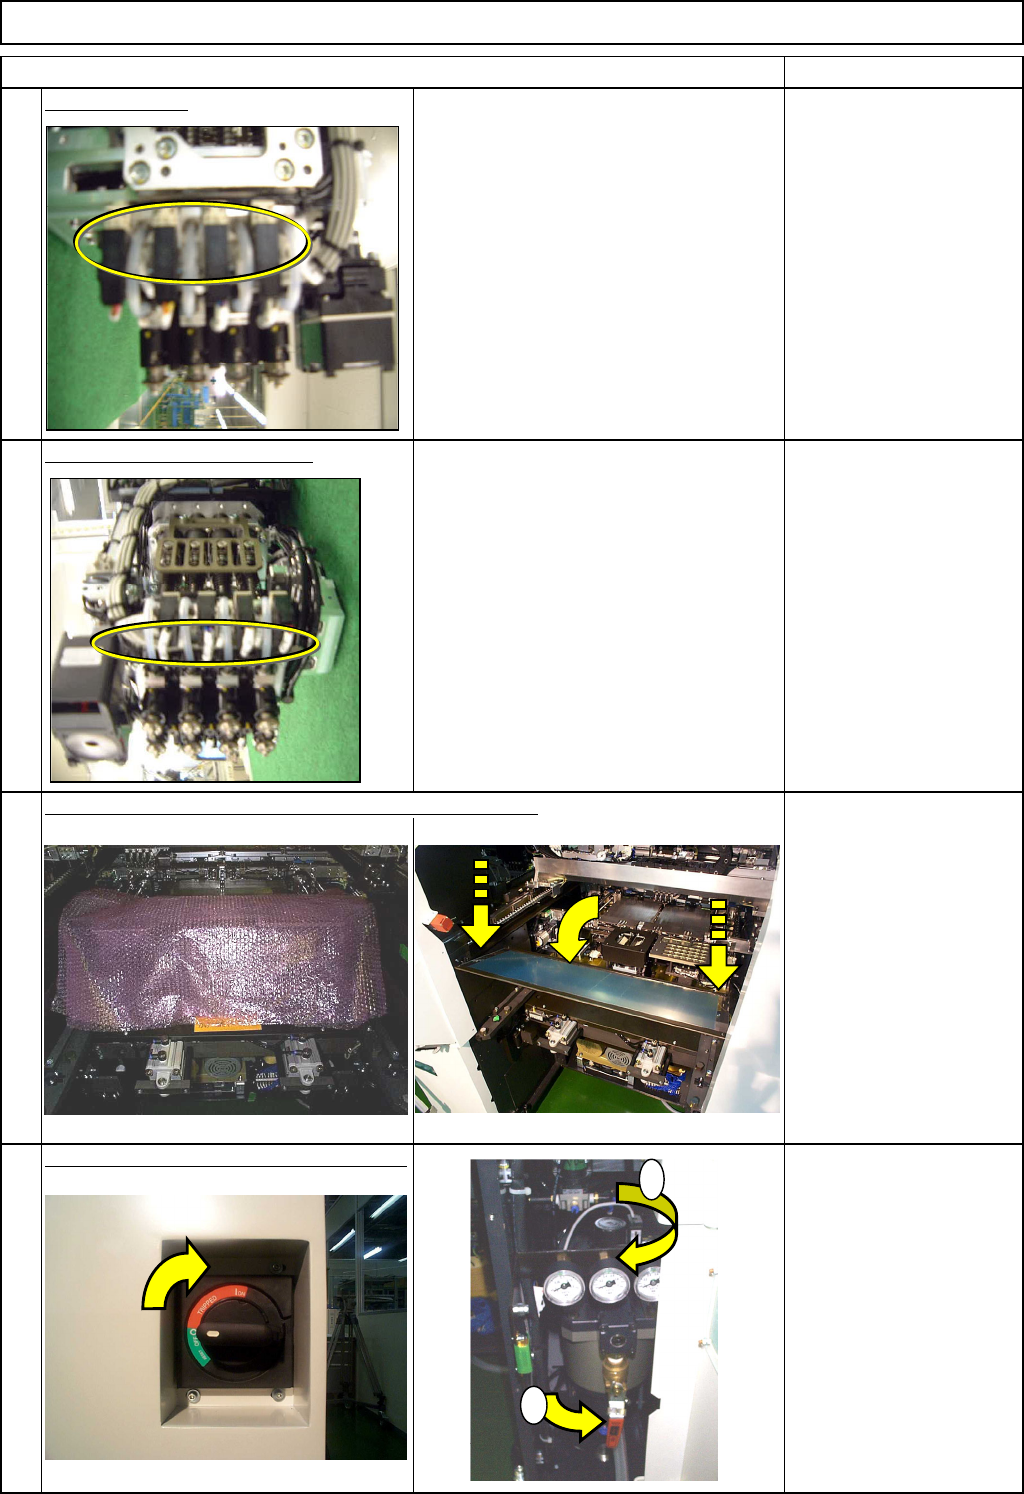
Lock the valves.
Precision screwdriver
Valve holding screws
2 pcs.
Connect the connector valves.
Remove the bubble wrap. Put the feeder cover back on.
Phillips screwdriver #2
Bubble wrap
Screw M4 2 pcs.
Switch on the main power and air supply.
8
5
6
7
1
2
EJM8A-E-SMA050303-A01-00
Page 5-3-3-3