Smart Graphical User Interface (SmartG) Overview_rev1.pdf - 第112页
Copyright © ViT rox All Rights Reserved . Post inspection result (Default) T o show post inspection result, the inspection can be run in two ways: ● Manual W ay (Board remains in the machine): ○ Run in Engineer Home Page…
Copyright © ViTrox All Rights Reserved.
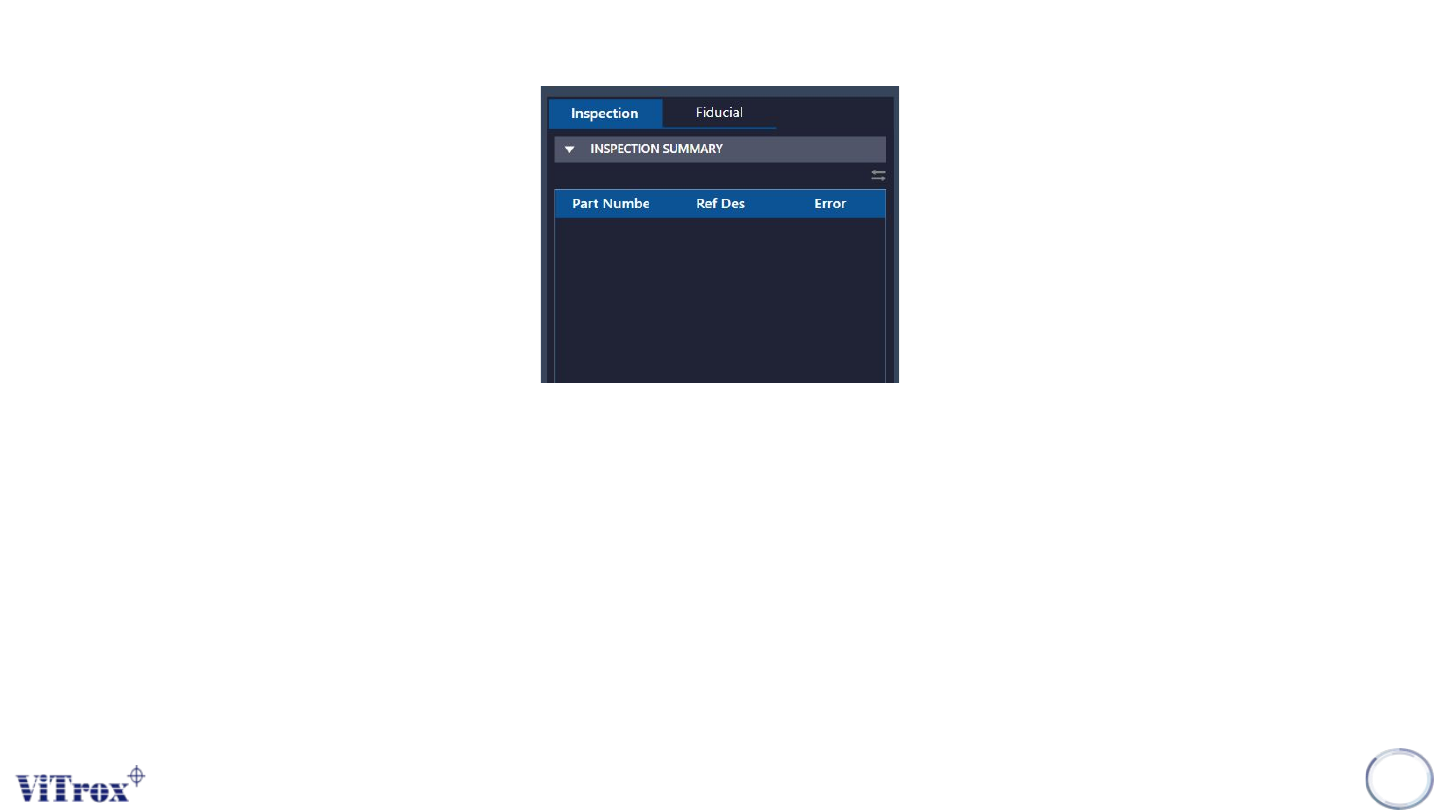
Inspection Result
The inspection result list is used to show the latest board post-inspection summary. Before any inspection starts, the
inspection result is empty. There are four types of inspection will be displayed in the inspection result list:
● Post inspection result (Default)
● Fiducial inspection result (Default)
● Auto Train Result (Upon Inspection)
● Negative Orientation Test (Upon Inspection)
111
Figure 100: Inspection Result list
Copyright © ViTrox All Rights Reserved.
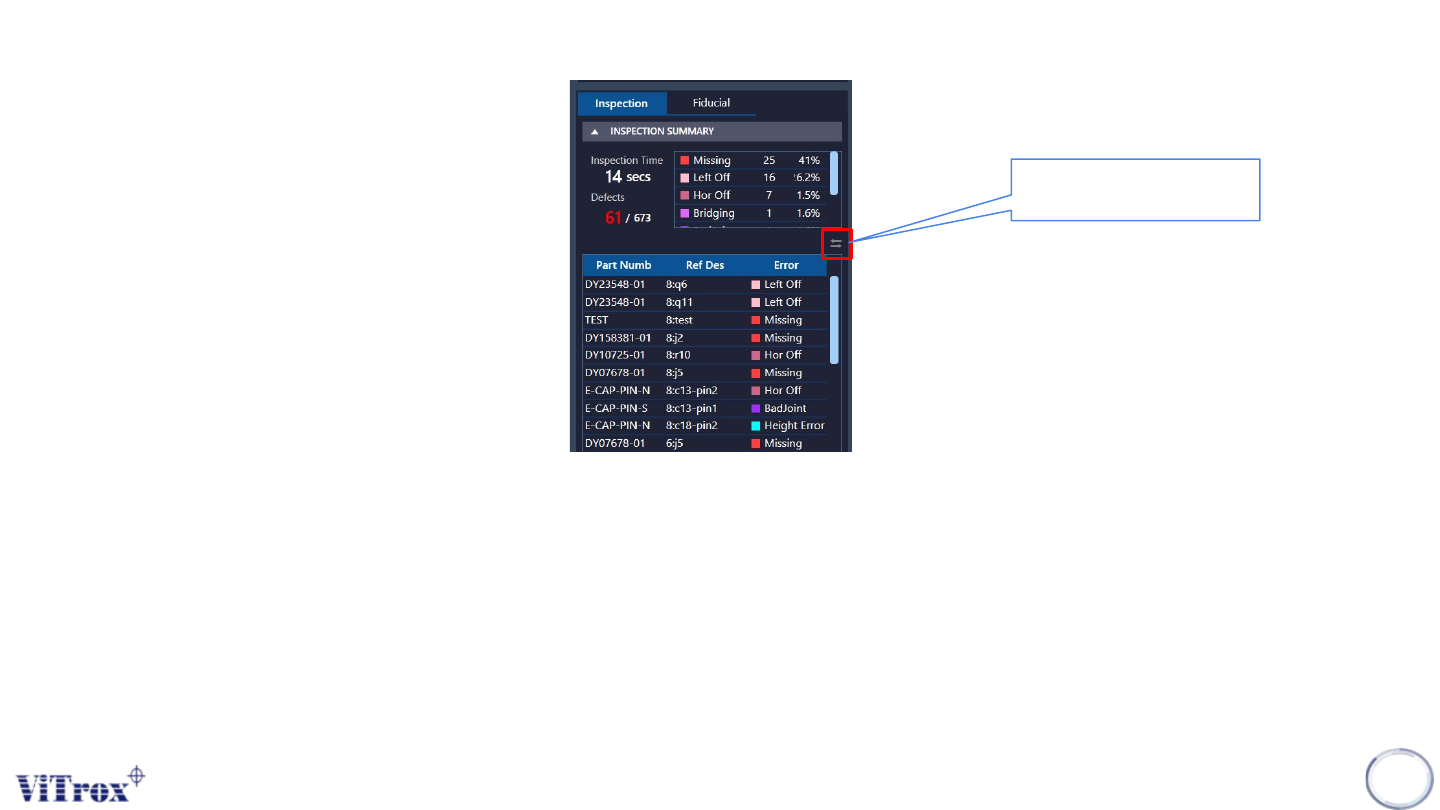
Post inspection result (Default)
To show post inspection result, the inspection can be run in two ways:
● Manual Way (Board remains in the machine):
○ Run in Engineer Home Page
● Auto Way (Board will unload to exit sensor):
○ Auto Inspect and Release in Engineer Page
Note: Post inspection result and defect list shares the same contents. Post-inspection result is based on reference
designator, while defect list is based on part number.
112
Figure 101: Post Inspection Result
To change the inspection
view by multiple defects.
Copyright © ViTrox All Rights Reserved.
Post Inspection Result (Default)
During an inspection, if one of the algorithms failed, the system considers it as a defect component. It will append onto the inspection result list
located at right panel of the SmartG. During the end of inspection, the inspection result shows a summary and list which include:
● Inspection Time: Shows the inspection time for one inspection. This will be replaced once a new inspection started.
● Defects: Shows the total components considered as defects in this inspection.
● Defect Summary: Shows the total components sorted by defect codes.
● Defect List: Shows the total defects with defect information such as part number, ref des and defect codes. Click on the selected row
move a component into the camera view.
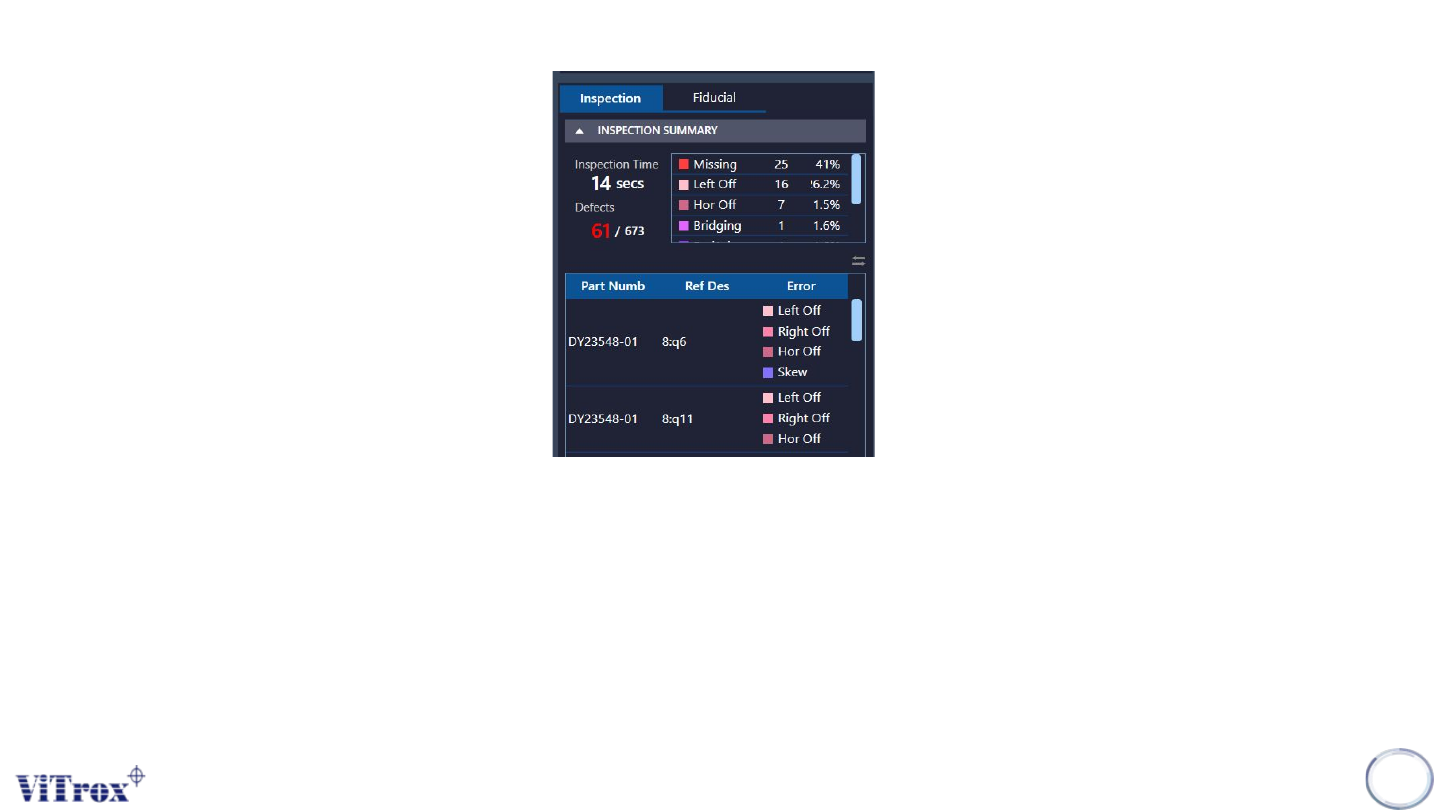
● View by Multiple Defects: Shows the defect list from a single defect code to multiple defect codes. See the figure below.
113
Figure 102: View by Multiple Defects