SL940-Install-Ops-Maintenance-7210918_B.pdf - 第111页
Configuration a nd C haract erization 6- 3 Figure 6-1 ECXP O perat or Scr een NOTE The operator screen m ay v ary depending upon sy stem configuration. 3. Select Edit > Edit Mode from the ECXP Ope rator Screen m enu…

6-2 Configuration and Characterization
6.4 ECXP Configuration
6.4.1 ECW.INI File
When ECXP is installed, the ECW.INI file is created. This file contains settings for your system
hardware. The first time ECXP is run, a setup procedure runs, asking you what hardware you have and
how it is configured. Responses to each question are written into the ECW.INI file. All other settings are
performed from the
Configure menu on the Edit screen described in 6.4.2 ECXP Reconfiguration. For
more detailed information, refer to the Easy Coat User Guide or Online Help.
NOTE In most cases, ECXP arrives already installed and configured for your coating system
from the Asymtek factory.
6.4.1.1 Backup
Backup of the ECW.INI file is automatic. Each time the file is edited, the previous version is saved as
ECWyearmonthdayhourminutesecond.ini. To prevent losing your configuration once you have ECXP set
up, you can copy the ECW.INI configuration file to a CD, USB drive, or to another folder on your hard
drive. You should do this every time you make a change to your configuration. You can rename the
configuration files to distinguish one from another, but before you restore the file you must rename it as
ECW.INI.
To back up your configuration, click on
Help > Copy Configuration To Disk. ECXP looks for a disk in
the A drive. If one is present and has enough room on it, copying takes place automatically. If there is no
disk in the drive, you will be prompted to insert a disk. Insert a disk or click
Cancel to select a folder on
the hard drive, a CD, or USB Drive. Click
Save.
WARNING! Do not edit the ECW.INI file unless it is absolutely necessary and you have been
trained to do so. An error in this file can cause your system to run erratically, or
not at all. Contact your Asymtek representative before editing this file.
6.4.2 ECXP Reconfiguration
If you change system hardware, such as the tool, conveyor, inverter, or scanner you can rerun the ECXP
setup procedure with the Reconfigure feature. The changes are written to the ECW.INI file.
To reconfigure ECXP:
1. If necessary, install the ECXP software as instructed in the ECXP User Guide.
The installation process is a typical Windows XP installation with user prompts.
2. After the installation is complete, start ECXP by double clicking the
ECXP icon on the
Windows desktop.
As an alternative, you may click on the Windows
Start menu and select
Programs > ECXP to start the ECXP software.
The ECXP Operator Screen (Figure 6-1) opens.
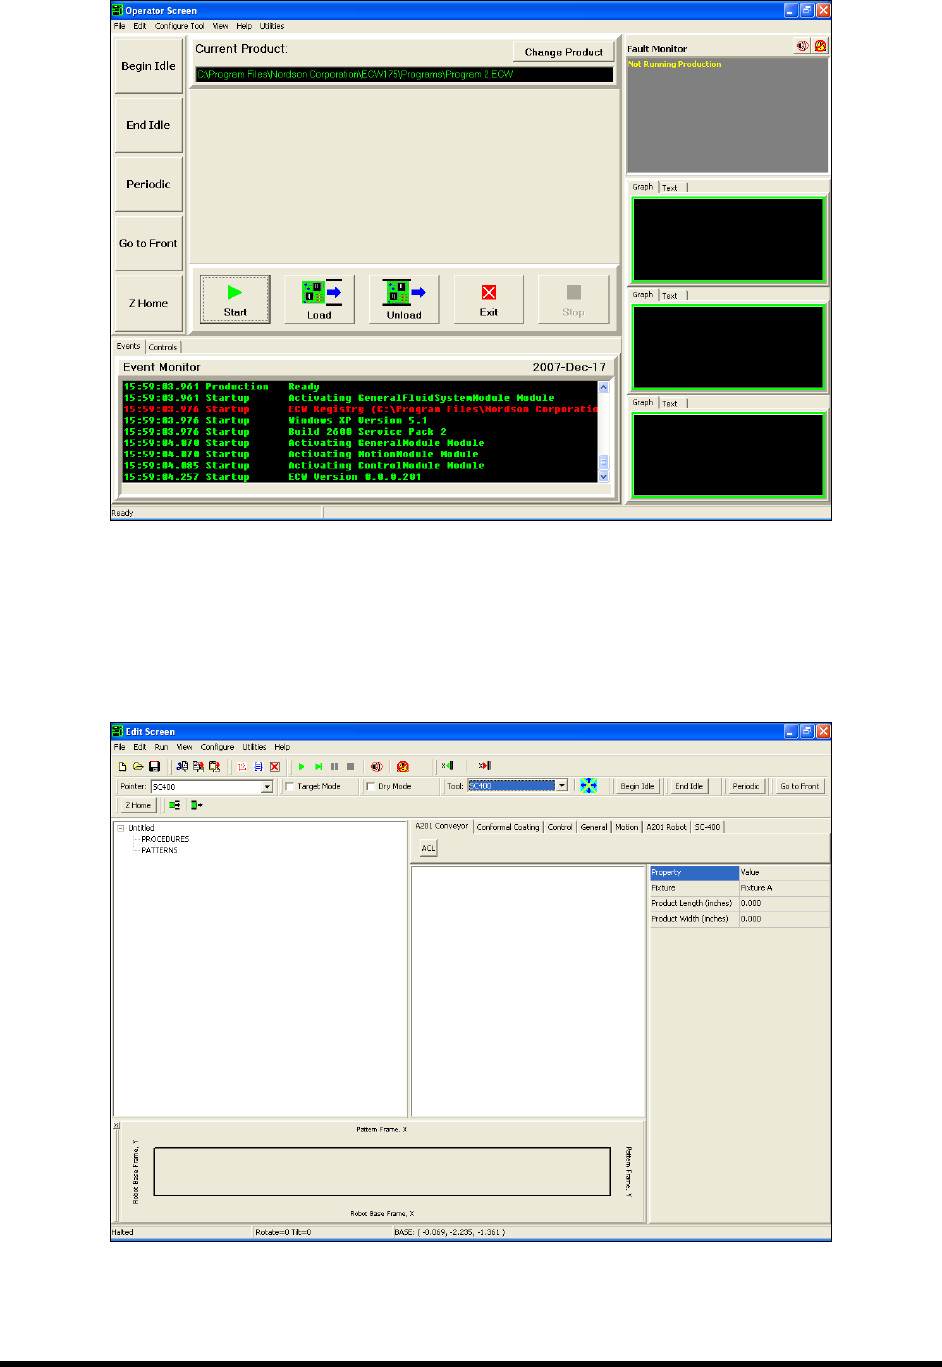
Configuration and Characterization 6-3
Figure 6-1 ECXP Operator Screen
NOTE The operator screen may vary depending upon system configuration.
3. Select
Edit > Edit Mode from the ECXP Operator Screen menu bar to access the ECXP Edit
Screen (Figure 6-2).
Figure 6-2 ECXP Edit Screen
6-4 Configuration and Characterization
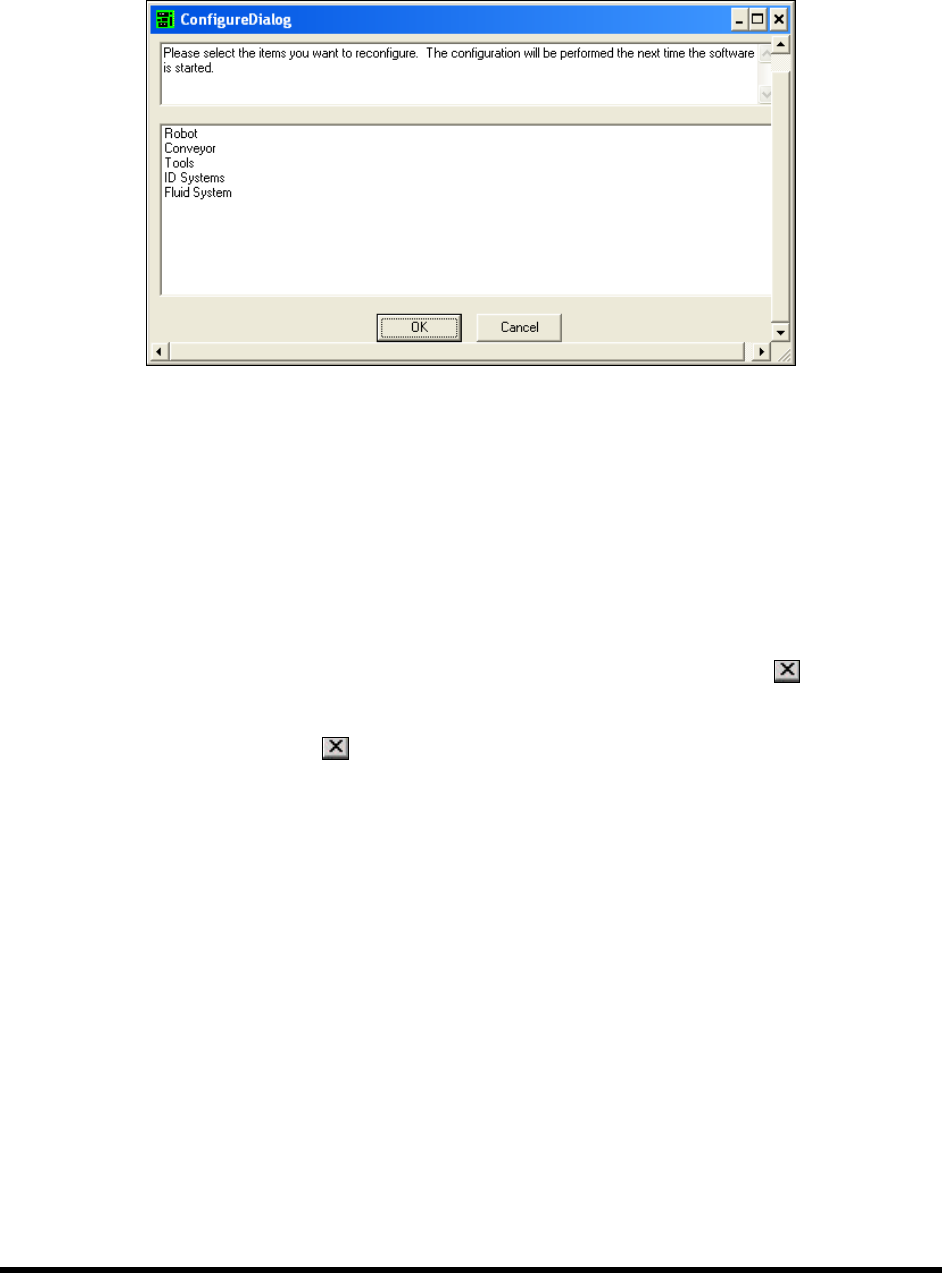
4. Select Configure > Reconfigure from the ECXP Edit Screen.
The Configure Dialog Box (Figure 6-3) opens.
Figure 6-3 ECXP Configure Dialog Box
5. Select the item to be configured by clicking on it.
NOTE To select more than one item, hold down the <Ctrl> key while selecting
additional items.
6. When you are finished, click on
OK.
The software must be restarted in order to perform the configuration.
7. To close the ECXP Edit Screen and return to the Operator Screen, click on
or select
File > Exit from the menu bar.
8. To exit ECXP, click on
or select File > Exit from the Operator Screen menu bar.
9. Restart ECXP to perform the configuration procedure. ECXP will prompt you to answer a
series of questions defining your system configuration.
NOTE Prompts will vary depending on the items selected and answers to previous
prompts.
10. After you have responded to all the prompts, the ECXP program will start.
NOTE ECXP menu choices may vary depending on the answers to the prompts. Refer to
the Easy Coat User Guide for detailed instructions.