编带机说明书-含图纸ttm402.pdf - 第125页
D292105.16c.fm Configure Inspection Chapter 5: Setup 5- 27 15. Next trigger inspections with part s which are incorrectly oriented, badly marked or with an empty pocket to ensure that they genera te a red FA I L message.…
5-26 TM-403 User’s Guide
Configure Inspection D292105.16c.fm
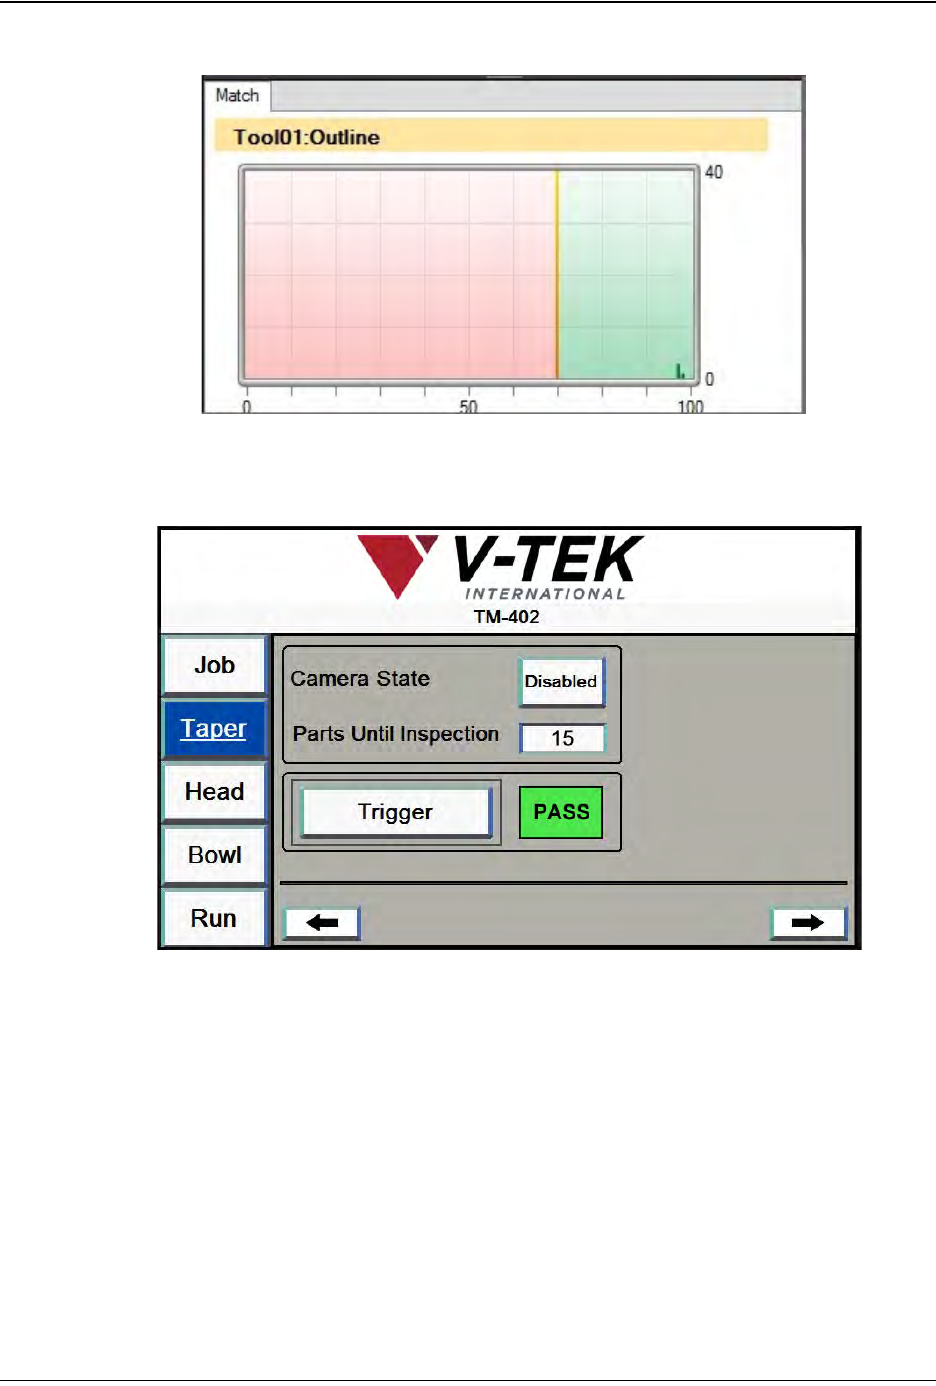
A Statistics Graph of all test results will appear in the lower right corner.
14. On the TM-402 HMI, open the Taper Tab. Press the right Arrow button to advance
to the second Taper screen.
Press Trigger to manually trigger an inspection of the part under the camera. The
green PASS message should appear. Test several good parts to ensure TM-402
correctly and consistently passes good parts.
Step 2:
Vision
Setup
CONFIGURE
COMPUTER
D292105.16c.fm Configure Inspection
Chapter 5: Setup 5- 27
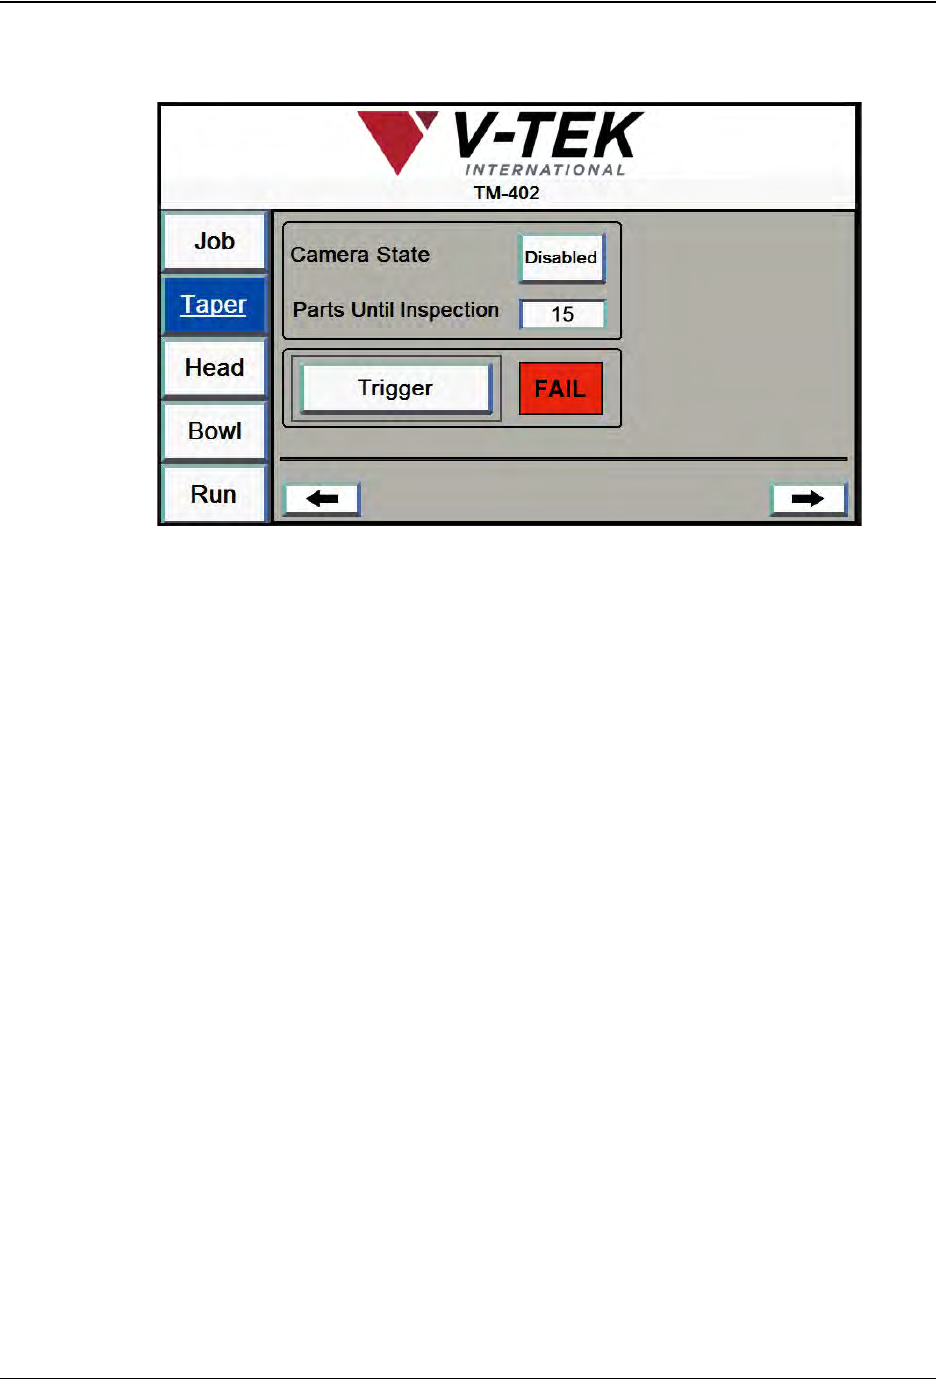
15. Next trigger inspections with parts which are incorrectly oriented, badly marked or
with an empty pocket to ensure that they generate a red FAIL message.
The TM-402 is now ready for operation. Select the Run Tab to run the job.
Step 2:
Vision
Setup
CONFIGURE
COMPUTER
5-28 TM-403 User’s Guide
Configure Inspection D292105.16c.fm
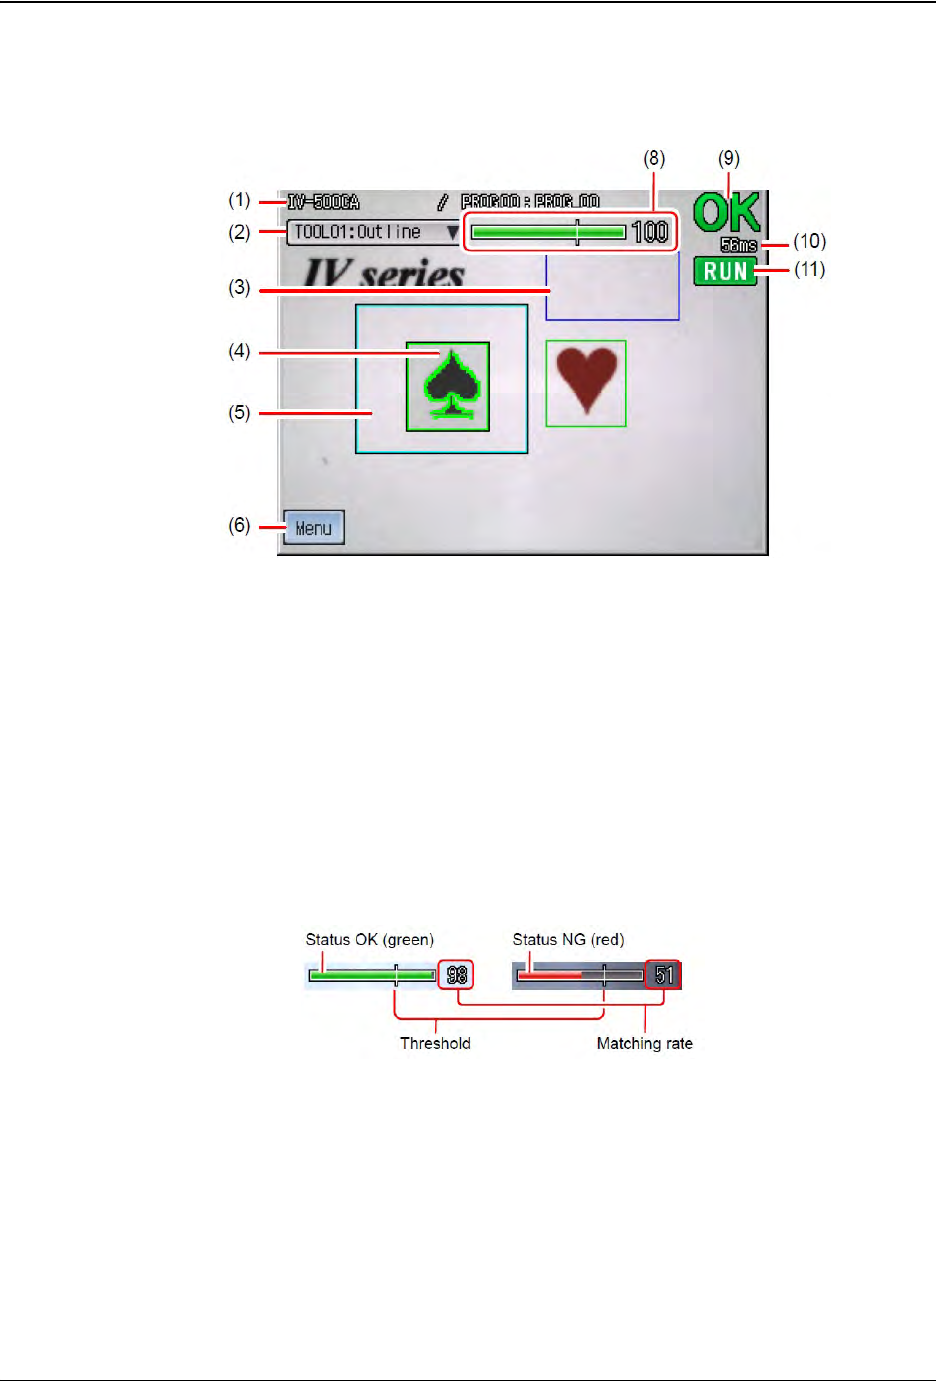
Configure Keyence Monitor
Monitor Display: Menu OFF
1. Title: Displays the device name, the program number and the program name.
2. Tool name: Displays the tool number and the tool name of the tool selected. The
selected tool can be switched.
3. Brightness correction range: When Brightness correction is set, the range will
be displayed with a blue frame.
4. Tool window: Displays the tool window which has been set.
5. Search Window: If the search window of the tool is set, the range will be
displayed with a light blue frame.
6. MENU/OFF button: Changes the screen from Menu ON to Menu OFF.
7. Status gauge: Displays the result (OK/NG) of the tool selected.
9. OK/NG display: Displays the total status result.
10. Processing time: Displays the time from receiving a trigger until the result is
output.
11. Image Type display: Displays the situation of the screen. Run mode or Test
mode.
Step 2:
Vision
Setup
CONFIGURE
MONITOR