编带机说明书-含图纸ttm402.pdf - 第188页
8-2 TM-401 User’s Guide Safe Maintenance Steps D292105.10a.fm Safe Maintenance Steps Caution! It is danger ous to ser vice or maintain the TM-402 while it is con- nected to air and pow er supplies. Befor e performing an …

Chapter 8: Maintenance
Contents
Safe Maintenance Steps . . . . . . . . . . . . . . . . . . . . . . . . . . . . . . . . . . . . . .8-2
Maintenance . . . . . . . . . . . . . . . . . . . . . . . . . . . . . . . . . . . . . . . . . . . . . . .8-3
Routine Maintenance Schedule. . . . . . . . . . . . . . . . . . . . . . . . . . . . . . . . . . . . 8-3
General Maintenance Instructions . . . . . . . . . . . . . . . . . . . . . . . . . . . . . . . . . . 8-4
Lubrication . . . . . . . . . . . . . . . . . . . . . . . . . . . . . . . . . . . . . . . . . . . . . . . . .8-4
Air Pressure Regulator . . . . . . . . . . . . . . . . . . . . . . . . . . . . . . . . . . . . . . .8-4
Pick Head Maintenance. . . . . . . . . . . . . . . . . . . . . . . . . . . . . . . . . . . . . . .8-5
Nozzle Tip . . . . . . . . . . . . . . . . . . . . . . . . . . . . . . . . . . . . . . . . . . . . . . . . . . . . 8-5
Vacuum Levels. . . . . . . . . . . . . . . . . . . . . . . . . . . . . . . . . . . . . . . . . . . . . . . . . 8-5
Replace the Vacuum Filter. . . . . . . . . . . . . . . . . . . . . . . . . . . . . . . . . . . . . . . . 8-5
Check Actuator Belt Tension . . . . . . . . . . . . . . . . . . . . . . . . . . . . . . . . . . . . . . 8-7
Taping Module Maintenance. . . . . . . . . . . . . . . . . . . . . . . . . . . . . . . . . . .8-8
Heat Sealer . . . . . . . . . . . . . . . . . . . . . . . . . . . . . . . . . . . . . . . . . . . . . . . . . . . 8-8
Loading Track. . . . . . . . . . . . . . . . . . . . . . . . . . . . . . . . . . . . . . . . . . . . . . . . . . 8-10
PSA Sealer. . . . . . . . . . . . . . . . . . . . . . . . . . . . . . . . . . . . . . . . . . . . . . . . . . . . 8-10
Cover Tape Guide . . . . . . . . . . . . . . . . . . . . . . . . . . . . . . . . . . . . . . . . . . . . . . 8-10
8-2 TM-401 User’s Guide
Safe Maintenance Steps D292105.10a.fm
Safe Maintenance Steps
Caution! It is dangerous to service or maintain the TM-402 while it is con-
nected to air and power supplies.
Before performing any maintenance tasks, ensure the machine is stationary and
disconnect the electrical and pneumatic power supplies placing the unplugged
cables in clear view. Follow your company’s Lock-out/Tag-out Procedures.
Follow the steps below when performing routine maintenance or cleaning the TM-402.
1. Turn the TM-402 OFF.
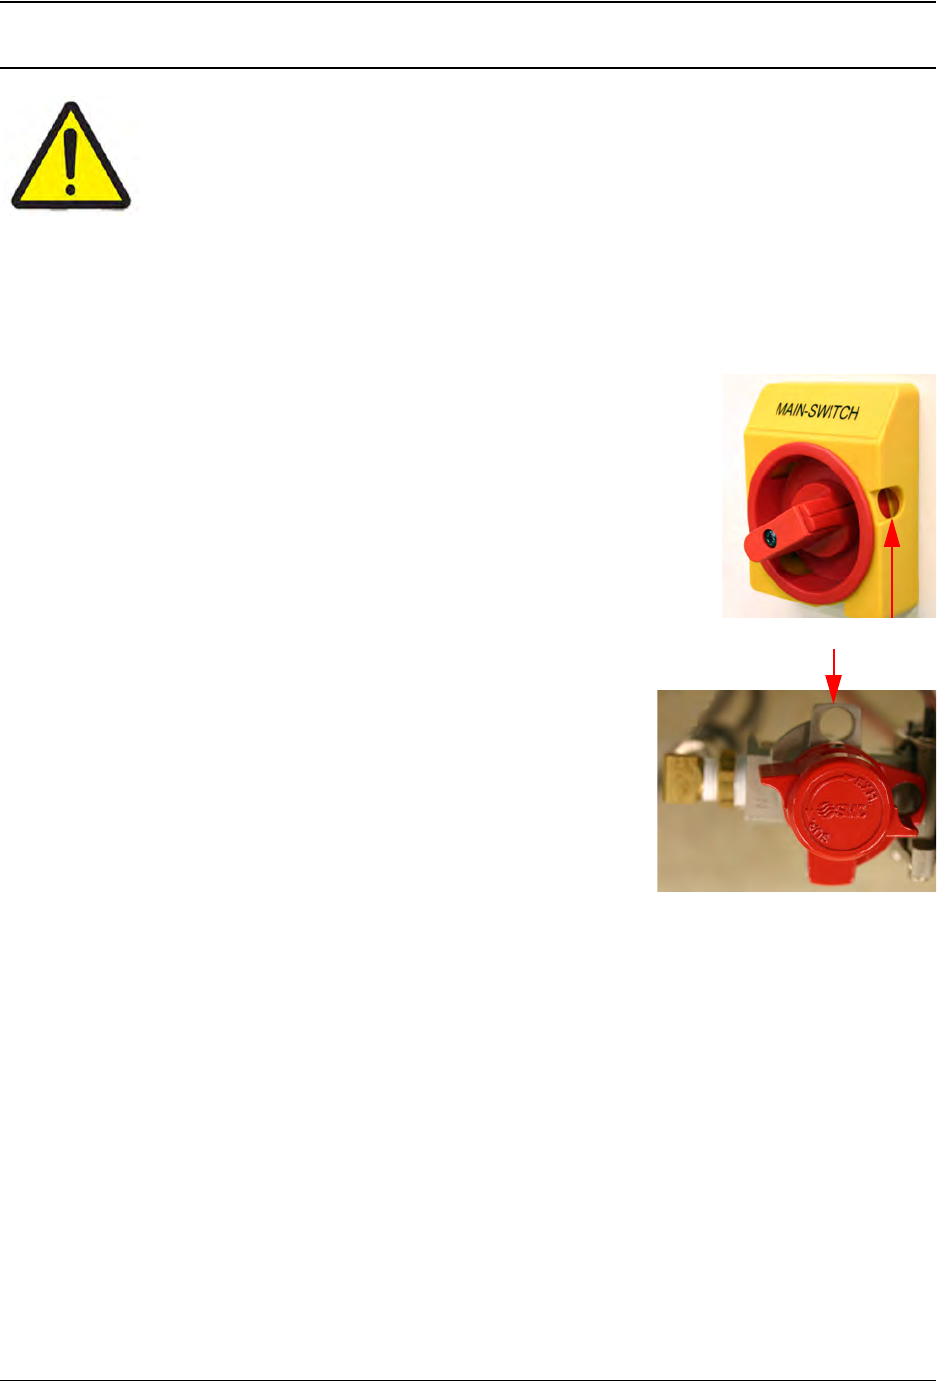
2. Ensure the Main Power Switch is rotated to the OFF position. The
Main Power Switch is Lock-out/Tag-out capable. Follow your com-
pany’s Lock-out/Tag-out procedure to ensure safe maintenance.
3. Ensure the Air Regulator is rotated to the OFF position.
The Air Regulator is Lock-out/Tag-out capable. Follow
your company’s Lock-out/Tag-out procedure to ensure
safe maintenance.
4. Disconnect the air supply and place the unplugged air
hose so it is clearly visible.
5. Disconnect the power supply and place the unplugged
power cord so it is clearly visible.
6. Remove all carrier and cover tape from the Taper.
7. Remove parts from the Bowl Feeder.
8. Perform cleaning/maintenance as needed.
9. Reload Bowl Feeder parts.
10. Reload Taper carrier tape and cover tape.
11. Reconnect the air supply.
12. Reconnect the power supply.
13. Turn the TM-402 back ON.
lockout/tagout hole
D292105.10a.fm Maintenance
Chapter 8: Maintenance 8- 3
Maintenance
Only maintenance personnel that have thoroughly read and understand the TM-402 User’s
Guide and have several years experience operating and maintaining similar machines should be
permitted to maintain the TM-402.
Routine Maintenance Schedule
The TM-402’s simple, low-maintenance design keeps required maintenance to a minimum. The
following schedule indicates common maintenance tasks and how frequently they should be per-
formed.
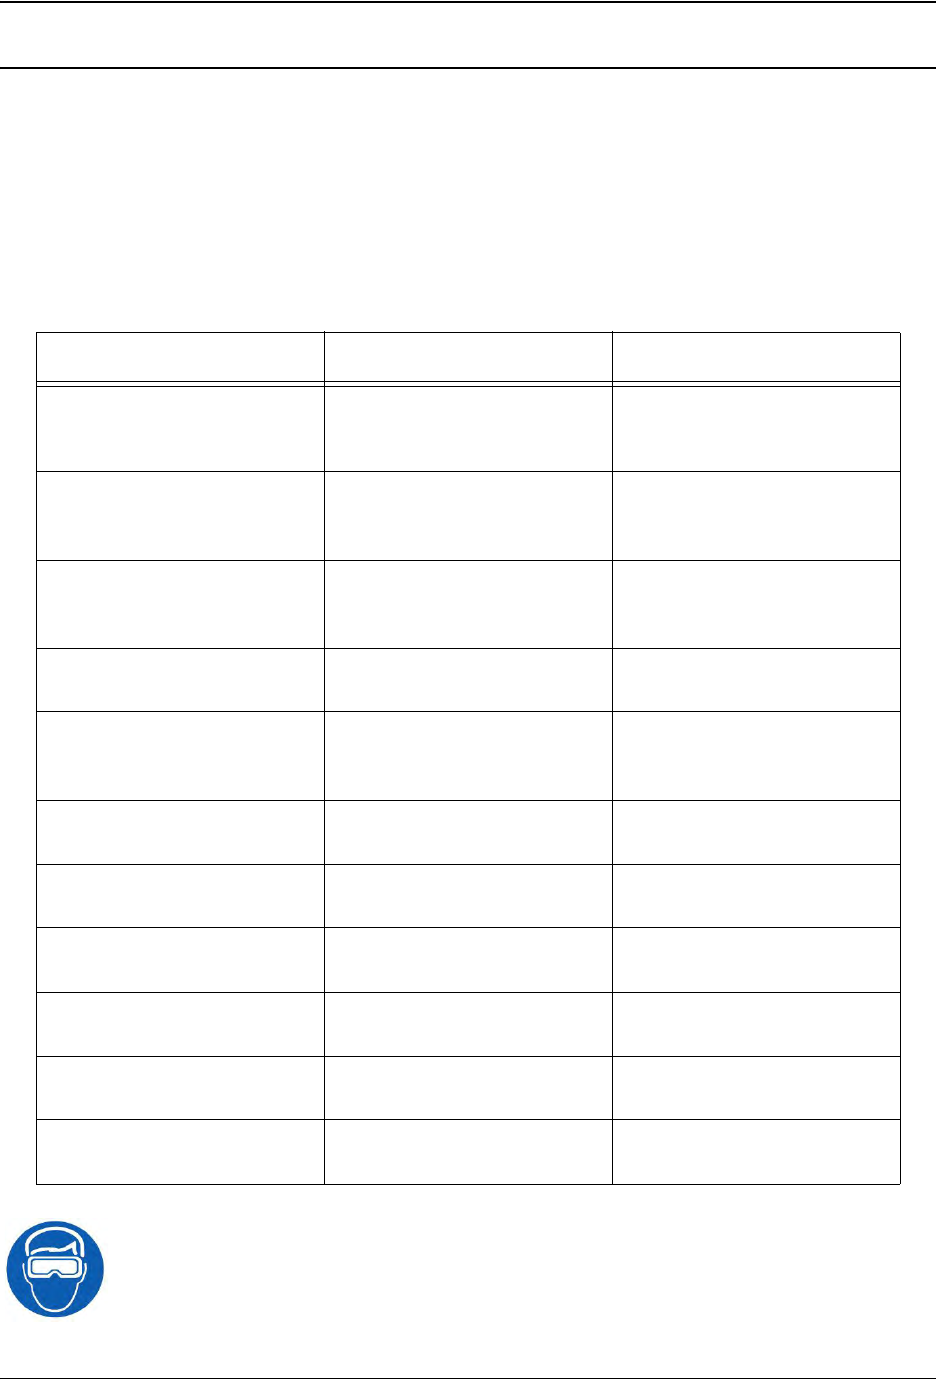
Caution!
Users should always wear protective eye wear when operating or maintaining the
TM-402.
Maintenance Task Schedule Materials needed
Vacuum or brush dust and
debris off machine, including
sensors
Daily • soft bristled paint brush or
vacuum
Inspect nozzle tip for wear or
damage
Daily • To replace worn nozzle tip,
call V-TEK Service for spe-
cific nozzle part number.
Check and set incoming air
pressure to 85 psi with the
vacuum on
Every 120 hours of operation
or as needed.
• None
Check & record vacuum lev-
els
Every 40-80 hours of opera-
tion
• None
Clean Heat Sealer shoes Every 120 hours of operation
or as needed
• 3/32” hex wrench
• plastic or brass brush
• alcohol
Clean Loading Track Every 40 hours of operation • small, stiff bristled paint
brush
Clean Cover Tape Guide Every 40 hours of operation • alcohol
• cotton swabs
Inspect Air Pressure Regula-
tor for moisture build-up
Every 40 hours of operation • none
Clean PSA Sealer assembly Every 40 hours of operation • alcohol
• cotton swabs
Replace nozzle vacuum filter Every 200-300 hours of oper-
ation
• nozzle vacuum filter (p/n
201026)
Remove heat shoes, replace
if necessary
Every 4 months • Heat Shoes (p/n 261122)