编带机说明书-含图纸ttm402.pdf - 第88页
4-16 TM-403 User’s Guide Configure HMI Settings D292105.7b.fm The sealer’s inside and out side seals are independently adjustable. If on e of the seals needs to be moved, loosen the corresponding position lock and turn t…
D292105.7b.fm Configure HMI Settings
Chapter 4: Setup 4- 15
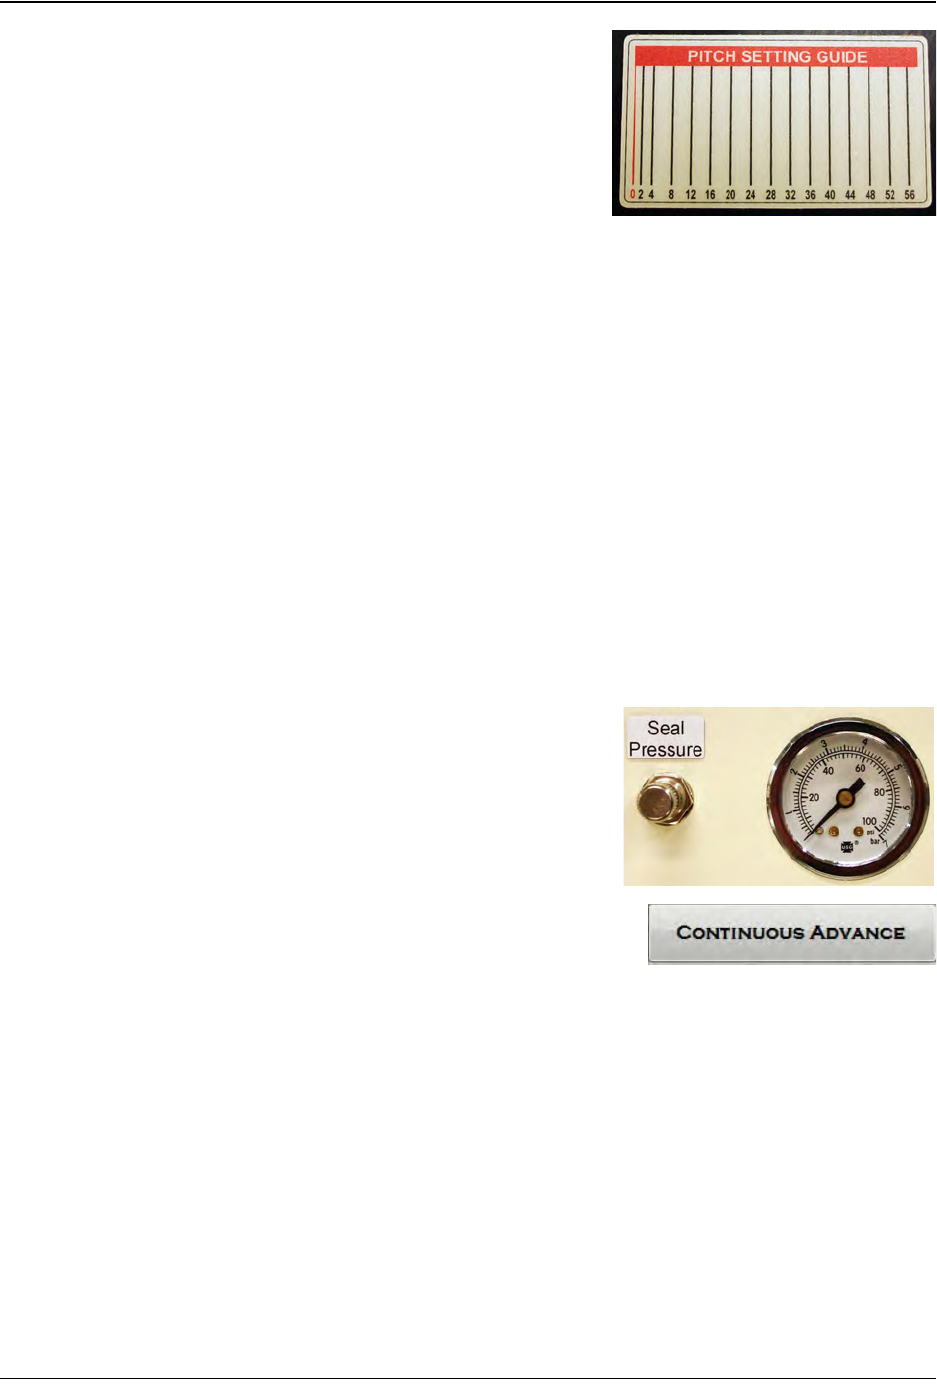
a. Enter the correct tape pitch for the carrier
tape that will be run. If unsure, use the
Pitch Setting Guide on the Taper to
determine the pitch.
b. Select PSA or Heat Seal.
c. If Heat Seal is enabled, enter the desired
temperature in degrees Celsius for both
the Inner and Outer Sealer Temperature
Settings. Allow the heat sealer to reach
its operating temperature before
continuing.
Note: The TM-402 accommodates a wide
range of carrier tapes and cover tapes. Set-
tings may vary from one tape product to
another. The recommended starting point is
90° C. The maximum recommended operat-
ing temperature is 160° C. The temperature
for each seal shoe should be increased or
decreased as needed after running a peel
force test.
d. Set the heat shoe Seal Pressure to the
appropriate setting. This setting controls
the amount of force applied when the
sealer shoes drop. The recommended
starting point is 50 psi.
e. Press the Continuous Advance button.
The taping module will begin the advance
of the carrier tape and cover tape through
the sealer. The cover tape will be sealed
onto the carrier tape as it advances.
f. Observe whether the sealer’s width is
adjusted correctly for the cover tape. It
should seal just inside the outside edges
of the carrier tape without going off the
edges or over the pockets. If it is not, stop
the taper by pressing the Continuous
Advance button again.
Step 6:
Setup HMI
TA P ER
4-16 TM-403 User’s Guide
Configure HMI Settings D292105.7b.fm
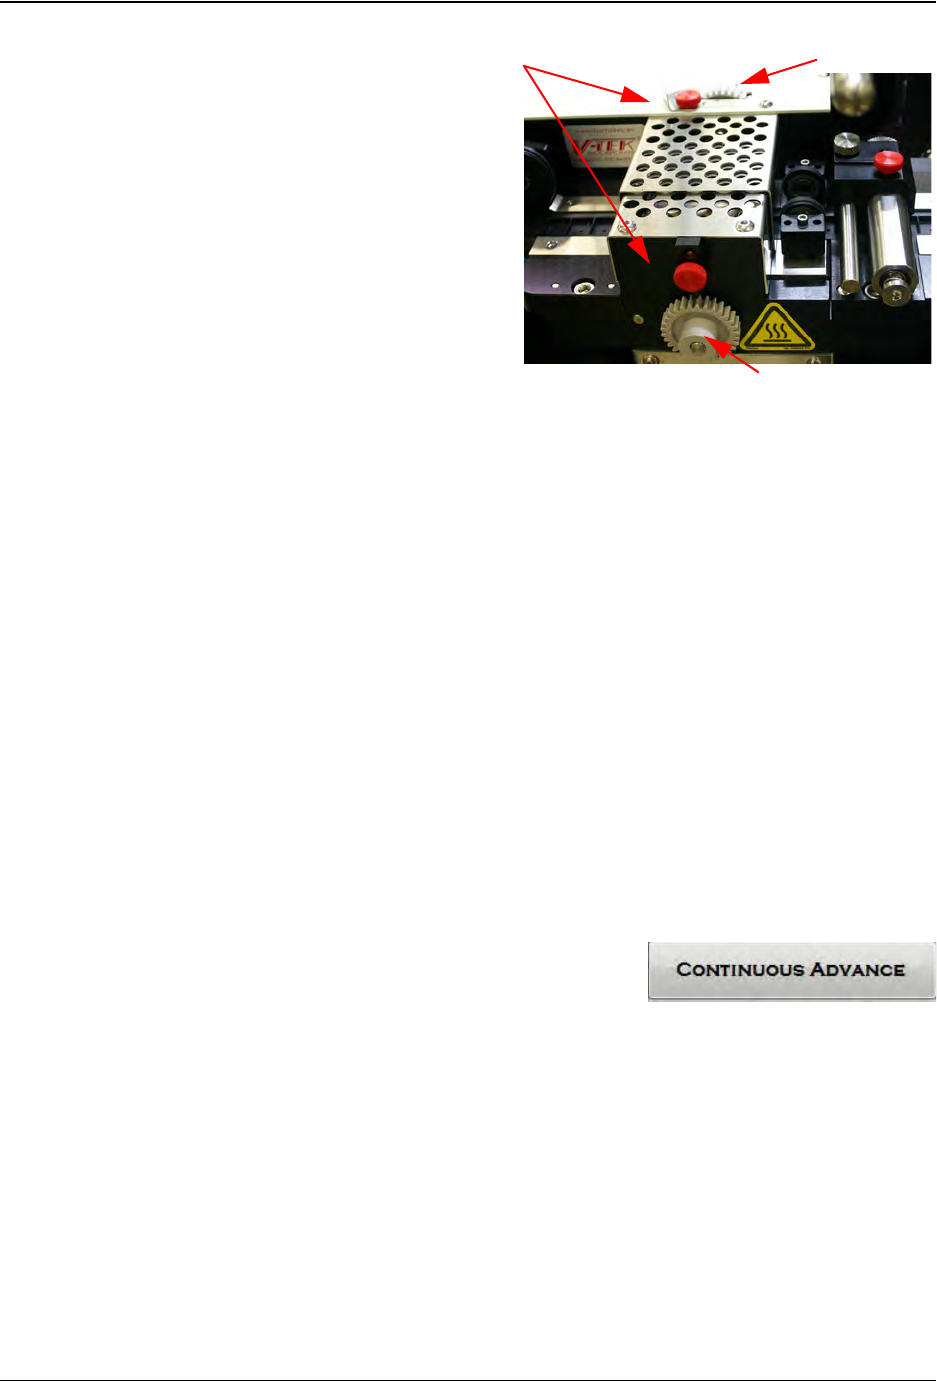
The sealer’s inside and outside
seals are independently
adjustable. If one of the seals
needs to be moved, loosen the
corresponding position lock and
turn the adjusters.
Turning the wheel counter-
clockwise will move the guide
towards the operator. Turning it
clockwise will move the guide
closer to the machine. Adjust
the Inner Seal Adjust and the
Outer Seal Adjust to the desired
position, then tighten the
Position Locks to secure them.
Note: See Chapter 6: Trouble-
shooting for sealer adjustment tips.
After the initial adjustment, run
the tape out again and observe
whether the cover tape aligns
itself satisfactorily. If it is still
misaligned, continue adjusting
the cover tape guide until it is
aligned properly.
5. CREATE TRAILER (optional)
The term “leader” and “trailer” refer to the lengths of empty carrier tape required at the
beginning (leader) and the end (trailer) of the finished reel of placed parts. Therefore,
when the reel is being taped on the TM-402, the trailer is the first length of empty carrier
tape run before the first part is taped and the leader is the length of empty carrier tape run
after the last part is taped.
a. There are no HMI controls for creating a
Trailer. If a Trailer is desired, simply open
the HMI Taper Tab and press Continuous
Advance at the beginning of the reel and
run out sealed empty pockets until the
desired trailer length is reached.
b. Press the right Arrow key to move to the
next screen and configure leader creation.
Inner Seal Adjust
Outer Seal Adjust
Position Locks
Step 6:
Setup HMI
TA P ER
D292105.7b.fm Configure HMI Settings
Chapter 4: Setup 4- 17
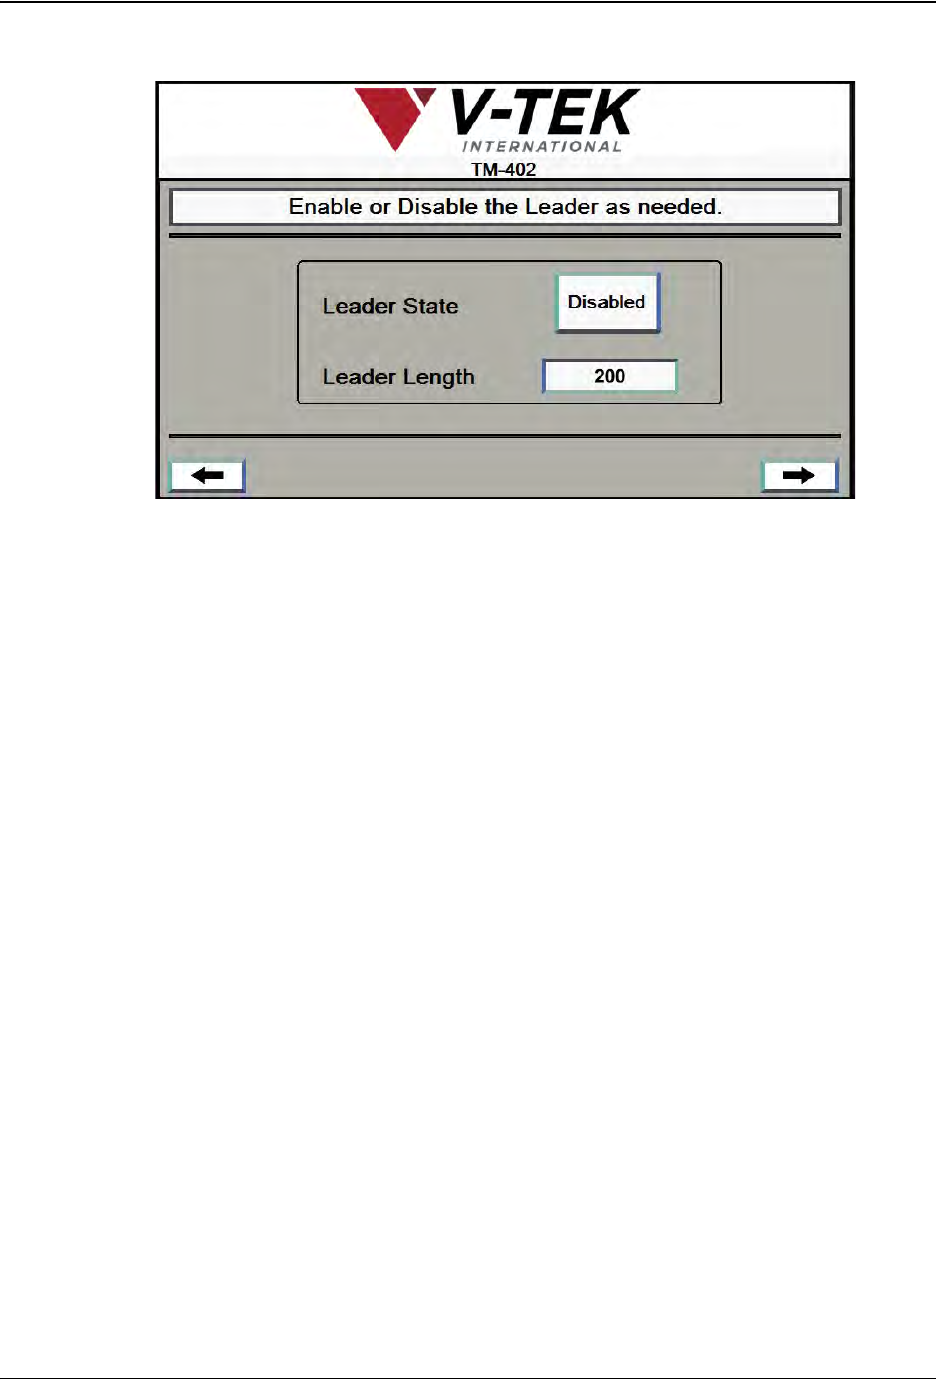
6. ENABLE LEADER.
a. Select Leader State and enter Leader Length in millimeters if enabled.
Note: If Leader is disabled or a leader value of zero is entered, the Taper will
automatically advance the last part until it reaches the cut point. If a leader value
is entered, it will move the last placed part that distance beyond the cut point.
b. Press the right Arrow key to move to the next screen.
Step 6:
Setup HMI
TA P ER