YSP20_Users_E.pdf - 第125页
4-33 4 aily operation 5 Remo ve the mask from the printing table. T ur n the mask clamp switch to the left to unclamp the mask and then r emove the mask. 6 Close the safety cov er and press the [READ Y] button. 7 Quit …
4-32
4
aily operation
10. Finishing board production
To finish board production, follow these steps.
1
Stop machine operation.
1. Automatic stop
When the specified number of boards has been produced the machine automatically stops after
unloading the last board. Use this method in normal production. However, there may be cases (2) to
(5) as follows where you want or have to stop production prior to automatic stop.
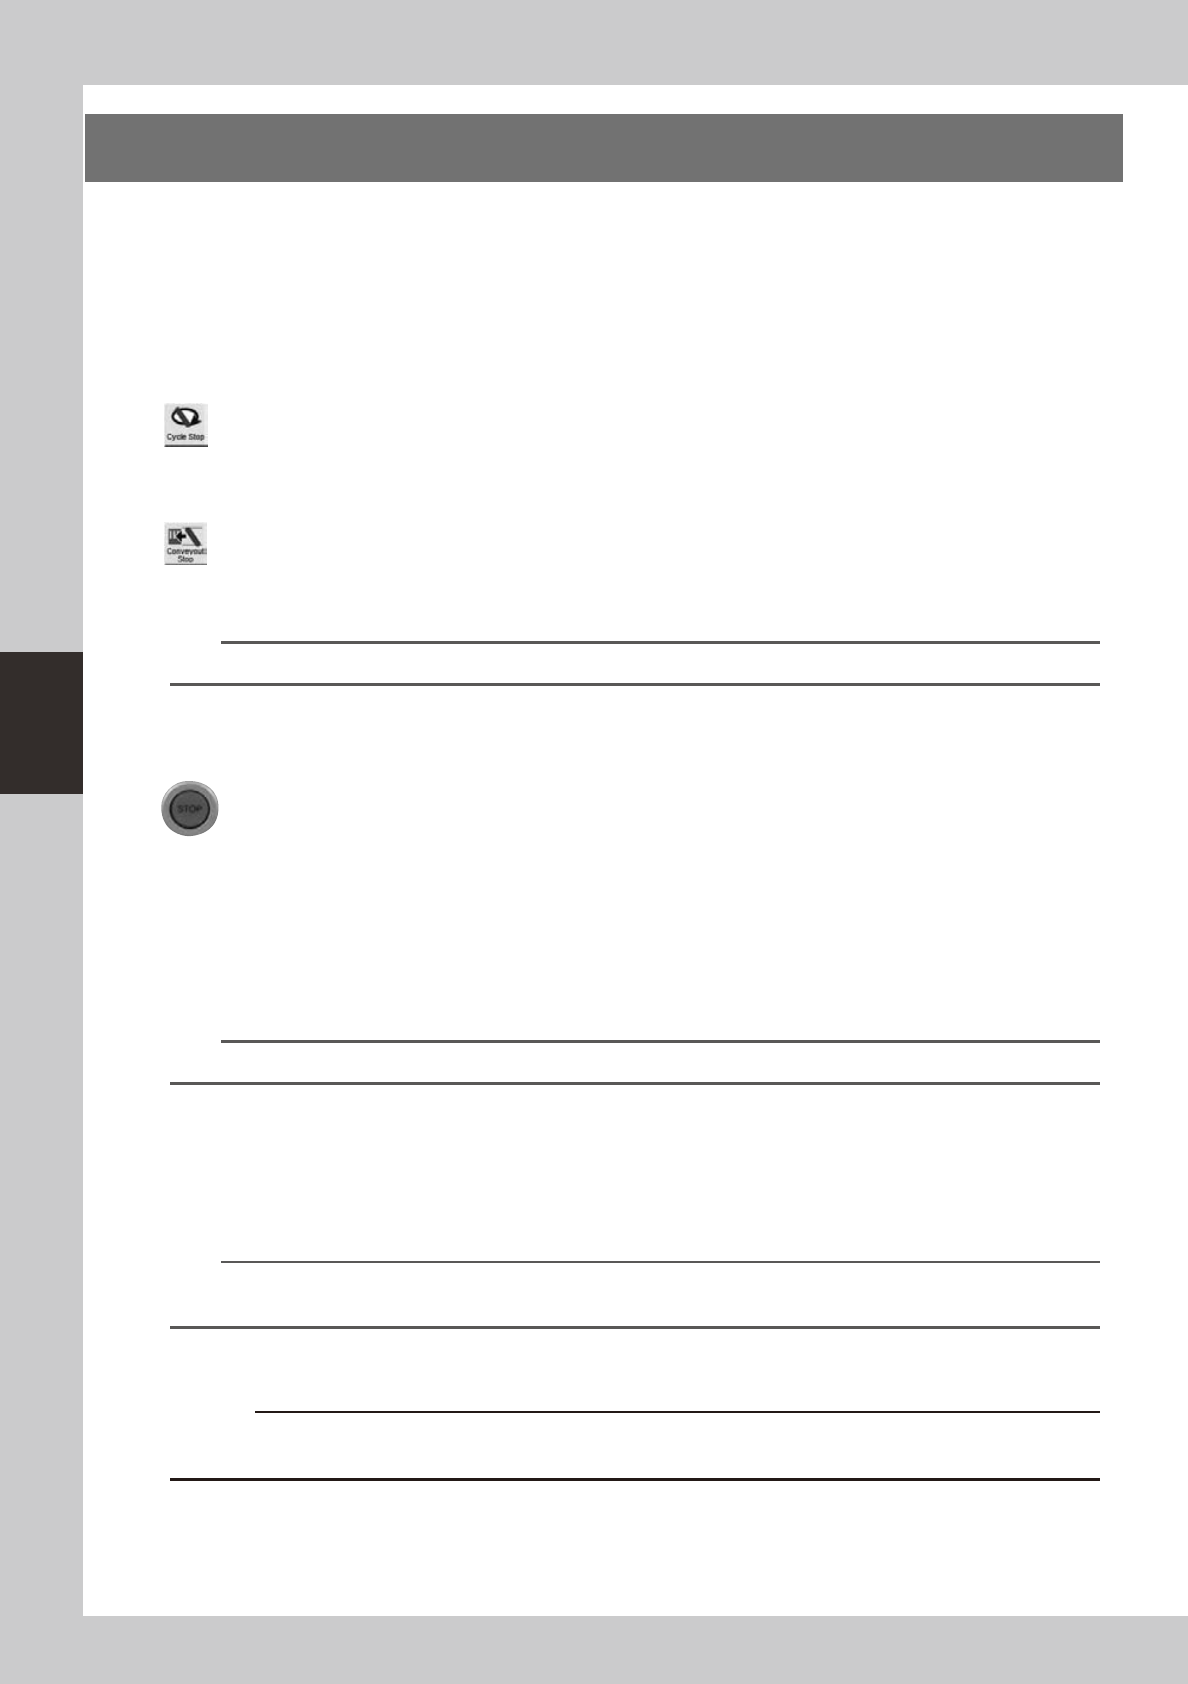
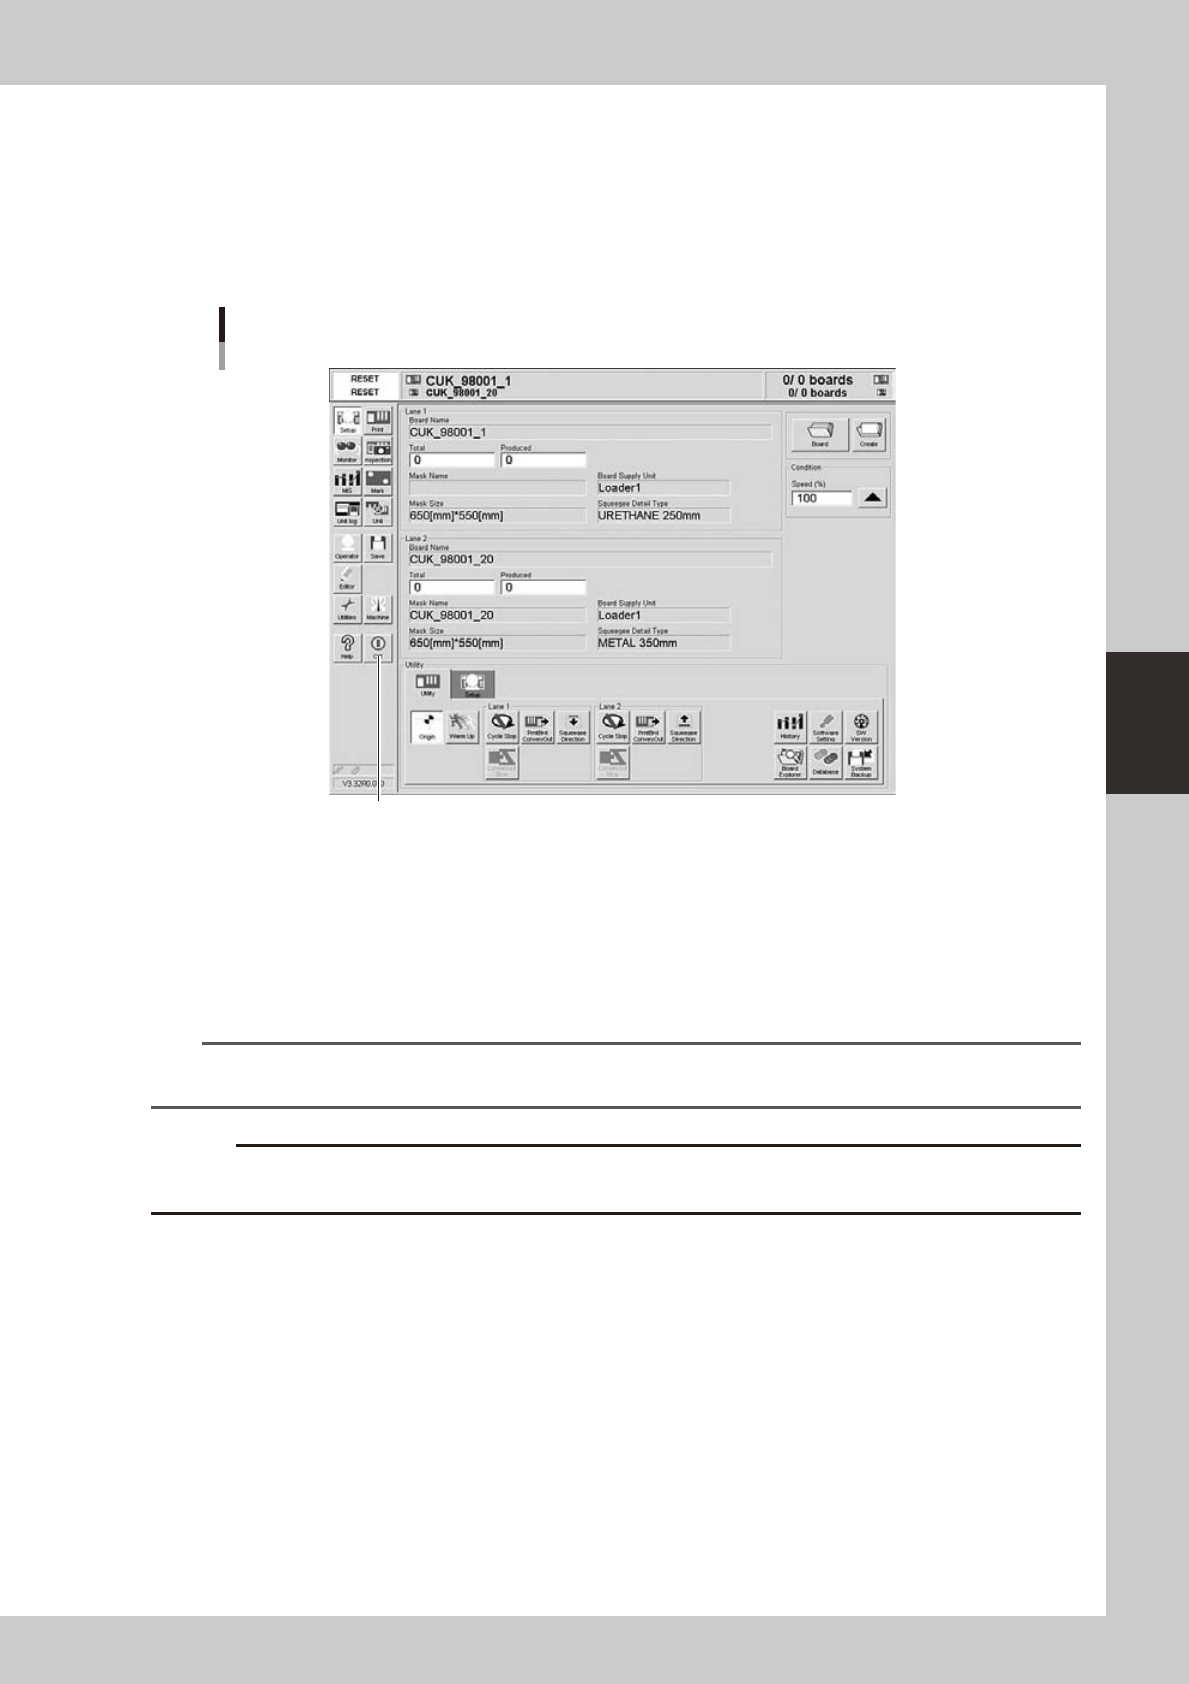
2. [Cycle Stop] button
Pressing the [Cycle Stop] button on the [Utility] tab of the Setup screen stops the machine operation
just after printing the current board. New boards are then no longer carried in from the upstream
side (loader, buffer conveyor, etc.).
3. [Convey-out Stop] button
Pressing the [Convey-out Stop] button on the [Utility] tab of the Setup screen stops the machine
operation just after printing and unloading the current board. New boards are then no longer
carried in from the upstream side (loader, buffer conveyor, etc.).
TIP
e
4. Emergency stop button
Pressing this button triggers emergency stop. Do not use this button in normal operation.
5. [STOP] button (operation panel)
Pressing the [STOP] button stops the machine immediately as in emergency stop. To resume
operation, press the [START] button on the operation panel.
2
Clean the mask after board production.
1. Open the [Setup] tab or the Setup screen and press the [Auto Cleaning] button.
A dialog box appears asking you to select the cleaning method.
2. Select the cleaning method ("Dry" or "Wet") and press the OK button.
The cleaning unit begins moving to clean the backside of the mask automatically.
TIP
If you want to perform manual cleaning, press the [Manual Cleaning] button and follow the message that appears.
3
Press the [RESET] button on the operation panel to reset the operation.
Machine returns to board production standby status.
4
Detach the squeegees.
1. Press the [SW Prod. Position] button on the Setup screen and then select “Squeegee Setup”.
n
NOTE
When both lanes are used for production, the dialog box for selecting the lane number appears, so select the lane.
The lane currently used in production is grayed out.
2. When the DOOR LOCK lamp turns off, open the safety cover and remove the squeegee in the
reverse of the installation procedure.
c
immediately in case of emergency.
4-33
4
aily operation
5
Remove the mask from the printing table.
Turn the mask clamp switch to the left to unclamp the mask and then remove the mask.
6
Close the safety cover and press the [READY] button.
7
Quit the software.
Press the [Off] button on the operation display and follows the message that appears on the screen.
[Off] button
[Off] button
64422-N3-10
8
Turn off the power switch on the front right of the machine.
See "2.3 Turning off the machine" in Chapter 2.
9
Clean the squeegees and mask.
After detaching the squeegees and mask, clean them with the appropriate cleaner (available as
option) to wipe way the remaining solder and flux.
n
NOTE
To find how to correctly handle the mask and solder, refer to the instruction manual of the mask or solder
manufacturer.
c
How well you clean the mask you detached after use will greatly affect the production yield the next time that same
mask is used. Also handle the squeegee and mask carefully to avoid dents and scratches.

Chapter 5 Creating and setting the data
This chapter describes how to create new data necessary for solder printing and how to edit the data and parameters, as well
as the definitions of parameters.
Contents
1. Creating new data 5-1
3
3
5
5
0
4. 3
3
6
5. Squeegee data setting 5-19
5.1 Squeegee detail setting 5-23
6. Cleaner data setting 5-26
7. Creating the mark data 5-30
7.1 Creating procedure 5-31
2
7.3 Shape parameters 5-33
5
7
8. Graphic alignment 5-40
4