TR7500_Series_Software_v29_En.pdf - 第118页
Test Research Inc. 96 TR7500 Series User Guide – Software v.2.9.0 [Cam0] – Sel ect the top cam era to grab ima g e. Grabbin g – Check to start cap t uring the ima ge. (4) Alignment area [Alignment] – Sele ct to sho…

Test Research Inc.
TR7500 Series User Guide –Software v.2.9.0 95
3.10.1 Camera Alignment
This command is for camera or lighting alignment or to move X-Y table to grab real time
image.
Figure 158: Camera Alignment Window
(1) Real time image – Displays the image that the camera currently has. Select [Grabbing]
first.
(2) Show the coordinates and gray level of the mouse point.
(3) [Camera Selection]
[Light Up] – Press to show [Lighting Control dialog]. Adjust the light here. If
Grabbing a color image, the lighting can’t be changed.
[Color/Mono]– Select grayscale or color image.
[Red/Green/Blue] – Select the RGB weighting to display.
Test Research Inc.
96 TR7500 Series User Guide –Software v.2.9.0
[Cam0] – Select the top camera to grab image.
Grabbing – Check to start capturing the image.
(4) Alignment area
[Alignment] – Select to show the cross line on image.
The other functions are selected for camera alignment.
(5) Others
[SaveImage] – Press the button to save the current image in the folder where the
project is saved. If you don’t open the project the image will be saved in [C:\AOI]
folder.
[Cancel] – Close the window.
[OK] – Close the window and save settings.
3.10.2 Capture Panel Map
Recapture the panel map by selecting this item. The map file will be saved in the same folder
where the project is saved. The file names are “Model Name.bmp”(backup file “Map.bmp”)
and “Model Name_2X2.bmp” (backup file “Map2X2.bmp”).
3.10.3 Capture FOV Images
Recapture the FOV images by selecting this item. The image file will be saved in the same
folder where the project is saved. The name is “FovImage”.
3.10.4 Capture FOV Images with Multi-Panel
This is a future feature. It is currently unavailable. It will allow capture and saving of several
FOV images for [Offline Tune Mode].
3.10.5 Fiducial Mark Alignment
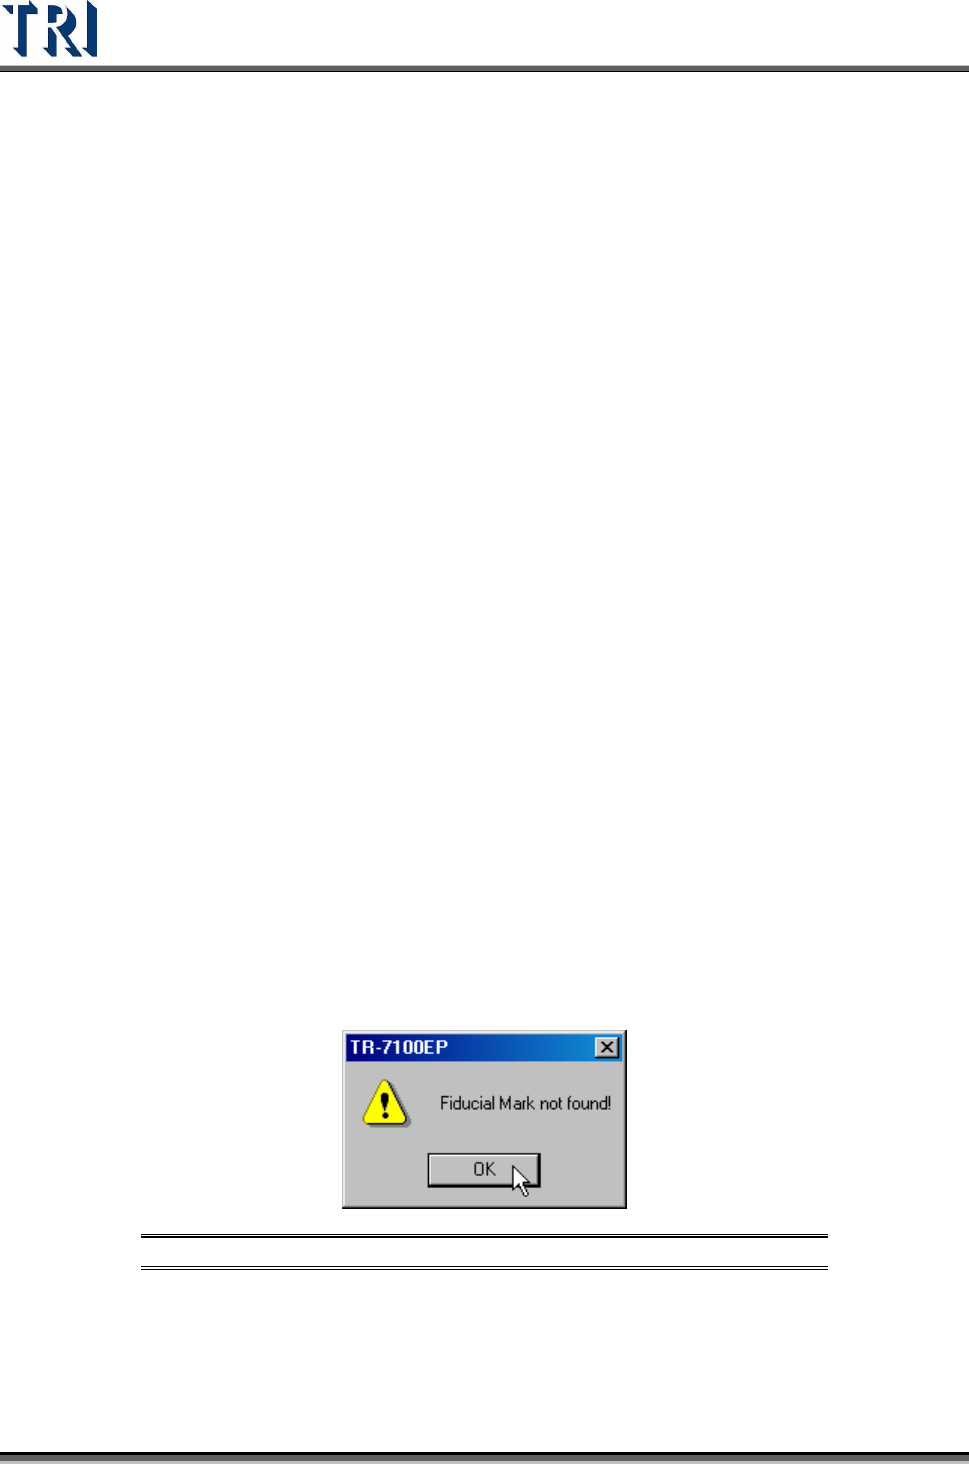
Selecting this item causes the X-Y Table to move to find the fiducial mark. If the system can’t
find the fiducial mark, a warning message appears (below). Repeat the process to find the
fiducial mark.
Figure 159: Fiducial Mark Not Found Message
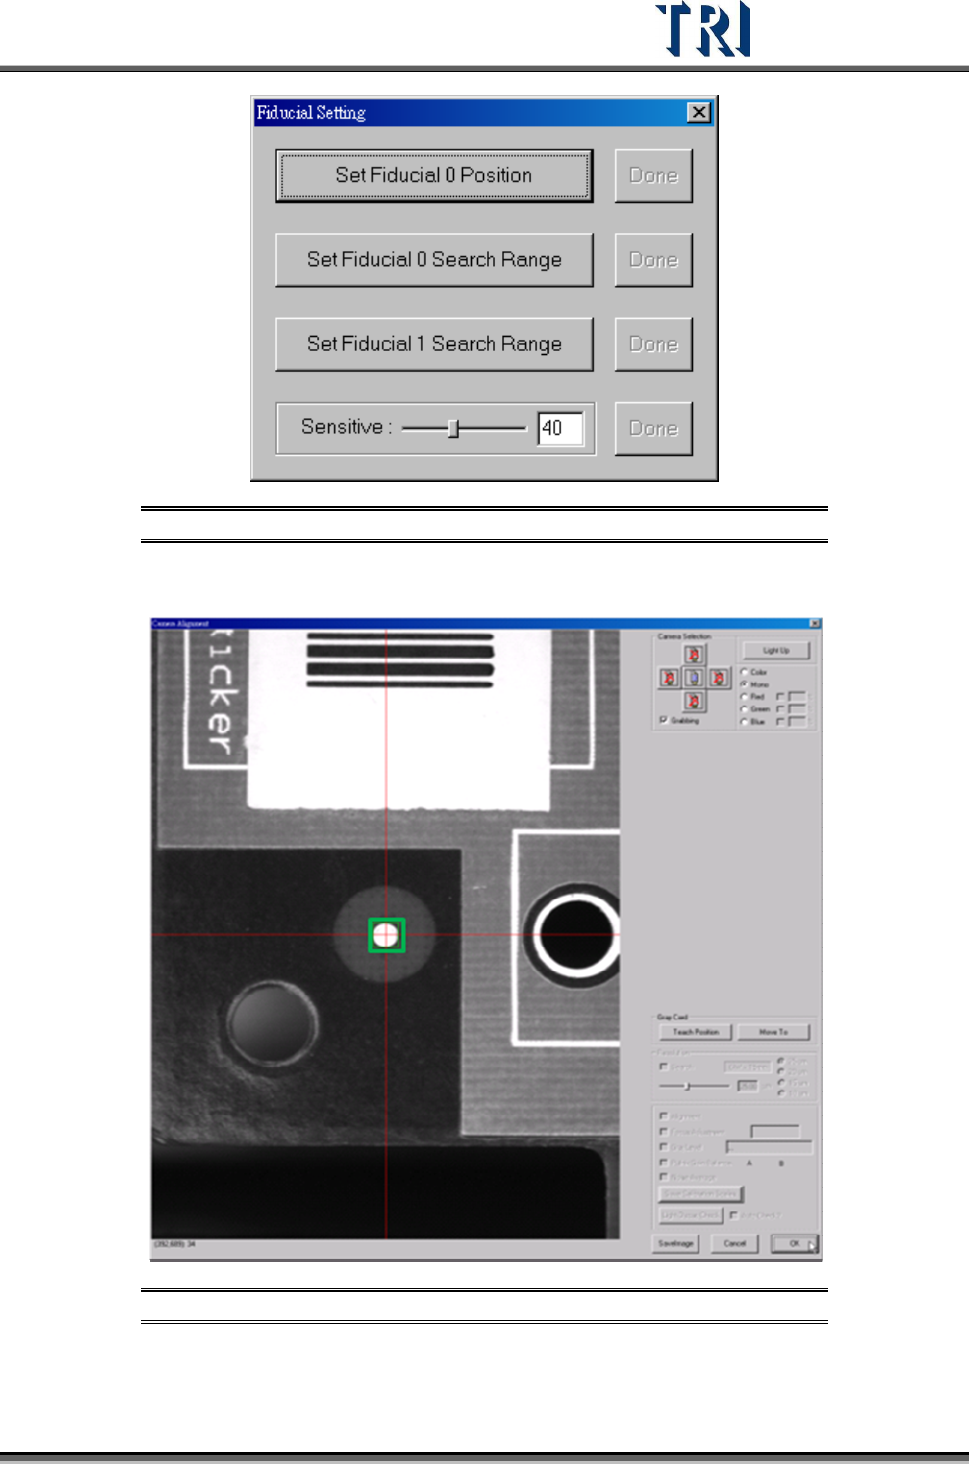
3.10.6 Fiducial Mark Setting
Set the position and search range for fiducial mark 0. If the relative position of two fiducial
marks has been changed, find the fiducial marks again using the ATPG flow.
Test Research Inc.
TR7500 Series User Guide –Software v.2.9.0 97
Figure 160: Fiducial Setting Screen
[Set Fiducial 0 Position] – Move the camera on fiducial 0 and press [OK].
Figure 161: Move Camera to Fiducial Mark