TR7500_Series_Software_v29_En.pdf - 第49页
Test Research Inc. TR7500 Series User Guide – Software v.2.9.0 27 Figure 42: St andard Fiduc ial Mark Image Implement ed Not Using the Standard Fiducial Mark Image. Step1. When the [ Confirm Using Standard Fiducial Mar…
Test Research Inc.
26 TR7500 Series User Guide –Software v.2.9.0
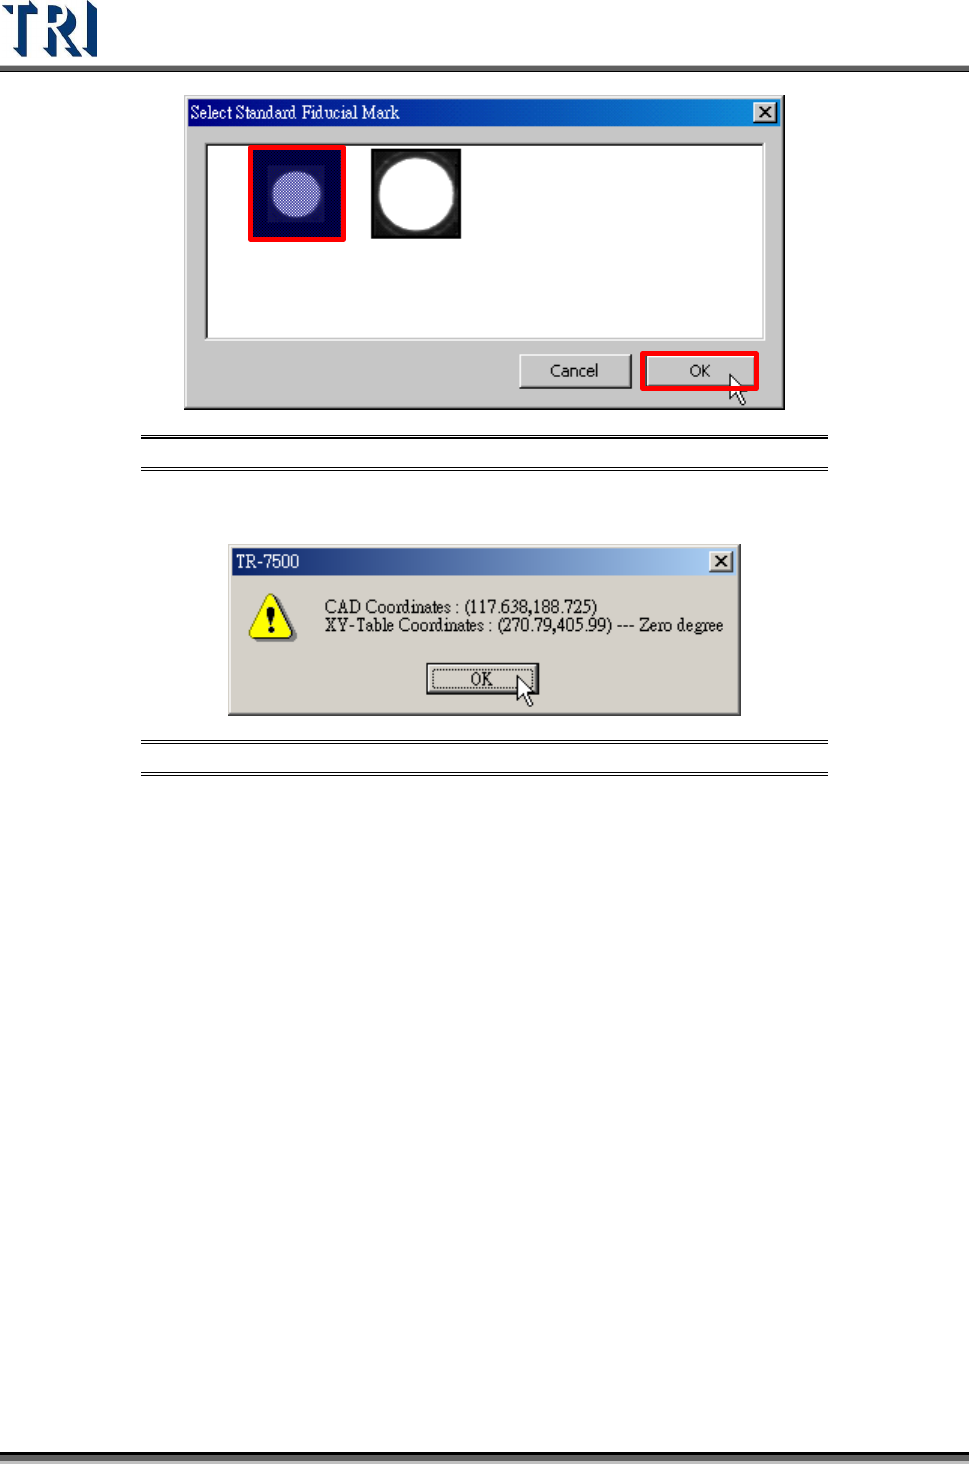
Figure 40: Select Standard Fiducial Mark Image
Step3. A window pops up to show the coordinates of fiducial mark. Press [OK].
Figure 41: Confirm Fiducial Mark Coordinates
Step4. The system takes the selected standard image as the standard matching
image.
Test Research Inc.
TR7500 Series User Guide –Software v.2.9.0 27
Figure 42: Standard Fiducial Mark Image Implemented
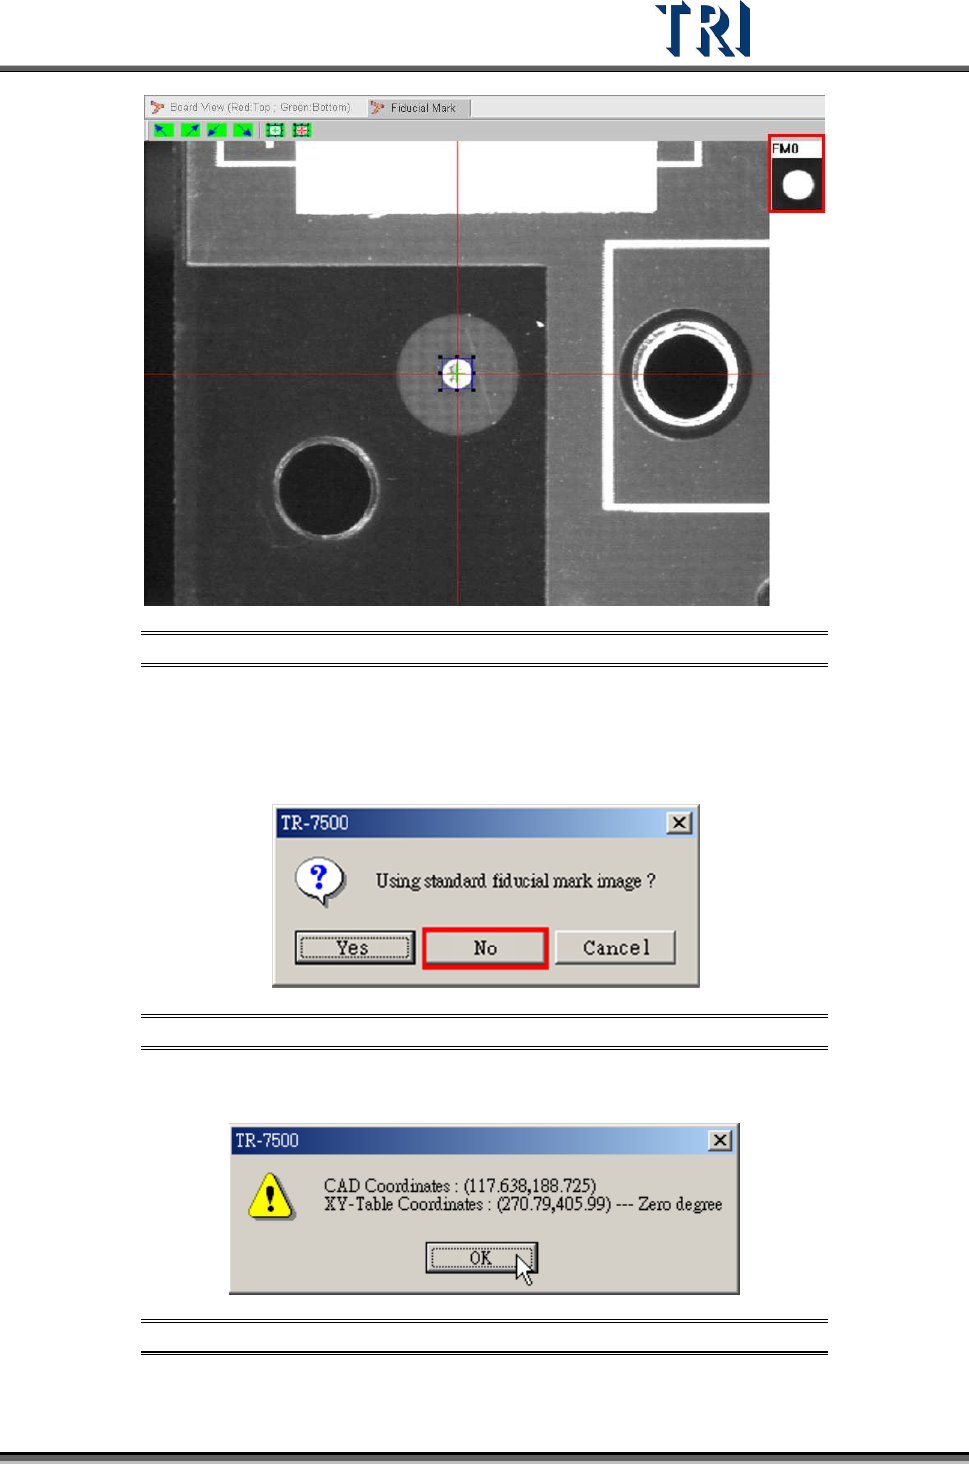
Not Using the Standard Fiducial Mark Image.
Step1. When the [Confirm Using Standard Fiducial Mark Image] window is
displayed, select [No].
Figure 43: Not Using Standard Fiducial Mark Image
Step2. A window appears showing the coordinates of fiducial mark. Press [OK].
Figure 44: Confirm Fiducial Mark Coordinates
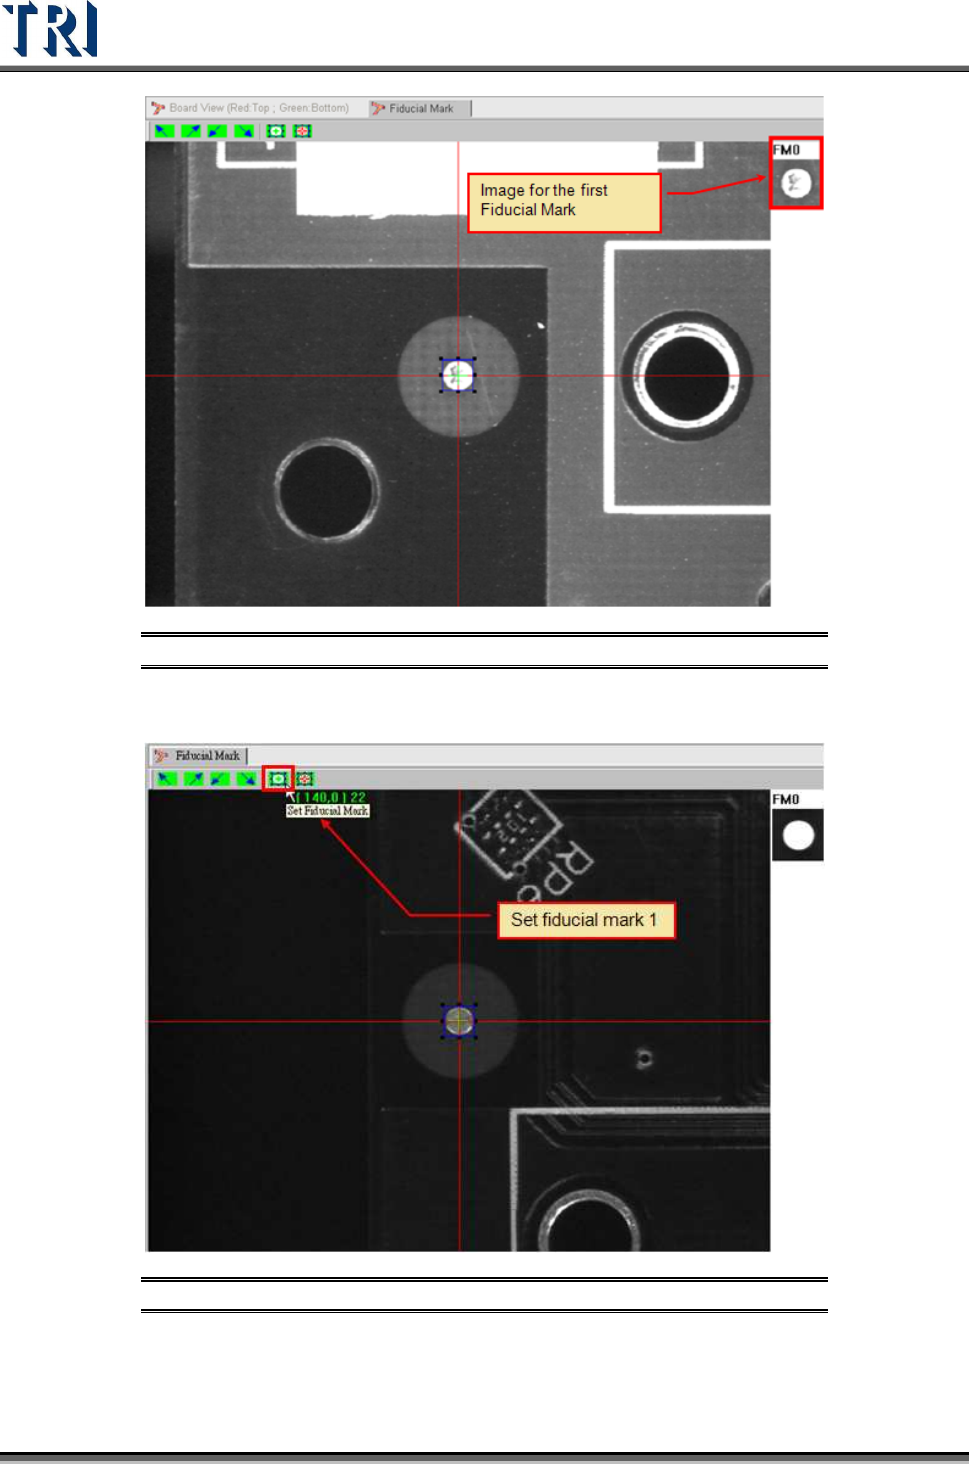
Step3. System will use the grabbed image as the standard matching image.
Test Research Inc.
28 TR7500 Series User Guide –Software v.2.9.0
Figure 45: Grabbed Image Used as Standard Image
8. Press [Set Fiducial Mark] icon to set the second fiducial mark.
Figure 46: Set Second Fiducial Mark
9. Input fiducial component name or choose “No CAD”.