TR7500_Series_Software_v29_En.pdf - 第322页
Test Research Inc. 300 TR7500 Series User Guid e –Softwa re v.2.9.0 15 O FFLI NE E DITOR 15.1 Software 1. Sapera LT 2. Cognex Driver 3. TR7500 main program. Must be the same v er sion as the TR7500 machine. 15.2 Setting …
Test Research Inc.
TR7500 Series User Guide –Software v.2.9.0 299
14.4 Link to Repair Station
1. Select [P
ARAMETER
>
U
SER
M
ODE
>
L
INK TO
R
EPAIR
S
TATION
]
2. Set the path in [P
ARAMETER
>
P
ANEL
>
R
EPAIR
S
TATION
] to the [C:/AOI_Repair_Data]
directory.
3. Select [U
TILITIES
>
R
ESEND
I
MAGE
D
ATA FOR
R
EPAIR
]
4. Save the project and start to inspect.
14.5 Inspect on Another Machine
1. Copy the project (*.pre ) and panel map to another AOI machine.
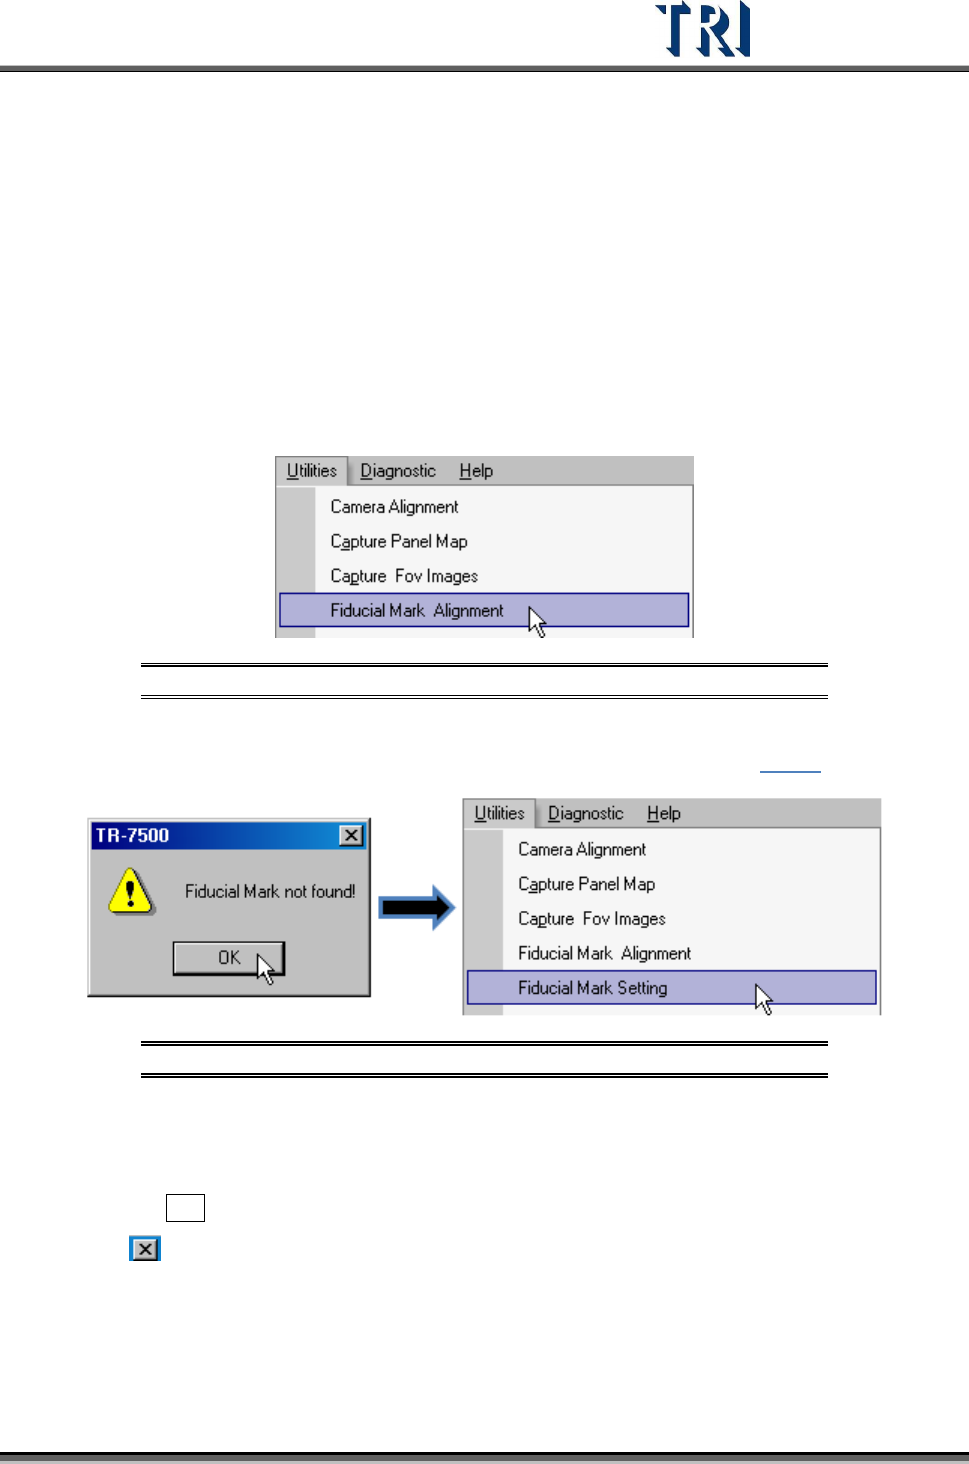
2. Select [U
TILITIES
>
F
IDUCIAL
M
ARK
A
LIGNMENT
]
Figure 495: Select Fiducial Mark Alignment
3. If the system can’t find the fiducial mark, change the [Fiducial0] position. Select
[U
TILITY
/F
IDUCIAL
M
ARK
S
ETTING
] to set the position of [Fiducial0]. (See 3.10.6)
Figure 496: Select Fiducial Mark Setting
4. Start to inspect.
14.6 Stop Testing and Shut Down
5. Press the Esc key on the keyboard to stop the project that is testing.
6. Press button to close the TR7500 main program. At the same time the system asks if
you want to save the project. Choose to save or not according to your preference.
7. Select [S
TART
>
S
HUT
D
OWN
] to close down the TR7500 main computer .
8. Turn the power switch counterclockwise to shut down the machine.
9. Turn the breakers OFF.
Test Research Inc.
300 TR7500 Series User Guide –Software v.2.9.0
15 O
FFLINE
E
DITOR
15.1 Software
1. Sapera LT
2. Cognex Driver
3. TR7500 main program. Must be the same version as the TR7500 machine.
15.2 Setting
Select [S
TART
>
R
UN
] and key in [regedit]. Under the path
[\\HKEY_LOCAL_MACHINE\SOFTWARE\TRI]
add a DWORD parameter named [offline] and change the value to 1.
15.3 Procedure
There two sections the offline editor can be used. One is editing the component library and
the other is training in the main program.
15.3.1 Editing Component Library
1. Start to create a project according to Chapter 2 AOI Standard Project Creation. After
finishing setting fiducial mark, enter the [Edit Component Library] window. (Click on [Tune]
page below the ATPG flow chart then select [Library]. Double click on the [Component
Type] item.)
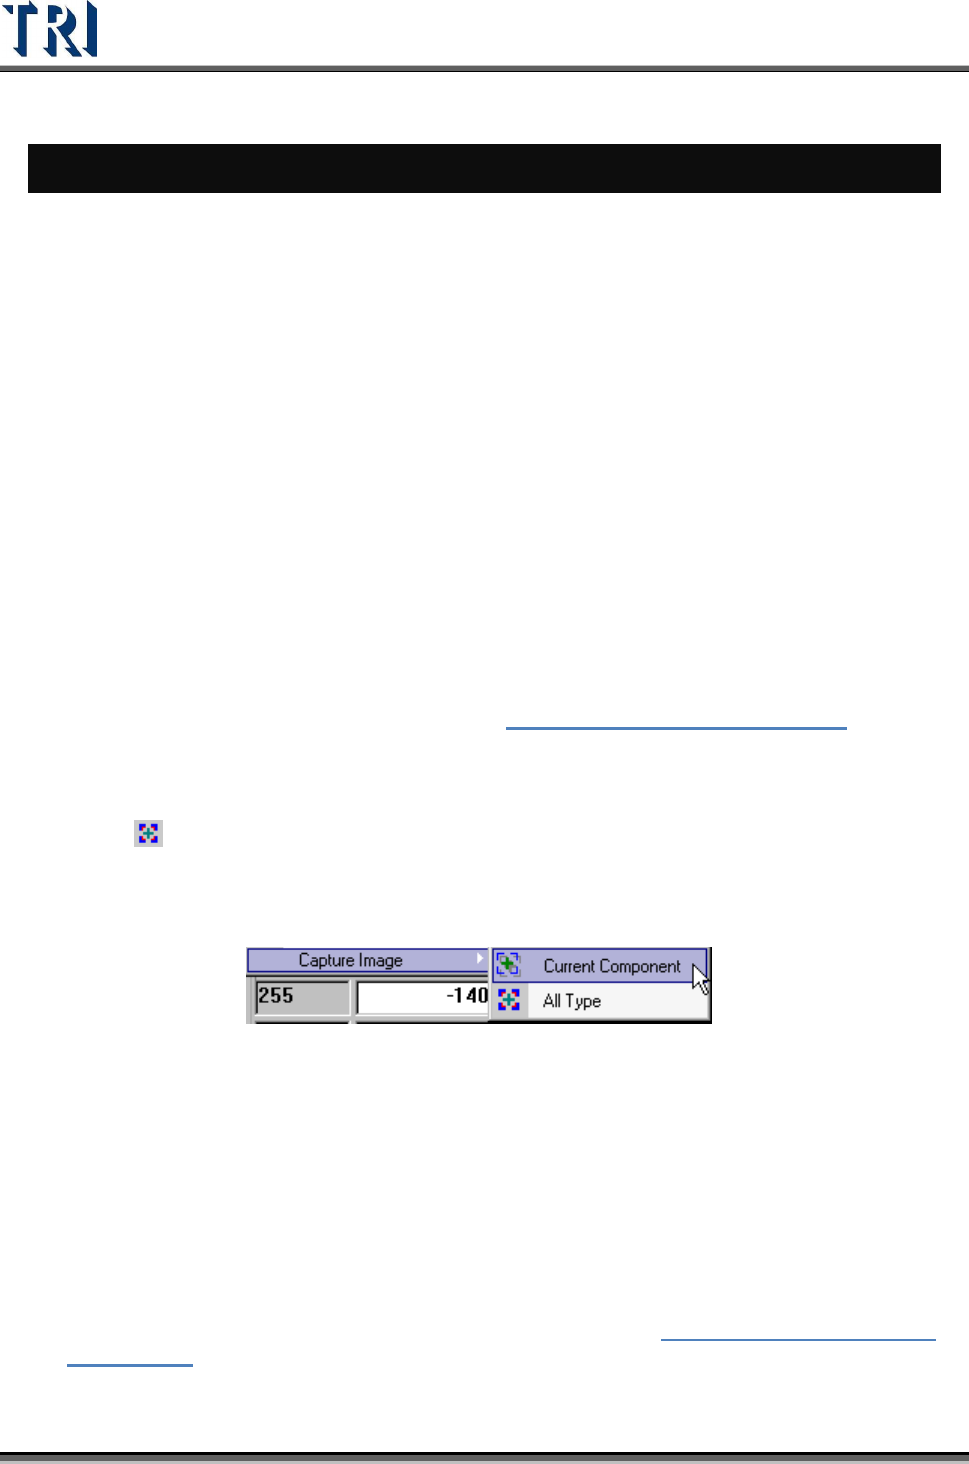
2. Select
[T
OOL
>
C
APTURE
I
MAGE
>
A
LL
T
YPE
] button then the system captures the first
component (ranked by name) images for all type. Ten images will be captured for every
first component. These are captured by top camera with [ToplightA] and [ToplightB], front
camera with [FrontlightA] and [FrontlightB], rear camera with [RearlightA] and
[RearlightB], left camera by [LeftlightA] and [LeftlightB], and right camera with [RightlightA]
and [RightlightB].
3. The system will create a new folder named [OfflineImage] in the folder that the project file
is in. The images are named by type and component name.
4. Save the project (*.pre).
5. Copy the whole folder where the project saved to the offline editor. To continue editing
the existing component library, you must also copy the [PackageLibrary] and
[ImageLibrary] folder to the offline editor.
6. Execute the main program on the offline editor and open the *.pre file.
7. Select [P
ROGRAM
>
ATPG] to enter the ATPG editing window. Click on the [Tune] page
below the ATPG flow chart then select [Library]. Double-click on the [Component Type]
item. Start to edit the component library according to Chapter
8 Edit Component Library
Commands.

Test Research Inc.
TR7500 Series User Guide –Software v.2.9.0 301
8. When the size of the component goes beyond the range of one FOV, you still have to edit
this type on TR7500.
9. Save the component library (*.pgl).
10. Copy the [PackageLibrary] and [ImageLibrary] folders back to the TR7500. The default
path is [C:\AOI\packagelibrary] and [C:\AOI\imagelibrary].
11. Continue the ATPG process to finish: [Merge][FOV Generate][FOV Verify].
12. Save the *.pre file.
15.3.2 Train Dialog
1. Copy the entire folder where the project is saved to the offline editor.
2. Execute the main program on the offline editor and open the *.pre file.
3. Train the inspection boxes according to Section
2.12 Because images cannot be grabbed
on the offline editor, only existing images can be edited and the lighting cannot be
changed.
4. Trying to perform [Merge] when editing results in the system displaying a dialog
reminding you that the system cannot get images. So you have to get FOV images again
when returning to the TR7500.
5. Save the project and copy the project back to the TR7500 system. Inspection or fine
tuning can be performed there.