GL541操作手册.pdf - 第34页
Part 2 2 – 1 V ersion 2.0 Chapter 1 Operation 1. Operation 1.1 Starting Operation Preparation for starting automatic operation is explained below. Procedure: (1) Set the appropriate glue temperature for the glue being us…

Part Two
Automatic Operation and Programming

Part 2
2 – 1
Version 2.0
Chapter 1 Operation
1. Operation
1.1 Starting Operation
Preparation for starting automatic operation is explained below.
Procedure:
(1) Set the appropriate glue temperature for the glue being used on the
temperature control panel.
(2) Create a production program and transmit it to the GL-541E.
Refer to the F4G Tutorial Manual for details of how to create a program.
(3) Set the following items according to the size of the board being produced:
• Conveyor width
• Back up pin position
• Reference pin position
Before changing the conveyor width, check that the back up pins will not collide
with the conveyor.
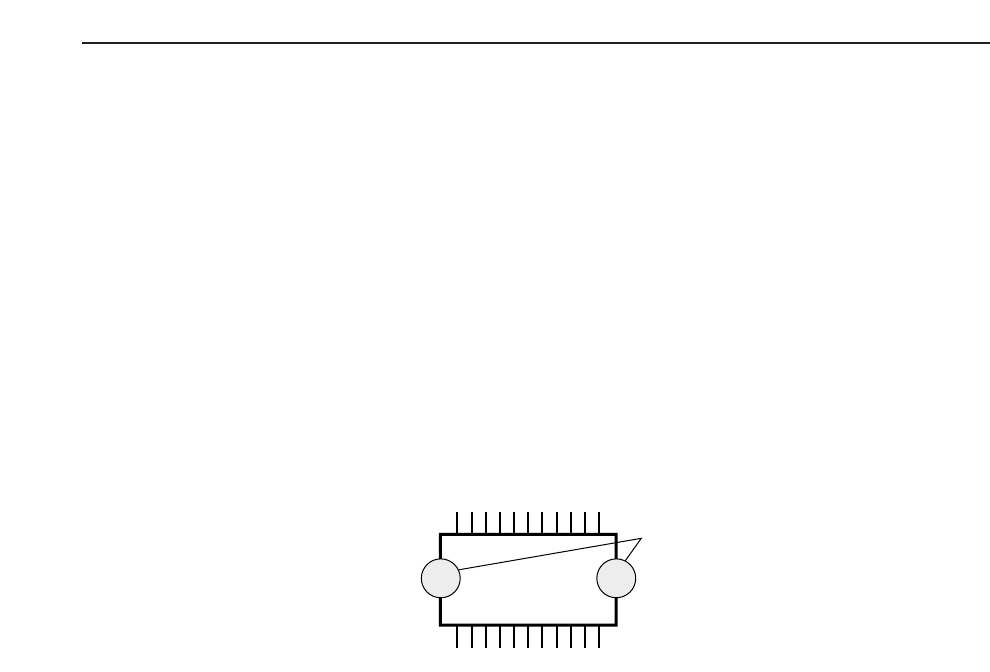
(4) Install the syringes after replenishing the glue and selecting needle types. As shown
below, select either “Single”, designating one point gluing, or “Twin” designating
two point gluing, and save the updated Proper data.
Proper Data
138.Needle_Z1 = Single Twin
139.Needle_Z2 = Single Twin
140.Needle_Z3 = Single Twin
After the settings have been made,
transmit the Proper data to the
machine.
(5) Measure the needle offset.
Automatic needle offset is a machine function that offsets slight bends or
misalignments in the needles. Press the following:
[SET] -> [MANUAL] -> [NEEDLE] -> [Z1] (Z2), (Z3) -> [OK] (RETURN)
-> [DEFAULT POS] (NOW POS)
Z3 Z2 Z1
GL-541E Operation
Chapter 1 Operation
Part 2
This setting is stored as Proper data in machine memory. If needles are not
changed, the user does not have to remeasure the offset each time the machine is
used. Transmit the current Proper data from the machine to F4G before making any
changes to it.
(6) Produce one board. Examine the board with the naked eye and check whether or
not the glue volume for each part type is appropriate. Do this to determine the
appropriate glue volume (G data) for each part type.
In automatic operation, press [S STOP]. Based on the visual inspection mentioned
above, change the temporary G data value input in the program in percentage form,
to an appropriate value for each part type.
Example: G10 100%→ 80% in the case where changing this value to 80%
produced good results.
To get good results at 100%, the G data value would have to be changed to G8.
(G1 = 0.01 seconds of application. Therefore 80% of G10 = 0.08 seconds = G8)
Change the G data at the computer.
(7) If the glue forms strings, set the anti-stringing timers in Proper data.
(8) Transmit the production program to the machine if it was changed in (6).
(9) Transmit Proper data to the machine if it was changed in (7).
(10) Measure the amount of glue area (um
2
) change after increasing application air
pressure by 1%. This measurement is only necessary after changing glue types.
[SET] -> [MANUAL] -> [GLUE] -> [G] ->([Air_P_Z1)
Air_P_Z1 displays on the machine monitor. Set each axis to 60%.
Apply glue dots during automatic operation with Air_P_Z1 = 60%.
Inch the camera directly above a glue dot and press the following:
[SET] -> [MANUAL] -> [GLUE] -> [G. ref. set] -> [Z1] (Z2) (Z3) -> [SET]
Glue volume
2 – 2
GL-541E Operation
Version 2.0