00196457-05_UM_SX12DX12_SR706_EN.pdf - 第301页
User Manual SIPLACE SX1/SX2/DX1/DX2 5 Working with the machine From software version SC.706.xx Version 06/2012 EN 5. 15 Docking the component trolley in or out 301 PLEASE NOTE 5 Cut the component ta pes of f flush with t…
5 Working with the machine User Manual SIPLACE SX1/SX2/DX1/DX2
5.15 Docking the component trolley in or out From software version SC.706.xx Version 06/2012 EN
300
5.15.4 Docking the component trolley
5
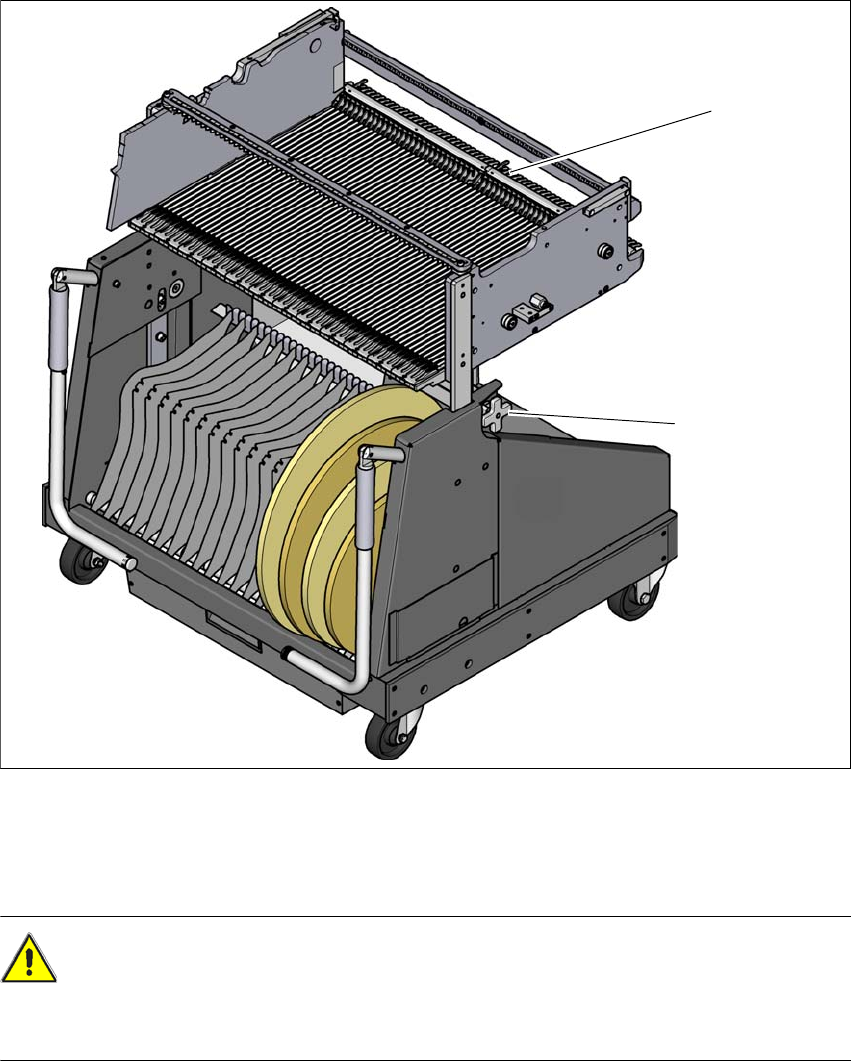
Fig. 5.15 - 4 Docking the component trolley
(1) Locking latches
(2) Height setting for fine adjustment to the machine height
CAUTION 5
Be careful when you push the component trolley for the SIPLACE X series
into the machine and make sure that the locking latches do not bump into obstacles.
(2)
(1)
User Manual SIPLACE SX1/SX2/DX1/DX2 5 Working with the machine
From software version SC.706.xx Version 06/2012 EN 5.15 Docking the component trolley in or out
301
PLEASE NOTE 5
Cut the component tapes off flush with the front end of the X feeder modules before you dock in
the component trolley, otherwise the empty tapes will not get into the empty tape duct.
CAUTION 5
Check that the placement head is outside the range of the component trolley.
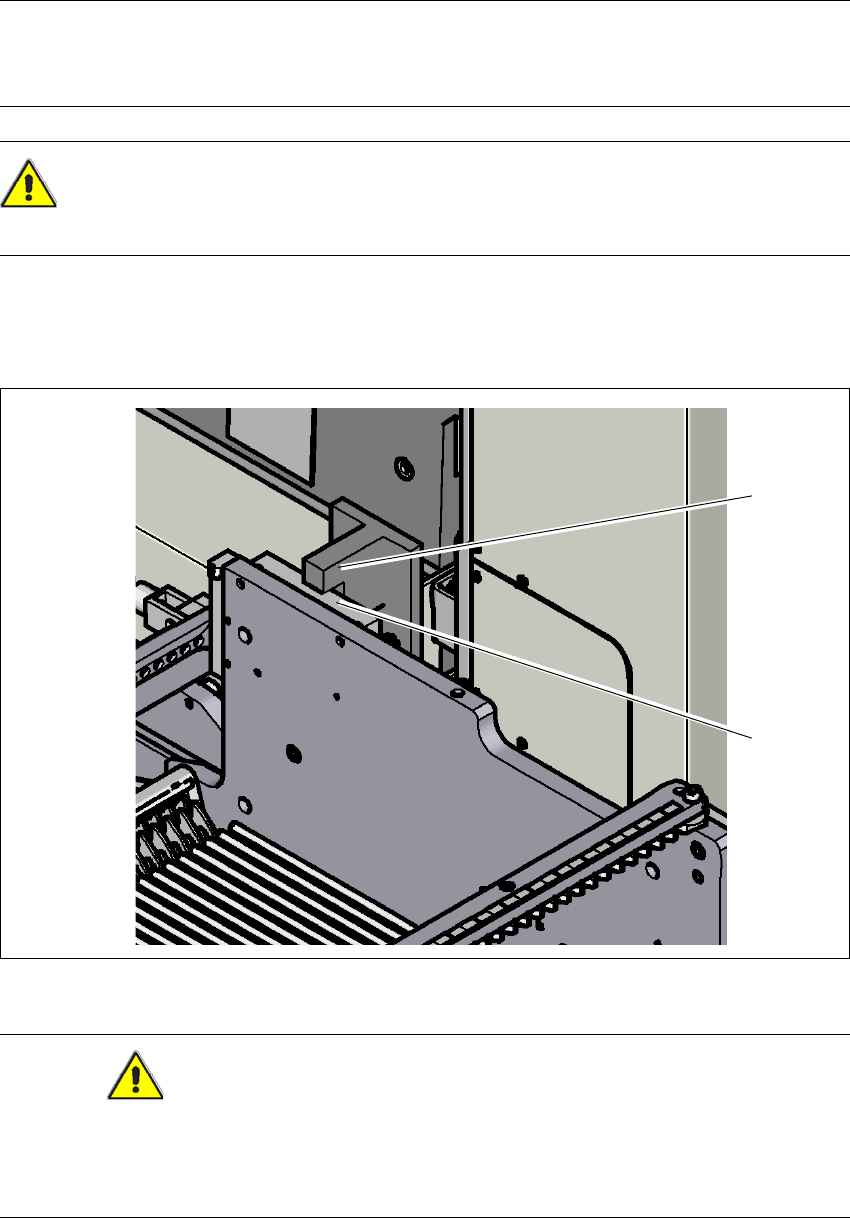
Carefully push the component trolley into machine as far as the stop. The stop block (2) of
the changeover table must fit under the bracket for the table height check (1) on the machine
feed-in (right and left side).
5
Fig. 5.15 - 5 Table height check
CAUTION
Do not remove the two brackets (on the right and left side) for the table height check (1). If either
of these brackets is removed, the changeover tables could be too high, thus causing a head
crash. 5
5
(1)
(2)
5 Working with the machine User Manual SIPLACE SX1/SX2/DX1/DX2
5.15 Docking the component trolley in or out From software version SC.706.xx Version 06/2012 EN
302
Use the height setting for fine adjustment to correct the height of the component trolley. The
two surfaces of the block and the bracket should not quite touch.
PLEASE NOTE
Close the protective covers since the component trolley can only be docked in if the covers are
closed.
5
5
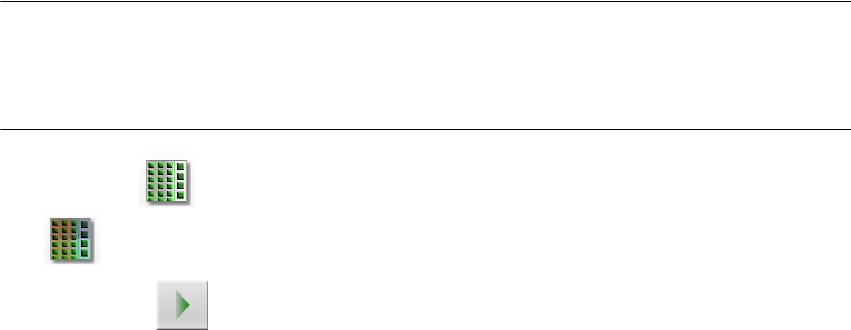
Select the Feeder Modules... icon and the
Locations icons in the main view of the station software.
Click on the icon to lock the respective location and wait until the trolley has docked
completely. For further information, refer to the station software Online Help.
Push the sleeve up using both handles and swivel the handle
down.