CP45-英文版培训教材.pdf - 第56页
Operating Manual MODEL Reference Figure CP-45/55 Operation Process # White: Use this for ensuring that Mark is shown lighter than background. # Black: Use this for ensuring that Mark is shown darker than background. ^<…

Operating Manual
MODEL
Reference Figure
CP-45/55 Operation Process
^<Camera> Column
To select Camera to test Fiducial
Mark. At present this is fixed in
"Move Camera".
V
<6. Form Data> Area
To input Data related with Fiducial
Mark types.
Check it with <Outline> button
and adjust it to the real size.
^<Size X> Edit Box
To set the size of X direction of
Fiducial Mark.(Based on a device
coordinator indicator)
^<Size Y> Edit Box
To set the size of Y direction of
Fiducial Mark.(Based on a device
coordinator indicator)
^<Arm> Edit Box
To set the width of a bar in
Cross type Fiducial Mark.
^<Polarity> Combo Box
To select a color of Fiducial Mark.
Selectable colors are as follows:
Operating Manual
MODEL
Reference Figure
CP-45/55 Operation Process
# White: Use this for ensuring that
Mark is shown lighter than
background.
# Black: Use this for ensuring that
Mark is shown darker than
background.
^<Thickness> Edit Box
To set the thickness of Fiducial
Mark.
0 means the Fiducial Mark of full
size.
Digits except 0 mean that outline
has the thickness as much as the
digit.
^<Rotation> Combo Box
To set the rotation degree of
Fiducial Mark. For a triangle, the
registered data has type with its
edge upwards but the edge faces
the side in the actual direction of
Mark. For these cases, it can be
used for setting the rotation degree.
Set the degree based upon CW.
Selectable degrees are shown as
follows:
# 0: Means that degree of Mark is
0.
# 90: Means that Mark is rotated
with the degree of 90.
# 180: Means that Mark is rotated
with the degree of 180.
# 270: Means that Mark is rotated
with the degree of 270.
Operating Manual
MODEL
Reference Figure
CP-45/55 Operation Process
Width Y
Width X
Y
x
V
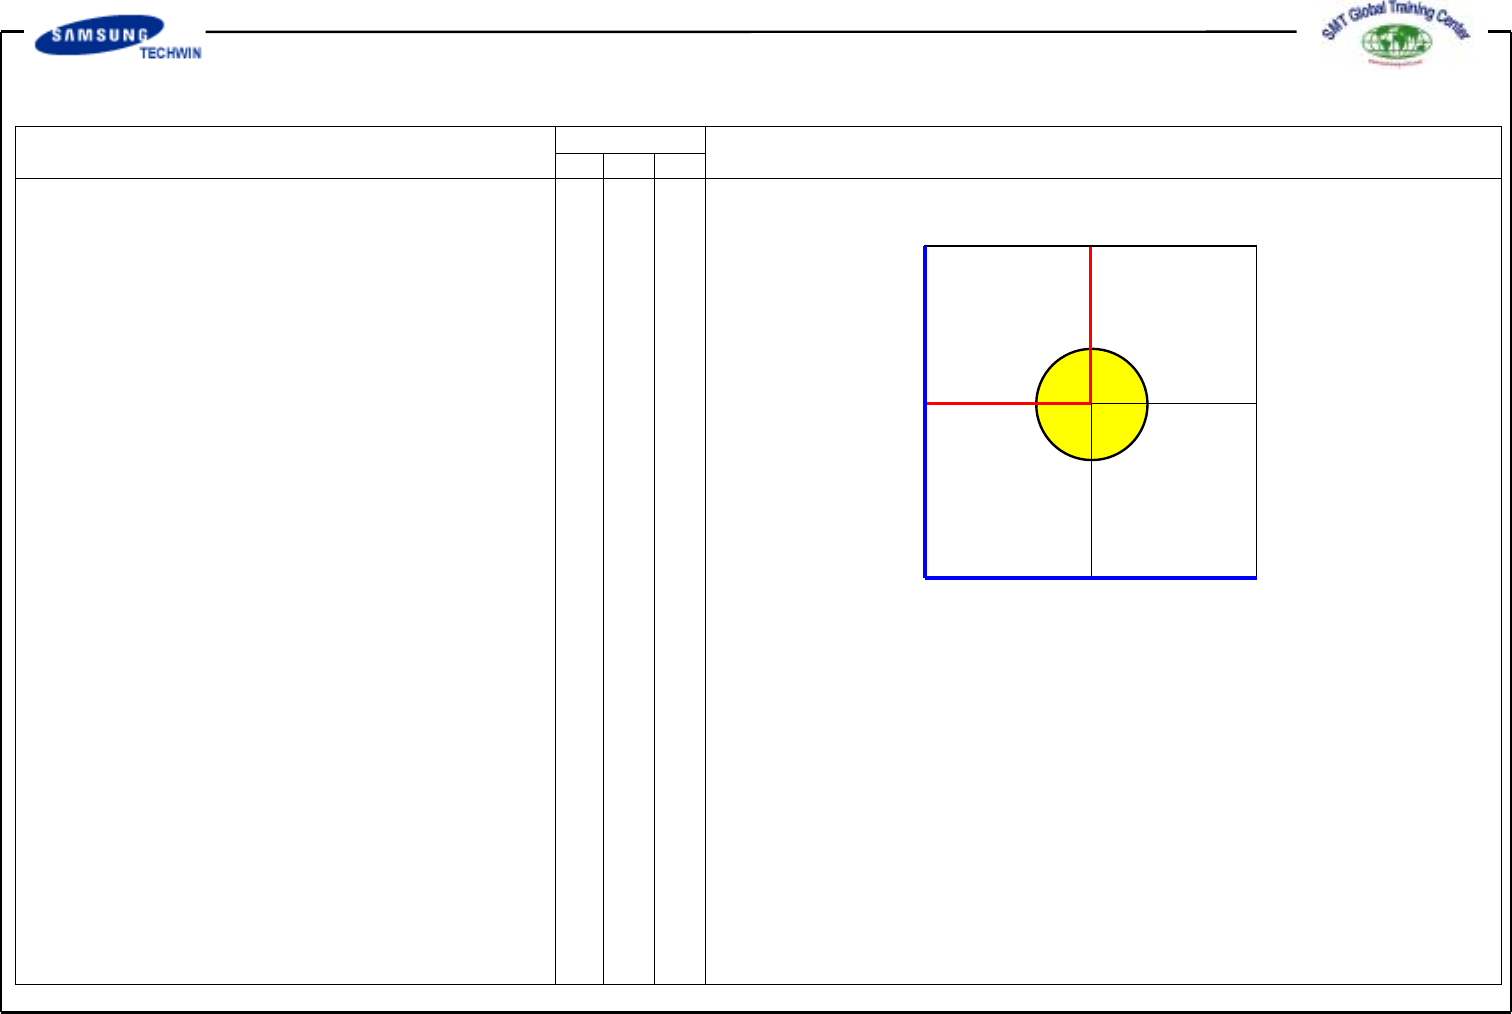
<7. Search Area> Area
This sets the area to inspect the
Fiducial Mark. The purpose of
this is to limit the range to inspect
Mark in case that interference for
acknowledgement caused by shape
similar to Mark exists around Mark
on certain PCB.
<X> Edit Box (Symbol is (-))
This sets the start position for
inspecting the Fiducial Mark at
the direction of X-axis.
Input the size of 1~1.5 times of Mark
size to ensure that the center of
Vision Monitor Screen is 0.
<Y> Edit Box (Symbol is (-))
This sets the start position for
inspecting the Fiducial Mark at
the direction of Y-axis.
Input the size of 1~1.5 times of Mark
size to ensure that the center of
Vision Monitor Screen is 0.
<Width X> Edit Box
This sets range to inspect Fiducial
Mark to X-axis direction. In general,
set the value of 6mm. Input values
of 2 times as much as X and Y
axes.
<Width Y> Edit Box
This sets range to inspect Fiducial
Mark to Y-axis direction. In general,
set the value of 6mm.