FUJI NXT Programming Manual QD004-18.pdf - 第186页
6. Editing Jobs on the Machine (MEdit) QD004-18 176 NXT Programming Manual 11. Once com pleted with an y ne cessary adjustments for the di splayed position, click the start butto n to continue u ntil the next break point…

QD004-18 6. Editing Jobs on the Machine (MEdit)
NXT Programming Manual 175
6.7.3 Testing a job using place & check mode
Use this mode to perform a check of the pickup data, vision data, carrying data, part types,
placing data, actual placing conditions, and orientation.
Starting place & check mode.
1. Transmit the job to be tested to the machine and wait for the main screen to display on
all of the operation panels for the modules.
2. Start MEdit and log on if necessary.
3. Click [Open Current Job] from the [File] menu. The [Acquire current production job]
dialog box displays.
4. Double-click the line with the machine for the job to be tested and then double-click the
machine name to display the modules. Select the module on which the job is to be
tested. The name of the job in the module is automatically displayed in the [Job] group
box.
5. If necessary, select the lane on the module with the job to be tested.
6. Click [OK] and the specified data from the job is opened.
7. Select [Job Test] - [Place & Check] from the [Tool] menu. The background color of the
operation panel for the module in question turns violet to indicate that that module is in
a test mode.
Checking part positions and direction.
8. Select the sequence to be checked from the list in MEdit and click the break point button
(the round red button). This designates that the sequence is to be checked and the
sequence gets a red circle icon in the beginning column of that sequence.
Note: It is possible to specify multiple break points. The sequences with the break points are
stopped at and the captured image is sent to MEdit to be checked. The images for non-
break point sequences are not set to MEdit to be checked, unless the next sequence
command is being used.
Note: It is not possible to specify a starting sequence for place & check mode. If the module is
stopped during production and then switched to this mode, the beginning sequence is the
sequence at which production was stopped.
9. Click the start button (the green triangle button pointing to the right) to start the check.
The machine starts the conveyor and once a panel is loaded, clamps it and starts the
check from the first/stopped sequence. The machine picks parts, vision processes them
and then places them and then the mark camera acquires an image of the placed part
and position and this displays on the operation panel. Once a break sequence is
reached, the machine acquires that position image, stops, and transmits the image to
MEdit. This image is then displayed in MEdit with a part graphic overlay.
Note: It is necessary to have feeders set in the module to be tested when using place & check
mode because parts are picked from the feeder.
10.Check the coordinates and angle of the part and graphic in relation to the pads on the
panel. If it is necessary to change the X- or Y-position of the part, the cooridnates can
be directly edited or click the positioning button (the button with the four arrows) and then
click and drag the graphic until it is positioned correctly. The direction can be changed
by clicking the rotation button (the button with the arrow shaped as a circle).

6. Editing Jobs on the Machine (MEdit) QD004-18
176 NXT Programming Manual
11.Once completed with any necessary adjustments for the displayed position, click the
start button to continue until the next break point or click the step button (the button with
the triangle pointing at a line) to check the next sequence (even if it does not have a
break point set).
12.Continue checking sequences until all desired sequences have been placed & checked.
Note: There are times in which MEdit will ask if the changed job should be retransmitted back to
the machine. If the job has been retransmitted and there have been no further changes to
the job, then proceed to step 16. This is because the most current data is already in the
machine so it is not necessary to retransmit the job again. If not sure whether or not the
changes to the job have already been sent to the machine then, proceed to the next step.
There are no problems if the job is retransmitted to ensure that the current data is in the
machine.
Sending changes back to the module.
13.Once the sequences have been checked, click [Run Data Checker] from the [File] menu
to check the job for any problems. Once the data checker has completed checking the
job, retransmit the data back to the module.
14.Select [Retransmit Job] from the [File] menu to send the changes back to the module.
Note: It is possible to transmit the job to the module when the yellow engineering pictogram is
displayed on the operation panel of the module.
15.Recheck any changes to sequences if necessary.
Exiting place & check test mode.
16.Once all testing for place & check mode has been completed, select [Job Test] - [Exit]
from the [Tool] menu.
That completes the testing of the job on the specified module with place & check mode.
QD004-18 6. Editing Jobs on the Machine (MEdit)
NXT Programming Manual 177
6.8 Testing Pickup Positions (from NXT V3.20)
6.8.1 Introduction
The pickup test function enables users to check and edit pickup positions in jobs on the
machine prior to starting production. By doing this, pickup errors that occur during the
beginning of production can be greatly reduced. There are two pickup items that can be
tested. The pickup X- and Y-positions can be checked and edited from NXT V3.20 and
later. The pickup height can be tested and edited for compatible heads from NXT V3.40
and later. Both of these items can be used for parts in feeders or trays. Tray pickup data
such as the pickup position and pitch data can also be edited by using this function for trays.
6.8.2 Testing pickup positions in a feeder
Use this to check and edit the X-, Y-, and Z-positions for picking parts in feeders.
Starting the pickup test.
1. Transmit the job with the pickup position to be tested to the machine and wait for the
main screen to display on all of the operation panels for the modules.
2. Start MEdit and log on if necessary.
3. Click [Open Current Job] from the [File] menu. The [Acquire current production job]
dialog box displays.
4. Double-click the line with the machine for the pickup positions to be tested and then
double-click the machine name to display the modules. Select the module on which the
pickup positions is to be tested. The name of the job in the module is automatically
displayed in the [Job] group box.
5. If necessary, select the lane from which to test the pickup position data.
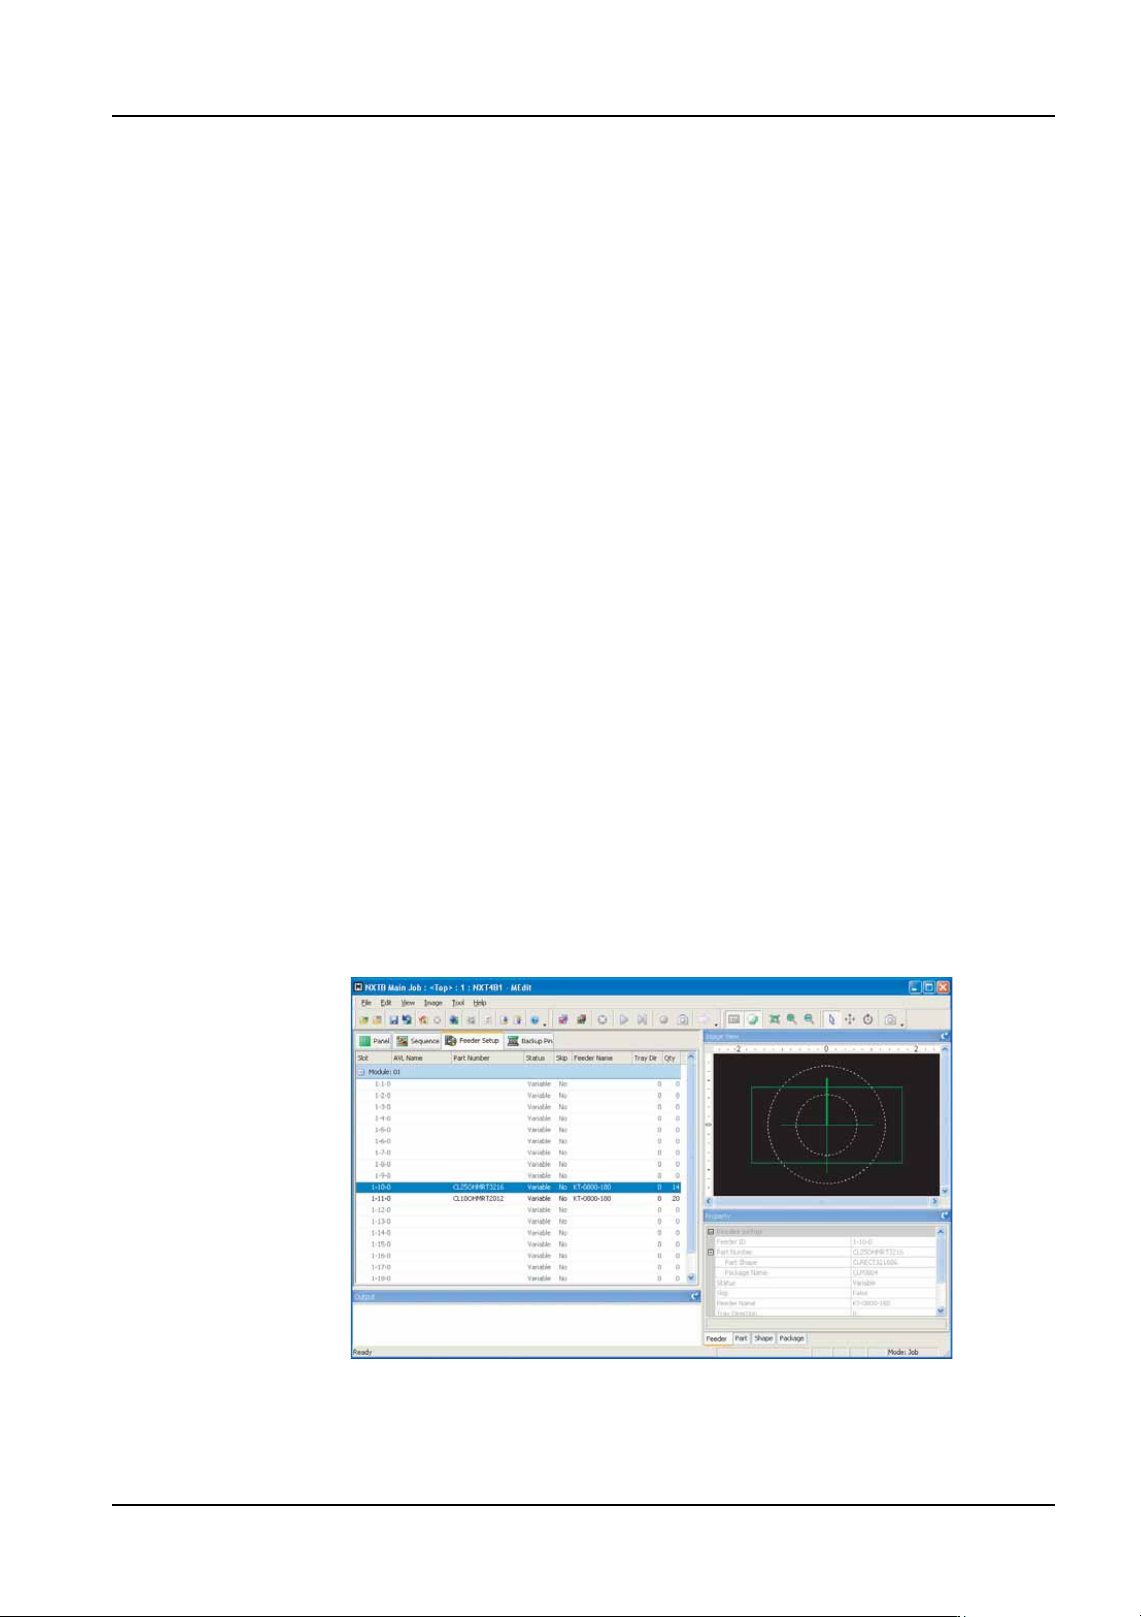
6. Select the [Feeder Setup] tab.
7. Select the slot for which the pickup test is to be performed.
01PRG-0030Ea