YSP_Users_E.pdf - 第101页
3-21 3 Daily operation 8. Finishing board production T o finish board production, follow these steps. 1 Stop machine oper ation. (1) Automatic stop When the specified number of boards has been produced the machine automa…
3-20
3
Daily operation
l
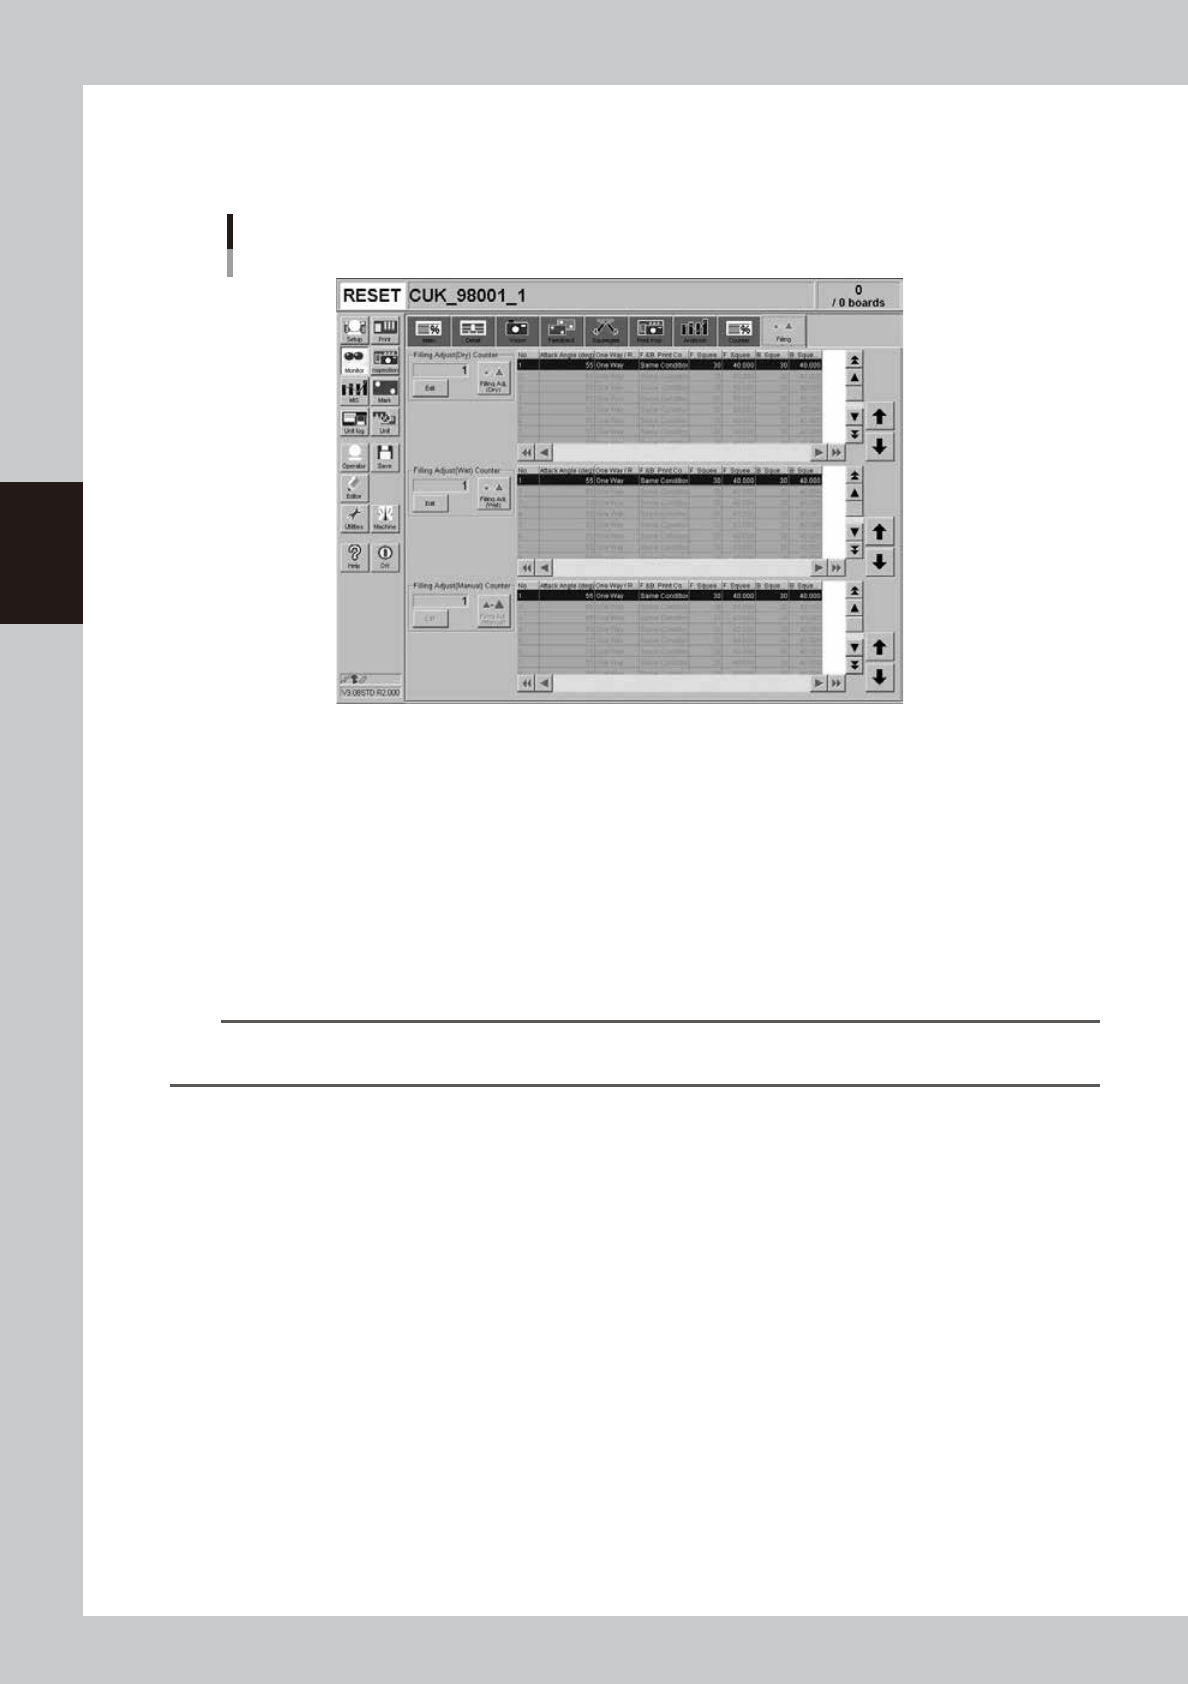
Monitor: Filling
The [Filling] tab appears on the Monitor screen when "Filling Adjust" is set to "Use" in the Squeegee dialog box that
appears with the [Print]-[Squeegee]-[Detail] button.
[Monitor]-[Filling] tab
64321-L3-00
Filling Adjust (Dry) Counter, Filling Adjust (Wet) Counter, Filling Adjust (Manual) Counter
After dry auto cleaning or wet auto cleaning or manual cleaning has been carried out, the corresponding counter counts
up each time a board is printed while adjusting the solder filling. The counter is reset to "1" when it reaches the "Filling
Adjust Count" set in the Squeegee dialog box that appears with the [Print]-[Squeegee]-[Detail] button. The count start
number can be changed with the [Edit] button.
[Filling Adjust (Dry)] button, [Filling Adjust (Wet)] button, [Filling Adjust (Manual)] button
These buttons are left depressed (turned on) while solder filling is being adjusted, and the current printing step is shown
with light-blue in the right-hand list. These buttons automatically turn off when printing with solder filling is complete up
to the specified number of steps. The machine then returns to normal printing without adjusting the solder filling. (The
above screen shows that the first board after wet automatic cleaning is being printed while adjusting the solder filling.)
TIP
If two or more cleaning methods are designated at the same timing, the order of priority will be "Manual", "Wet Auto"
and "Dry Auto. For more details, see "6. Cleaner data setting" in Chapter 4.
l
Monitor: Print Inspection
The [Print Inspection] tab appears on the Monitor screen when the machine uses an optional solder-print inspection
function. You can check solder-print inspection results that are graphically and numerically displayed. For more
information, refer to the separate option manual "Solder print inspection".
l
Monitor: Mask Inspection
Not currently supported.
3-21
3
Daily operation
8. Finishing board production
To finish board production, follow these steps.
1
Stop machine operation.
(1) Automatic stop
When the specified number of boards has been produced the machine automatically stops after
unloading the last board. Use this method in normal production. However, there may be cases (2) to
(5) as follows where you want or have to stop production prior to automatic stop.
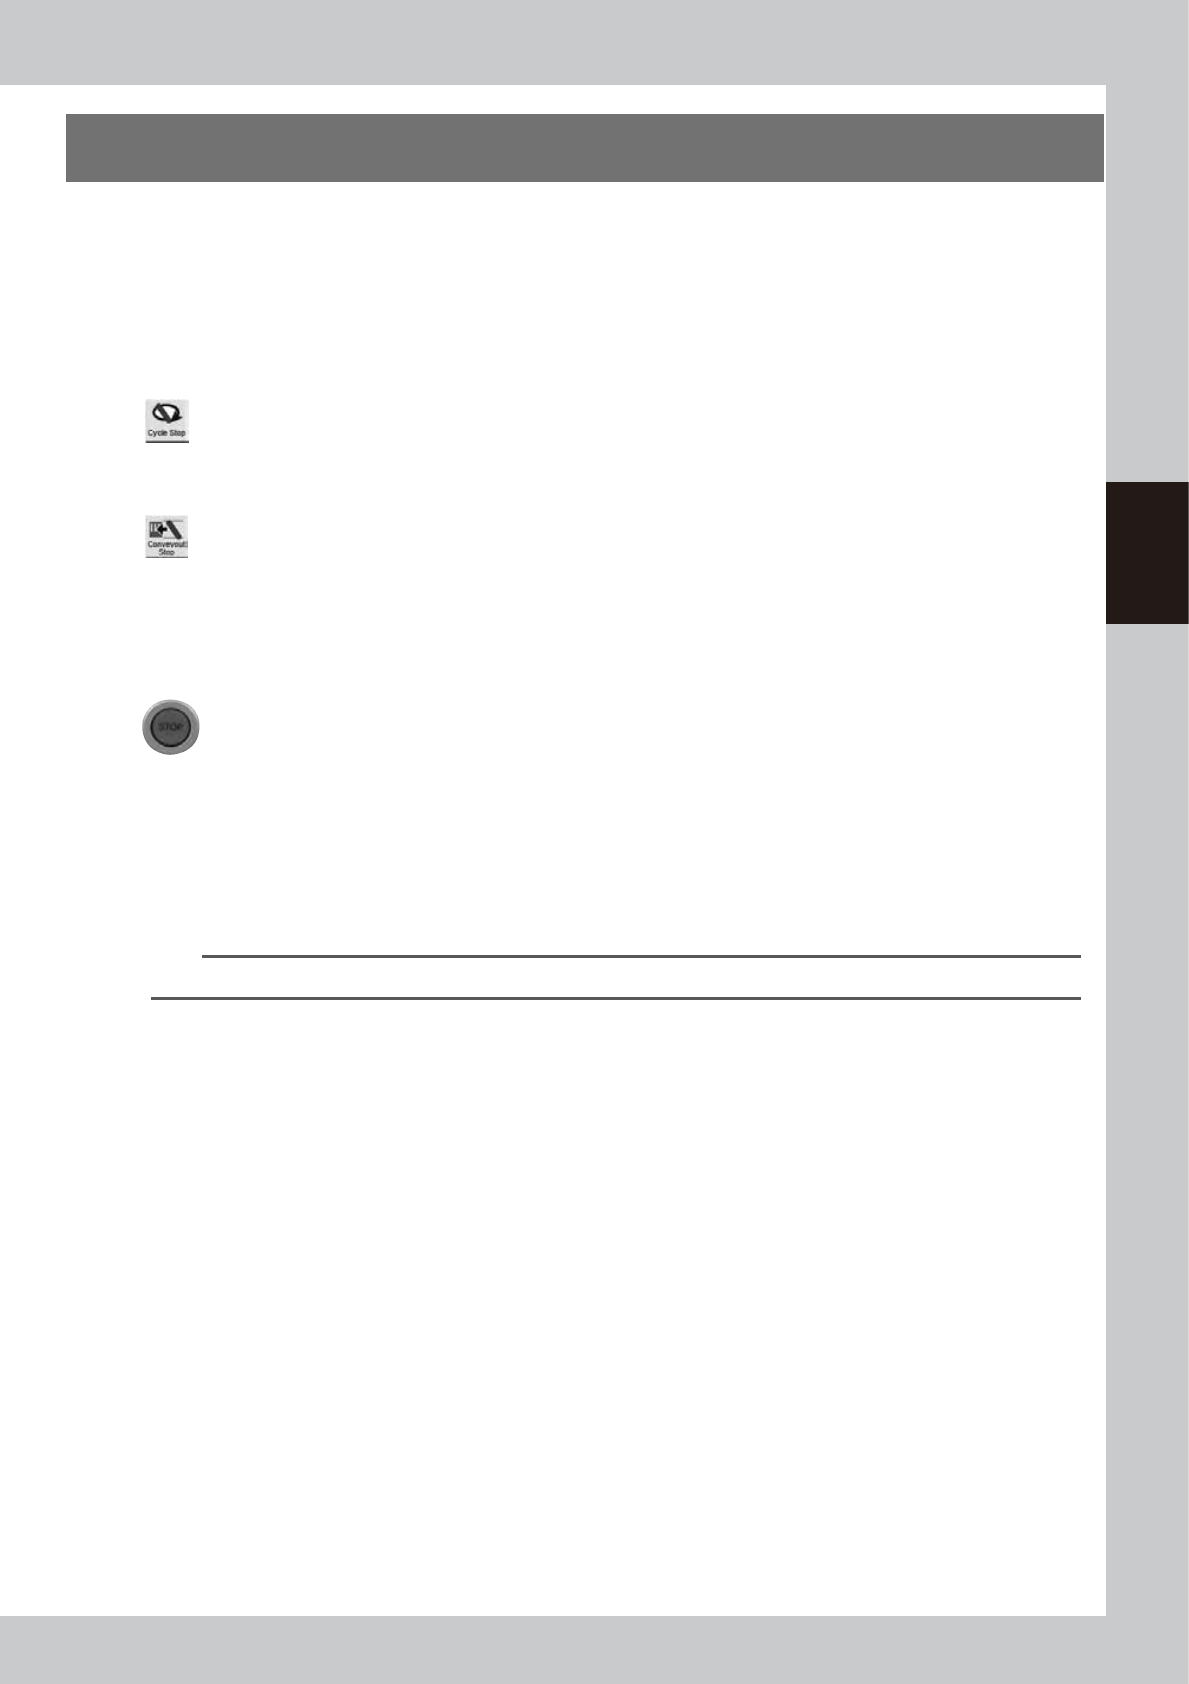
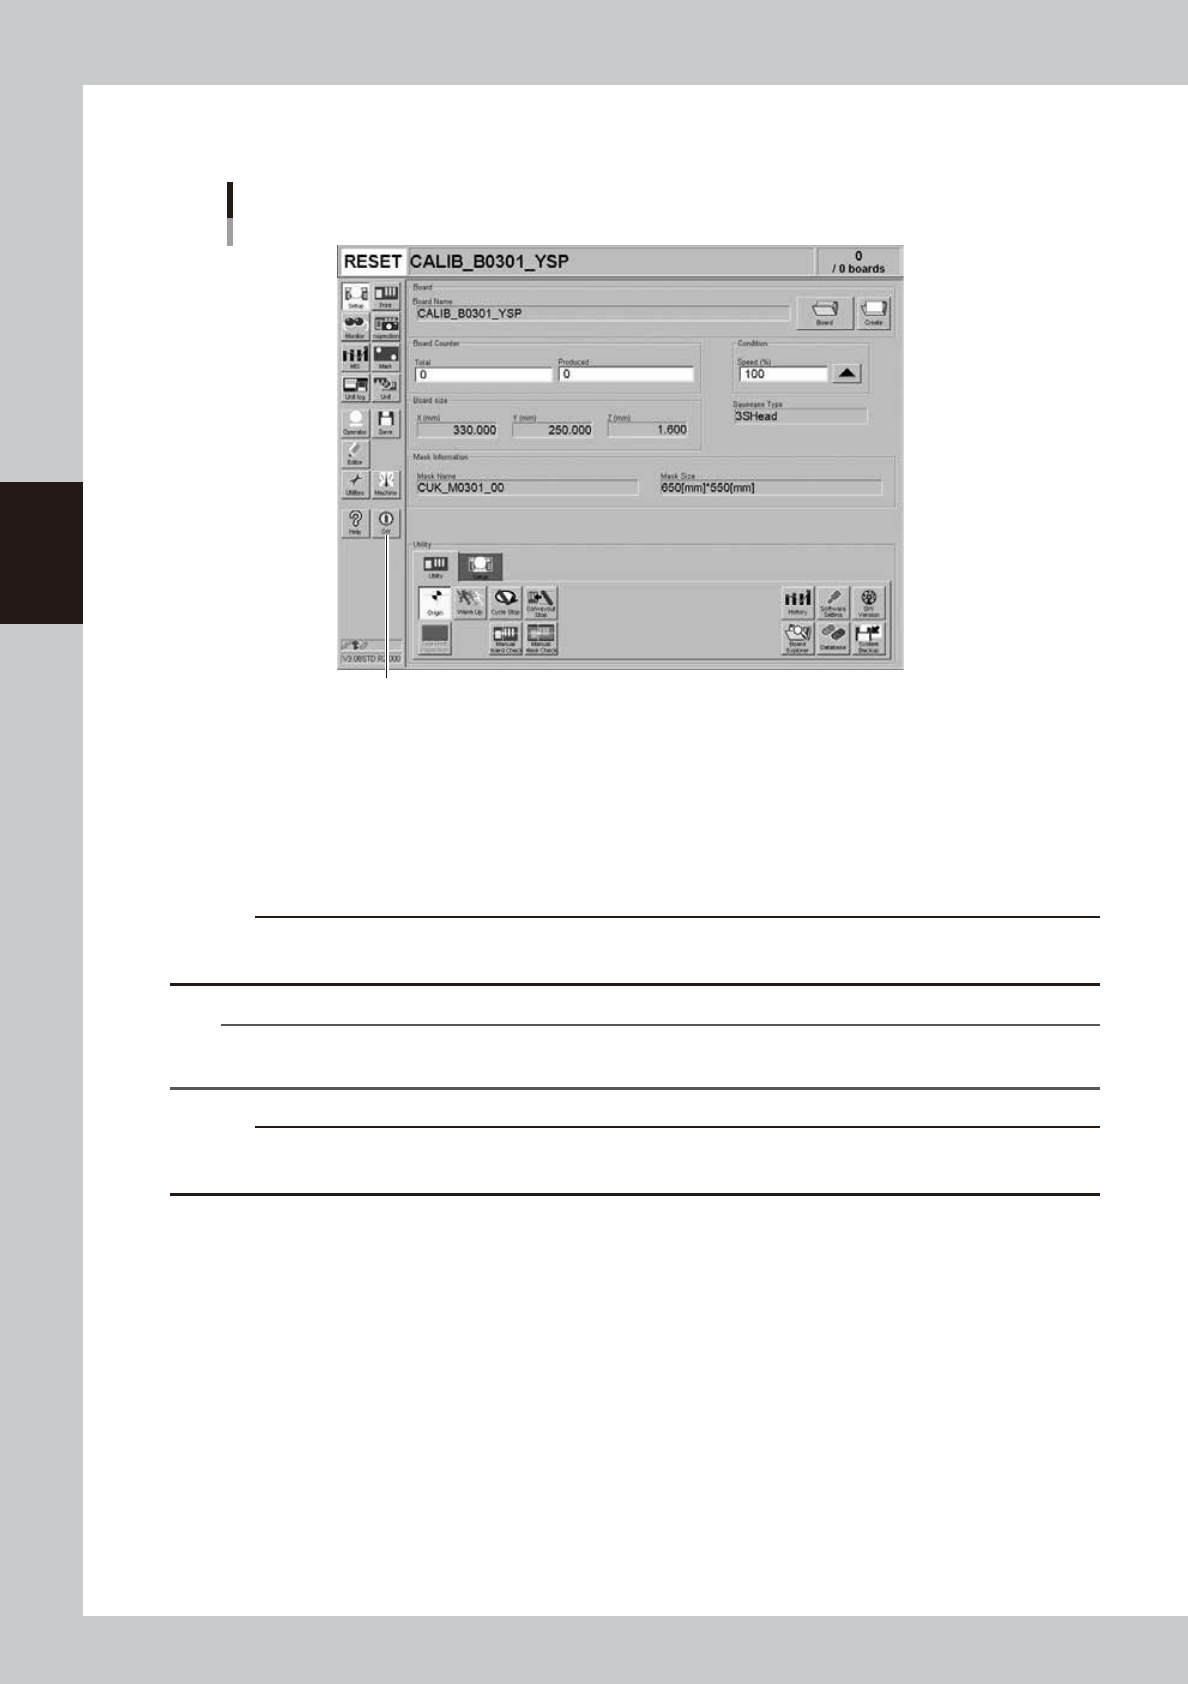
(2) [Cycle Stop] button
Pressing the [Cycle Stop] button on the [Utility] tab of the Setup screen stops the machine operation
just after printing the current board. New boards are then no longer carried in from the upstream
side (loader, buffer conveyor, etc.).
(3) [Convey-out Stop] button
Pressing the [Convey-out Stop] button on the [Utility] tab of the Setup screen stops the machine
operation just after printing and unloading the current board. New boards are then no longer
carried in from the upstream side (loader, buffer conveyor, etc.).
e
(4) Emergency stop button
Pressing this button triggers emergency stop. Do not use this button in normal operation.
(5) [STOP] button (operation panel)
Pressing the [STOP] button stops the machine immediately as in emergency stop. To resume
operation, press the [START] button on the operation panel.
2
Clean the mask after board production.
1. Open the [Setup] tab or the Setup screen and press the [Auto Cleaning] button.
A dialog box appears asking you to select the cleaning method.
2. Select the cleaning method ("Dry" or "Wet") and press the OK button.
The cleaning unit begins moving to clean the backside of the mask automatically.
TIP
If you want to perform manual cleaning, press the [Manual Cleaning] button and follow the message that appears.
3
Press the [RESET] button on the operation panel to reset the operation.
Machine returns to board production standby status.
4
Detach the squeegees.
e
1. Press the [Move Squeegee] button and move the squeegee head to the "Front Side" position.
2. After pressing the emergency button, open the upper door and detach the squeegees from the
holder by loosening the mount knobs.
5
Remove the mask from the printing table.
Press [Mask Clamp] button to unclamp the mask and then remove it from the printing table.
6
Close the upper door and cancel emergency stop.
3-22
3
Daily operation
7
Quit the software.
Press the [Off] button on the operation display and follows the message that appears on the screen.
[Off] button
[Off] button
64322-L3-00
8
Turn off the power switch on the front right of the machine.
See "2.3 Turning off the machine" in Chapter 2.
9
Clean the squeegees and mask.
After detaching the squeegees and mask, wipe away the remaining solder on them with the
appropriate cleaner solvent and the cleaning wiper (option) to clean them.
c
CAUTION
Be careful to handle the solvents. See "1.9 Handling solvents (including solder, adhesive and flux)" in "Safety
instructions" for that.
n
NOTE
To find how to correctly handle the mask and solder, refer to the instruction manual of the mask or solder
manufacturer.
c
CAUTION
How well you clean the mask you detached after use will greatly affect the production yield the next time that same
mask is used. Also handle the squeegee and mask carefully to avoid dents and scratches.