YSP_Users_E.pdf - 第151页
4-48 4 Creating and setting the data 9. Making a test print When visual alignment on the created data has been made, make a test print before starting board production, to check the printing conditions and accuracy and m…

4-47
4
Creating and setting the data
9
Check the result of the graphic alignment.
Press the [Trace] button to check if the coordinates alignment result is correct.
0
Remove the board from the conveyor.
Press the [Close] button to close the [Visual alignment] screen. Then press the [Convey Out] button to
remove the board.
4-48
4
Creating and setting the data
9. Making a test print
When visual alignment on the created data has been made, make a test print before starting board
production, to check the printing conditions and accuracy and make necessary adjustments. In test print, we
recommend covering the board with a transparent sheet (option) to protect the board just as with the rolling
operation.
n
Note
When printing with newly created board data, always make a test print before starting production to check the
printing conditions and accuracy. Even when printing with board data you have used, we recommend making a test
print before beginning daily work.
1
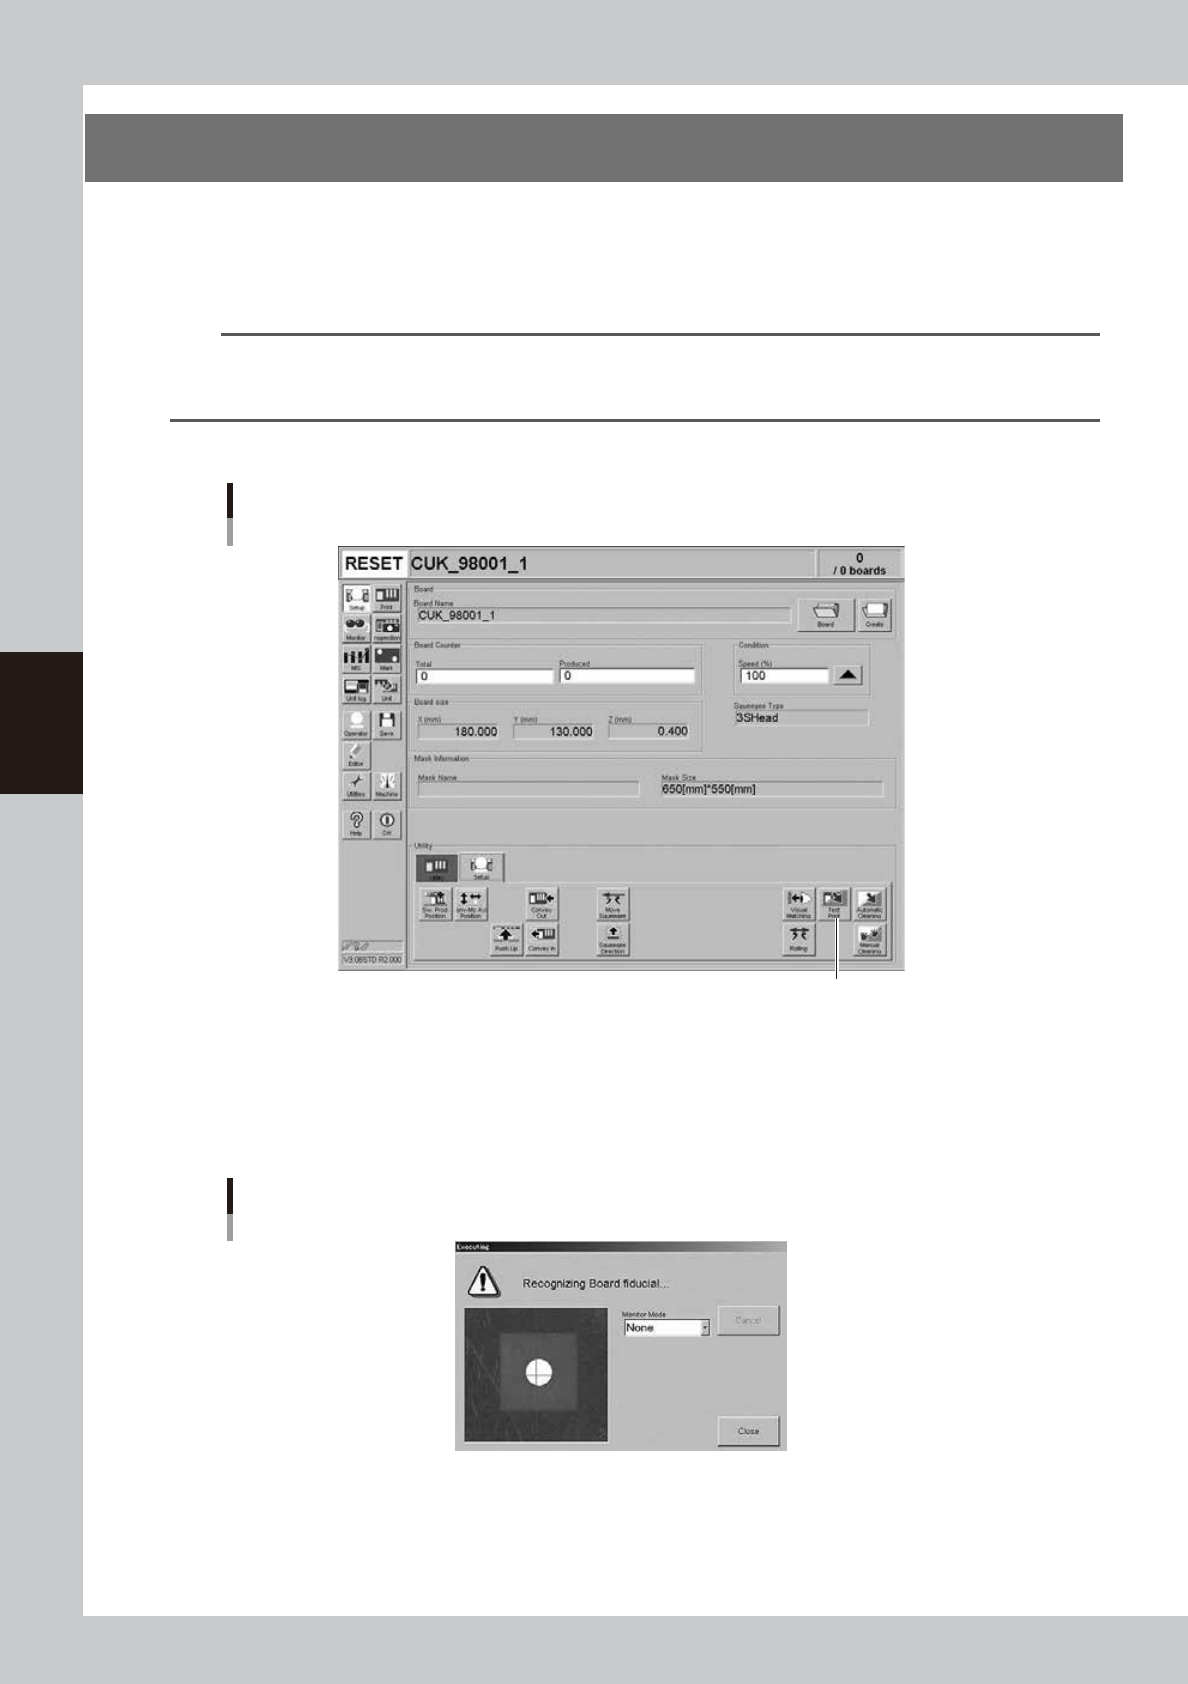
Press the [Test Print] button on the Setup screen.
[Test Print] button
[Test Print] button
64447-L3-00
2
Follow the message on the screen to load a board on the conveyor.
This step is skipped when a board has already been clamped on the conveyor.
When the board is clamped on the conveyor, the board fiducial mark and the mask fiducial mark are
automatically recognized. (The mark recognition process is skipped if not using the fiducial mark
function.)
Fiducial mark recognition screen
64448-L3-00
4-49
4
Creating and setting the data
3
Check that test print begins.
After mark recognition is complete, the conveyor table moves to printing position and is fixed, and the
squeegee head automatically begins moving to make a test print.
4
When the test print is complete, unload the board
Follow the message on the screen to unload the board.
n
NOTE
When you are going to make visual check of the test print state on the operation display, leave the board clamped
on the conveyor and advance to the next step.
5
Check the printed state.
e
l
When the board was unloaded from the conveyor:
Press the emergency stop button, take the board out of the conveyor and visually check the printed
state.
l
When the board was left clamped on the conveyor:
Make a visual check on the operation display as explained below.
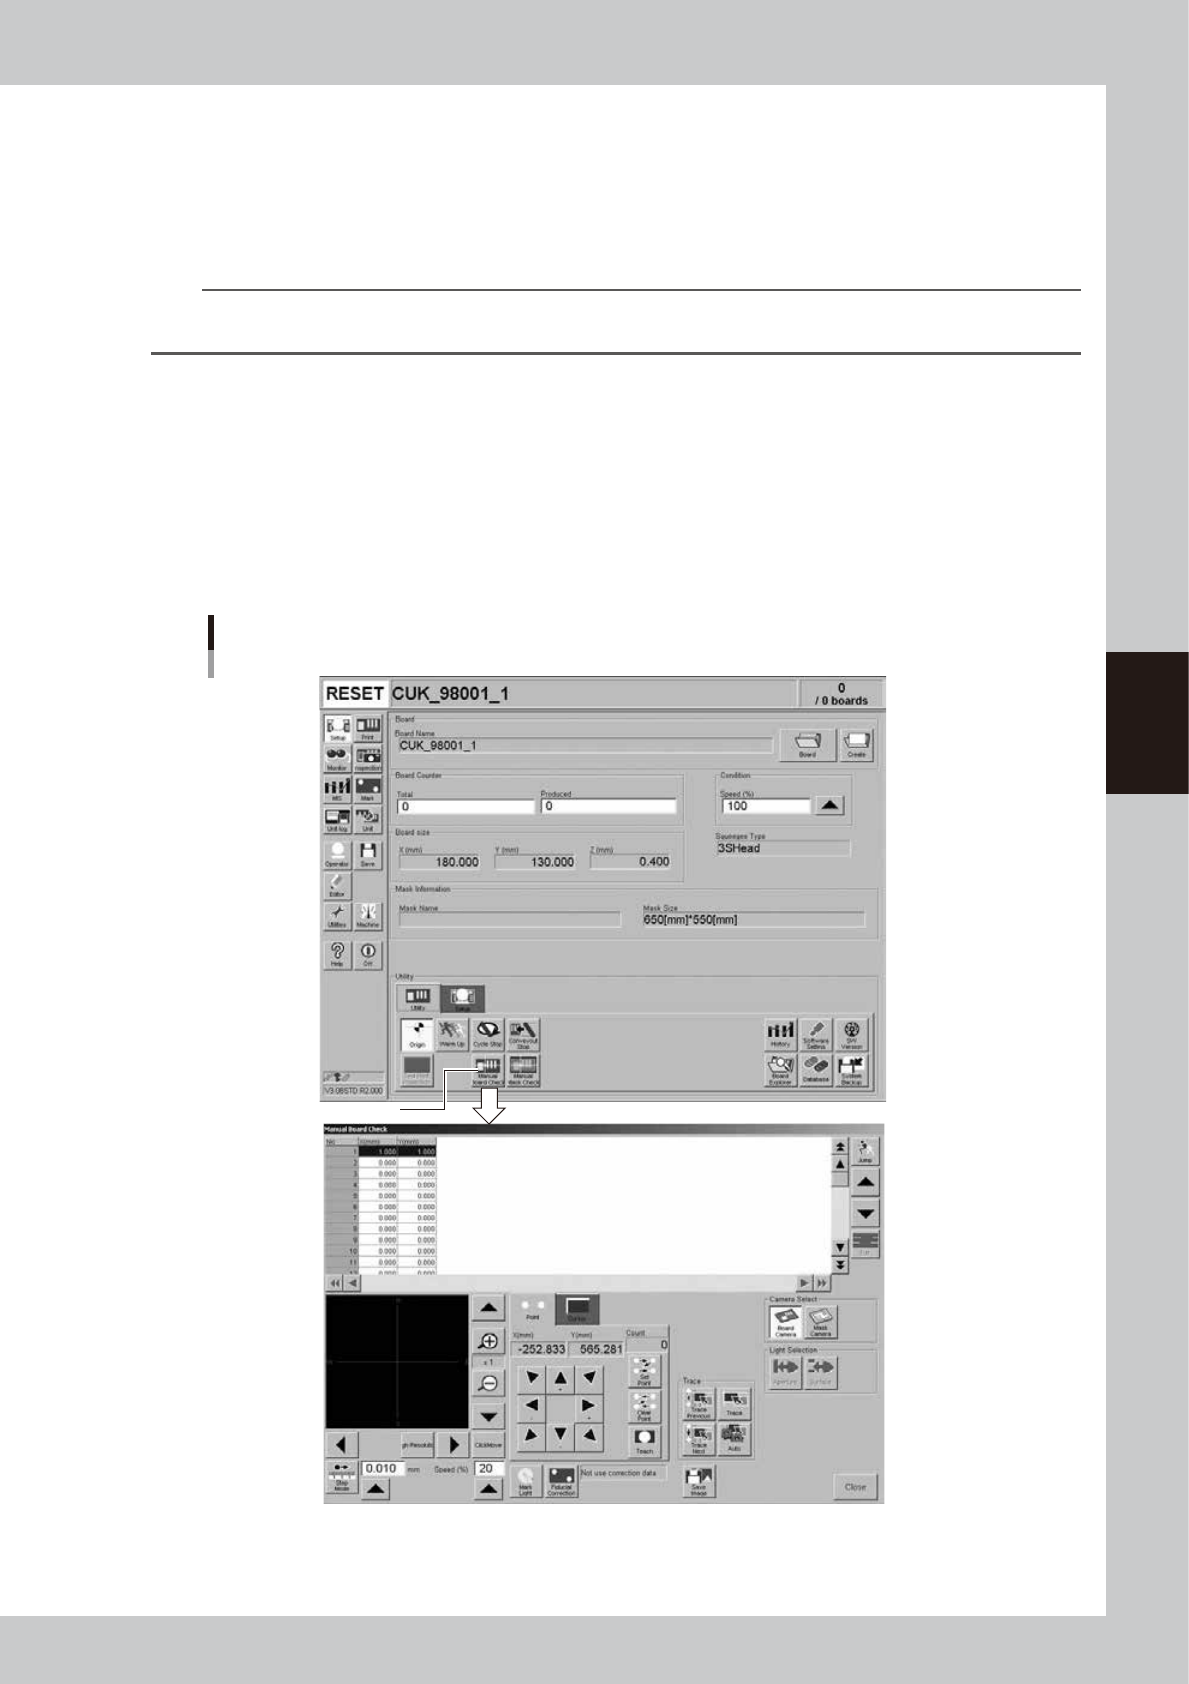
1. Open the [Utility] tab on the Setup screen and press the [Manual Board Check] button.
The manual board check screen appears.
[Manual Board Check] button
[Manual Board Check] button
64449-L3-00