YSP_Users_E.pdf - 第90页
3-10 3 Daily operation 5 Raise the clamp plate. Raise the clamp plate of the mask adaptor to attach it to the mask clamp on the machine side. The clamp plate is kept raised by the magnet on the adapter . 6 Install the L …
3-9
3
Daily operation
5.1 Using the mask adaptor
Optional special mask adaptors are necessary for the masks with the size "600 x 550" or "550 x 650".
Follow the procedure below to install the mask adaptors on the left and right of the mask plate.
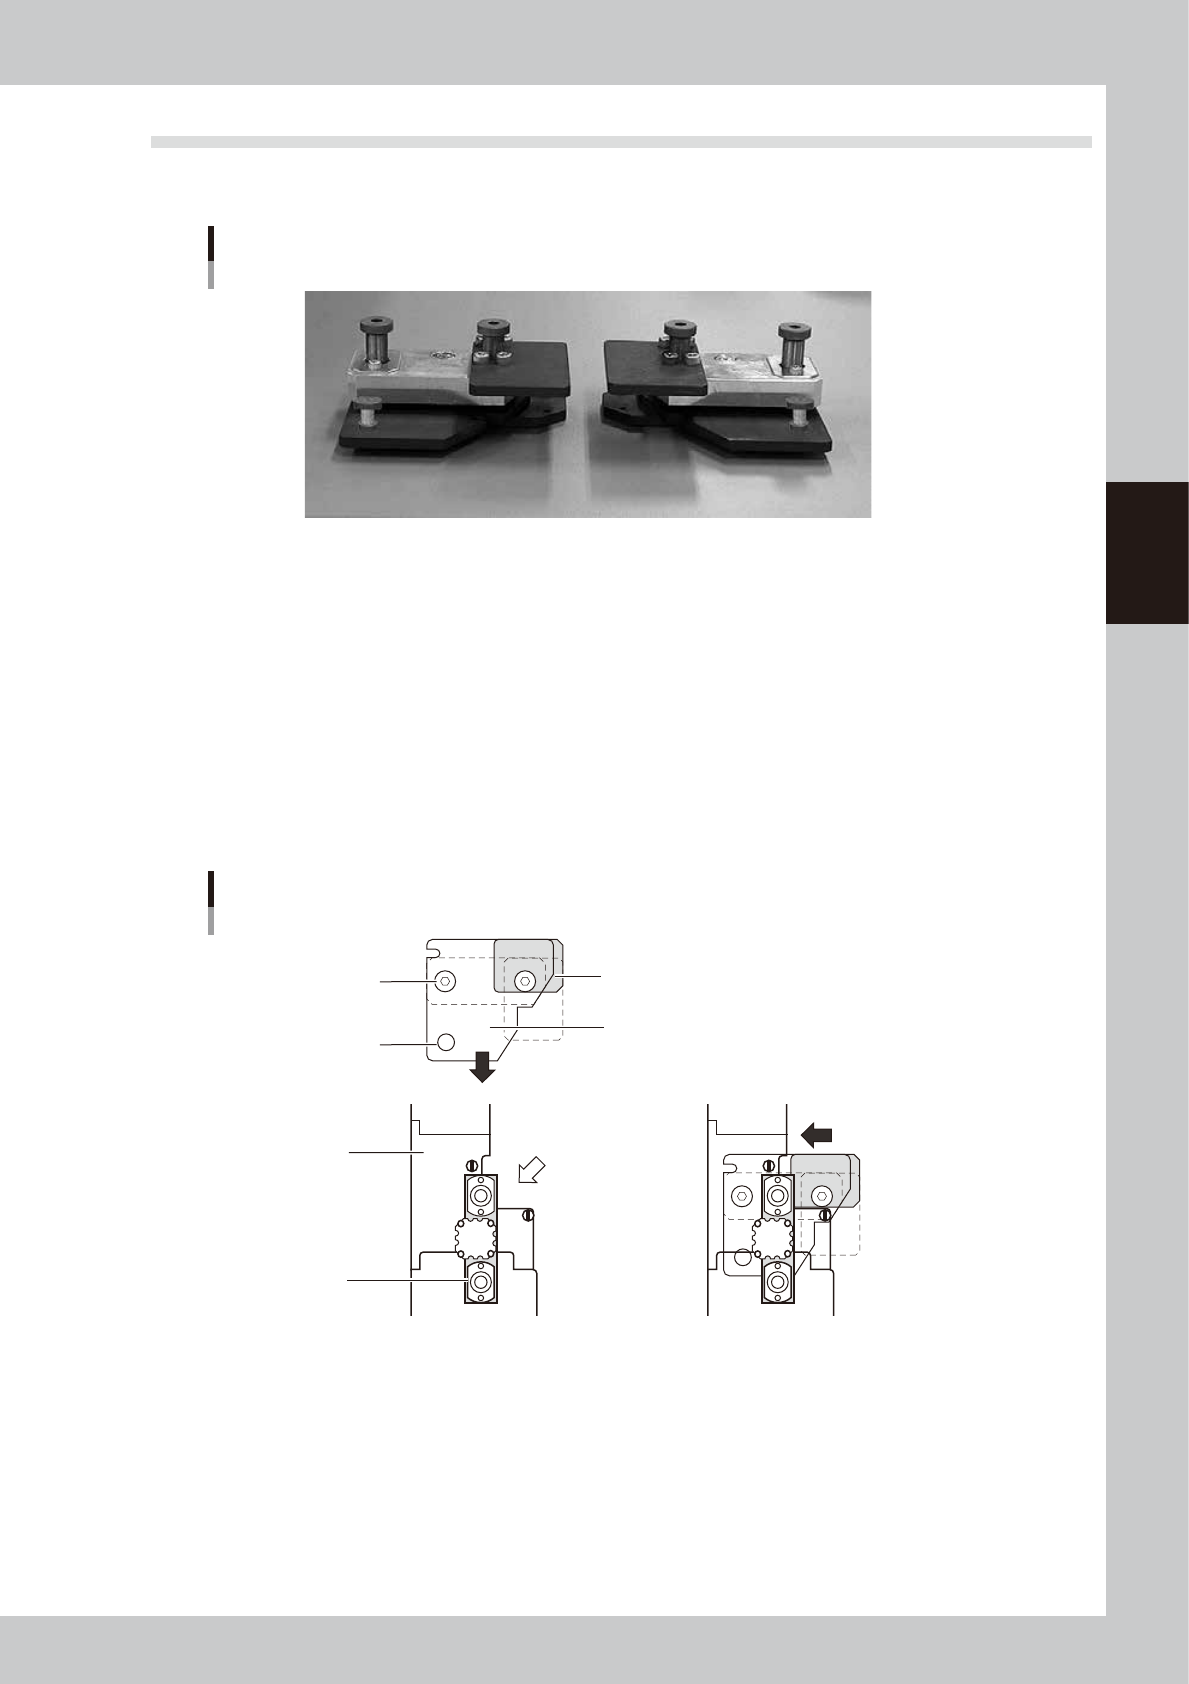
Mask adaptor
For left side For right side
63309-L3-00
e
1
Press the emergency stop button and open the upper door and front panel.
2
Move the squeegee head to the rear.
Hold the handle on the right of the squeegee head to move the squeegee head to an easy work
position.
3
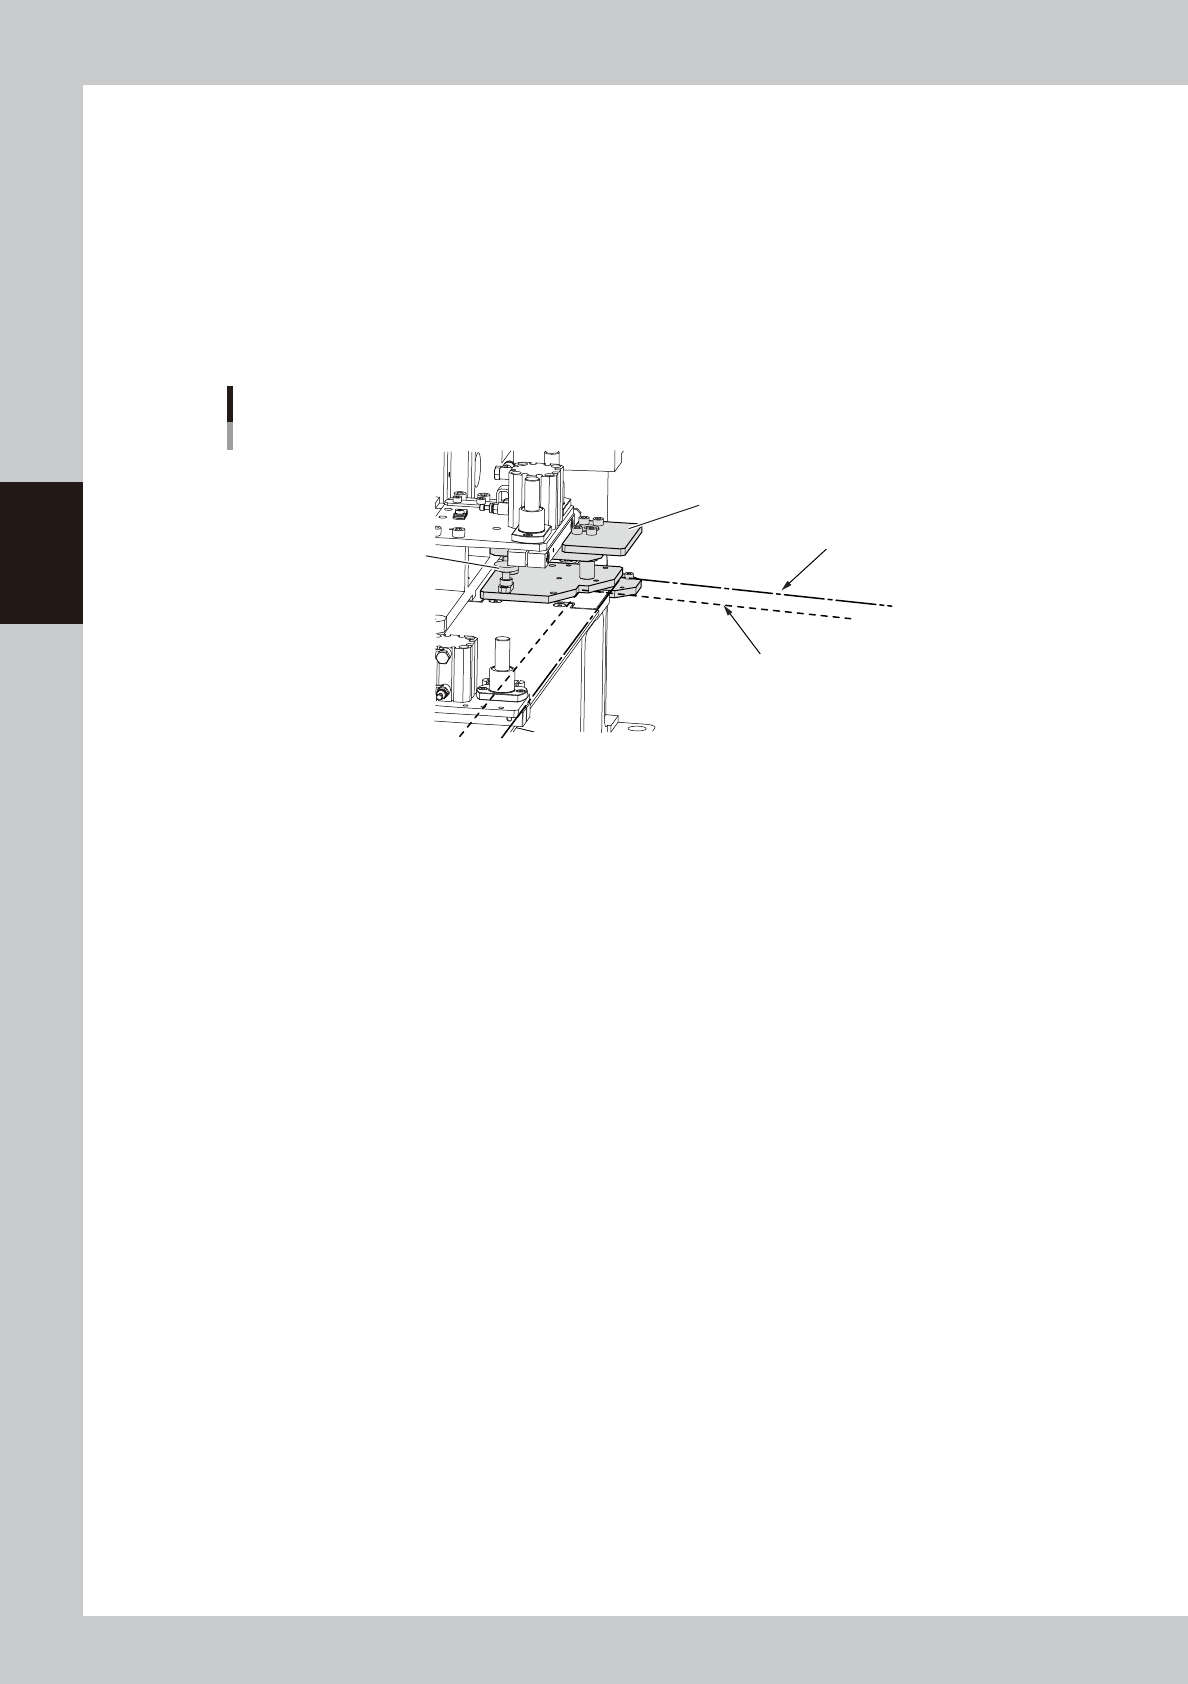
Insert the mask adaptor into the specified position.
1. Slide the mask adaptor on the mask plate from the rear so that the mask clamp is fastened by the
guide as shown in the figure below.
2. Slide the mask adaptor left at the position shown in the figure below to press-fit the lowest plate
(shaded portion shown in the figure below) of the mask adaptor into the notch of the mask plate.
Installing the mask adaptor
Mask adaptor
Mask clamp
Guide
Mount knob
Mask plate
Notch of mask plate
Bottommost plate (gray-colored part)
63311-L3-10
4
Secure the mask adaptor.
Turn the mount knob to secure the mask adaptor.
3-10
3
Daily operation
5
Raise the clamp plate.
Raise the clamp plate of the mask adaptor to attach it to the mask clamp on the machine side.
The clamp plate is kept raised by the magnet on the adapter.
6
Install the L side (X direction) stopper.
Install the mask stopper pin at the specified position of the left mask plate while referring to the label
stating “Mask sizes and stopper positions” attached to the machine.
7
Set the mask.
Set the mask while referring to the mask installation position shown in the figure below and turn on the
mask clamp switch to secure the mask.
Mask adaptor
Mask installation position
"600x550" mask position
"550x650" mask position
Mount knob
Clamp plate
63310-L3-00
3-11
3
Daily operation
6. Rolling operation
In rolling operation, the squeegee head moves back and forth repeatedly in order to roll and agitate solder
on the mask until it becomes suitable for printing. Rolling operation is recommended in cases where you first
print after supplying solder on the mask or when solder has been left on the mask for a long time while not in
operation.
n
NOTE
The board surface becomes soiled during rolling operation, so we recommend covering the board surface with a
transparent sheet (available as option). After rolling operation, clean the backside of the mask by automatic or
manual cleaning.
1
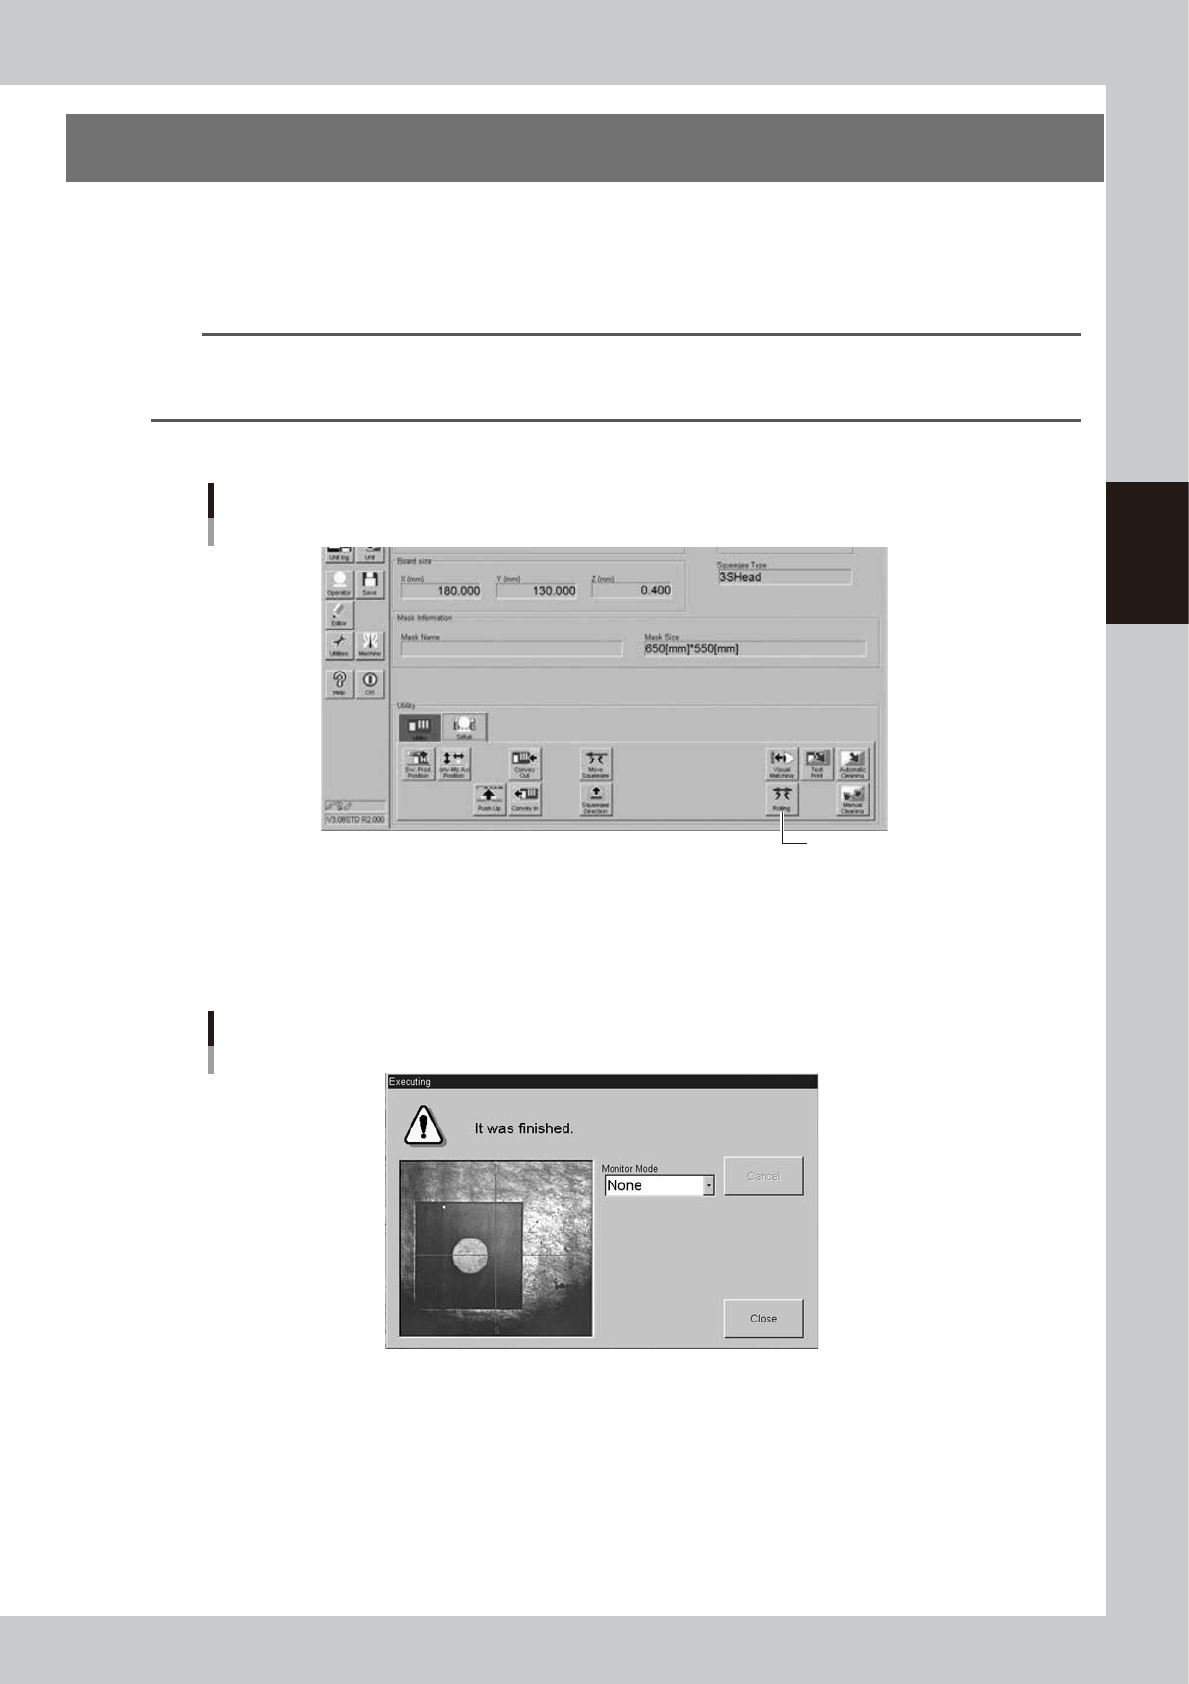
Press the [Rolling] button on the [Setup] tab of the Setup screen.
[Rolling] button
[Rolling] button
64310-L3-00
2
Follow the message on the screen to load a board on the conveyor.
This step is skipped when a board has already been clamped on the conveyor.
After the board is clamped, the board fiducial mark will be automatically recognized with the vision
camera. (This mark recognition will be skipped if not using the fiducial mark function.)
Fiducial mark recognition screen
64311-L3-00