YSP_Users_E.pdf - 第83页
3-3 3 Daily operation 4 Pr ess the [Start] button to start warm-up. The warm-up progress time and status will appear in the W ar m-up dialog box. W arm-up screen Warm-up elapsed time Pressing this button will stop the wa…
3-2
3
Daily operation
2. Starting and warming up the machine
After starting up the machine, we recommend letting warm up for about 10 minutes. No warm-up is
necessary if less than two hours have elapsed after the machine was last used.
1
Make pre-operation checks and then start up the machine.
For pre-operation checks and starting up the machine, see Chapter 2, "Basic operation".
2
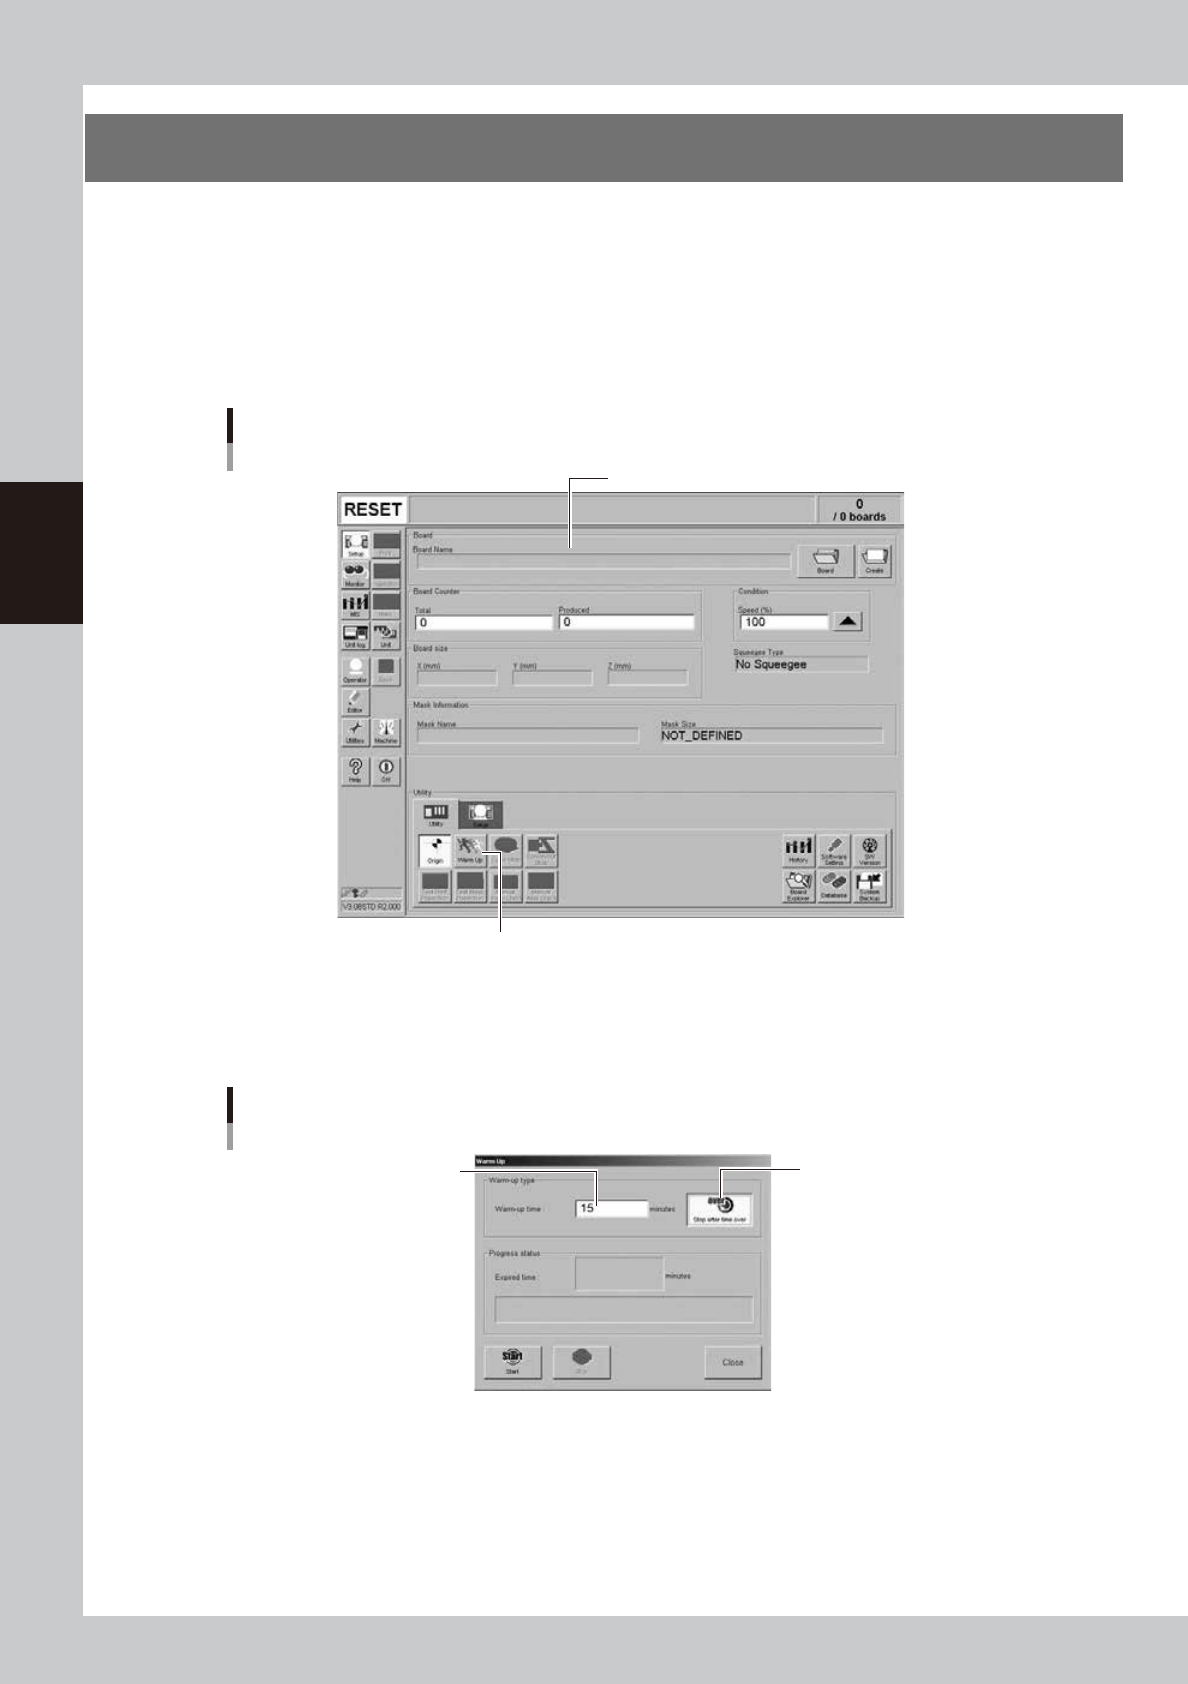
Press the [Warm Up] button on the Setup screen.
The Warm-up screen then appears.
Setup screen
Pressing this button will open the Warm-up dialog box.
Setup screen
64301-L3-00
3
Enter a warm-up time.
Press the [Stop after time over] button and enter the warm-up time. Warm-up will automatically stop
when the warm-up time you set has elapsed. Normally, about a 10-minute warm-up is recommended.
Warm-up time setting
Press this button to set the
warm-up time.
Enter a period of the
warm-up time.
64302-L3-00
3-3
3
Daily operation
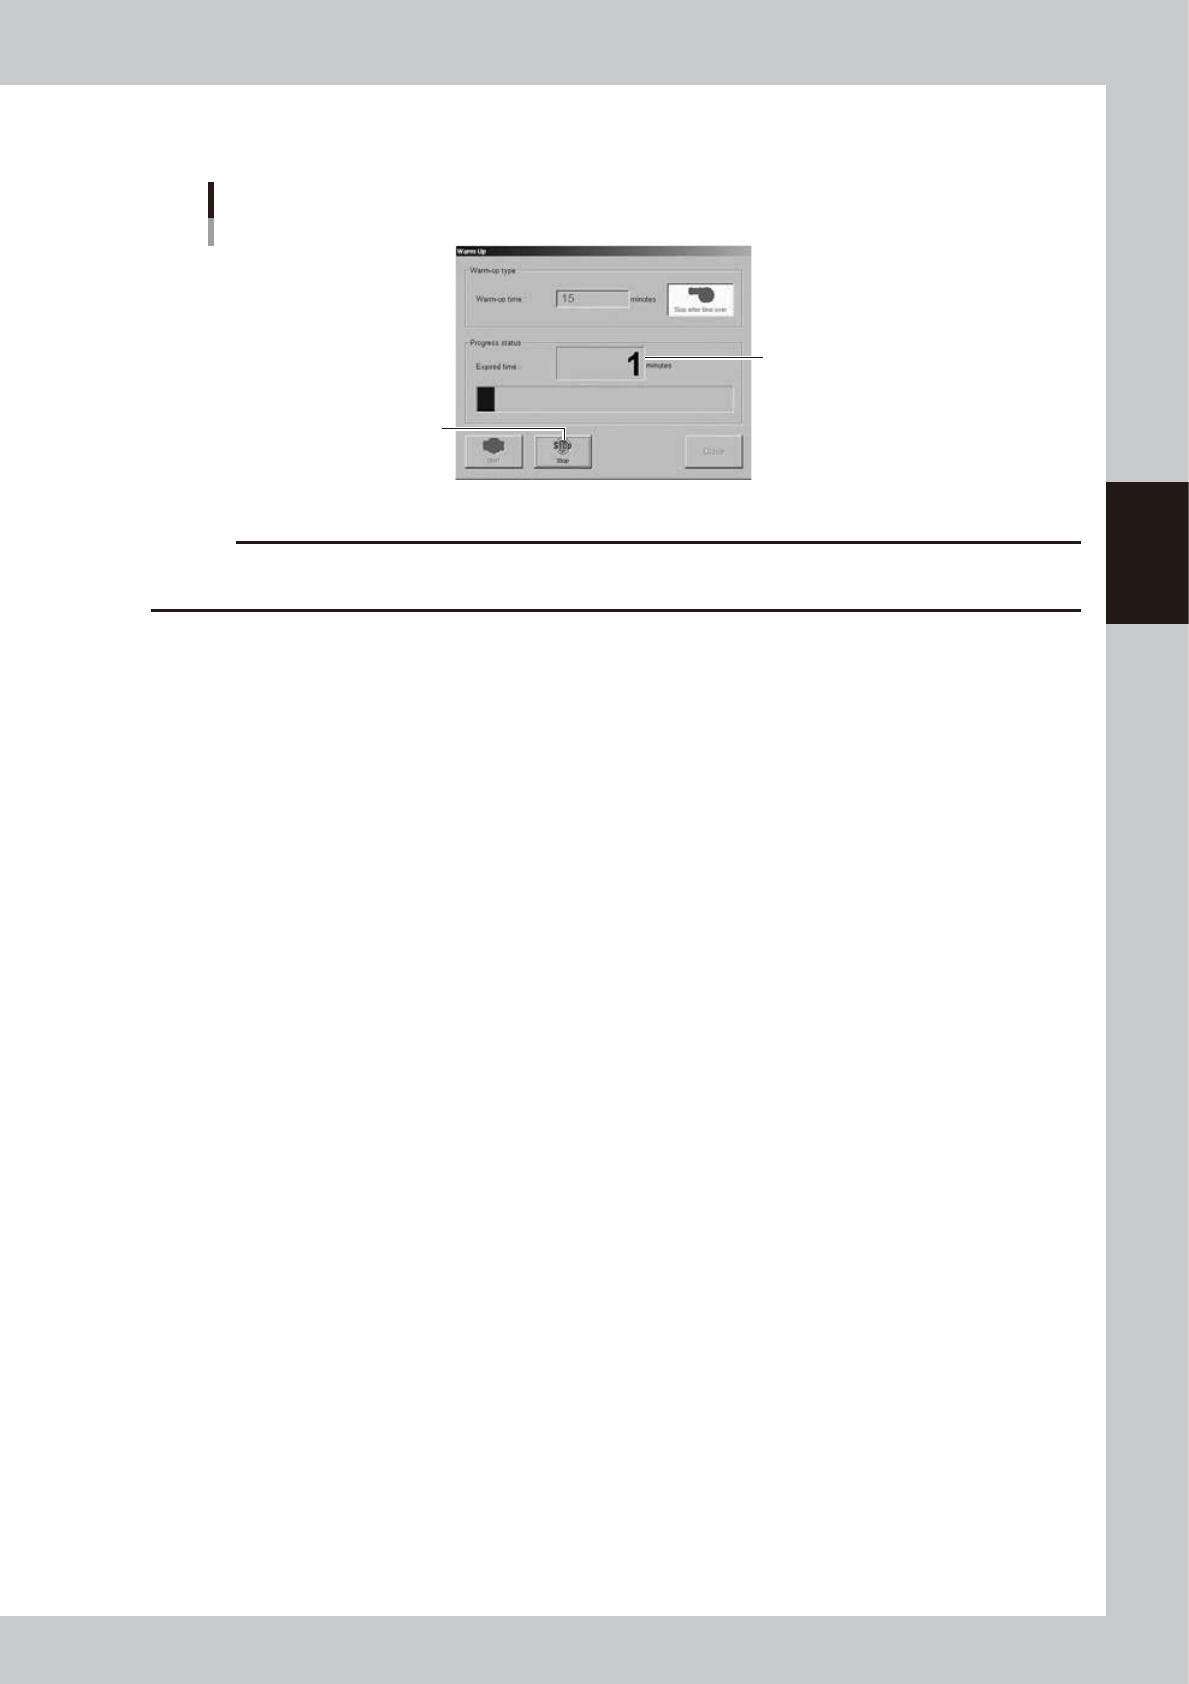
4
Press the [Start] button to start warm-up.
The warm-up progress time and status will appear in the Warm-up dialog box.
Warm-up screen
Warm-up elapsed time
Pressing this button will stop the
warm-up operation.
64303-L3-00
c
CAUTION
If problem occurs during warm-up, press the [Stop] button to stop operation immediately, check the cause of the
problem and eliminate it.
5
End the warm-up.
Warm-up will automatically stop when the time you set is reached. Press the [Close] button, and return
to the previous screen.
3-4
3
Daily operation
3. Selecting the board data
To start board production, first select the board data from the list of board data already created beforehand.
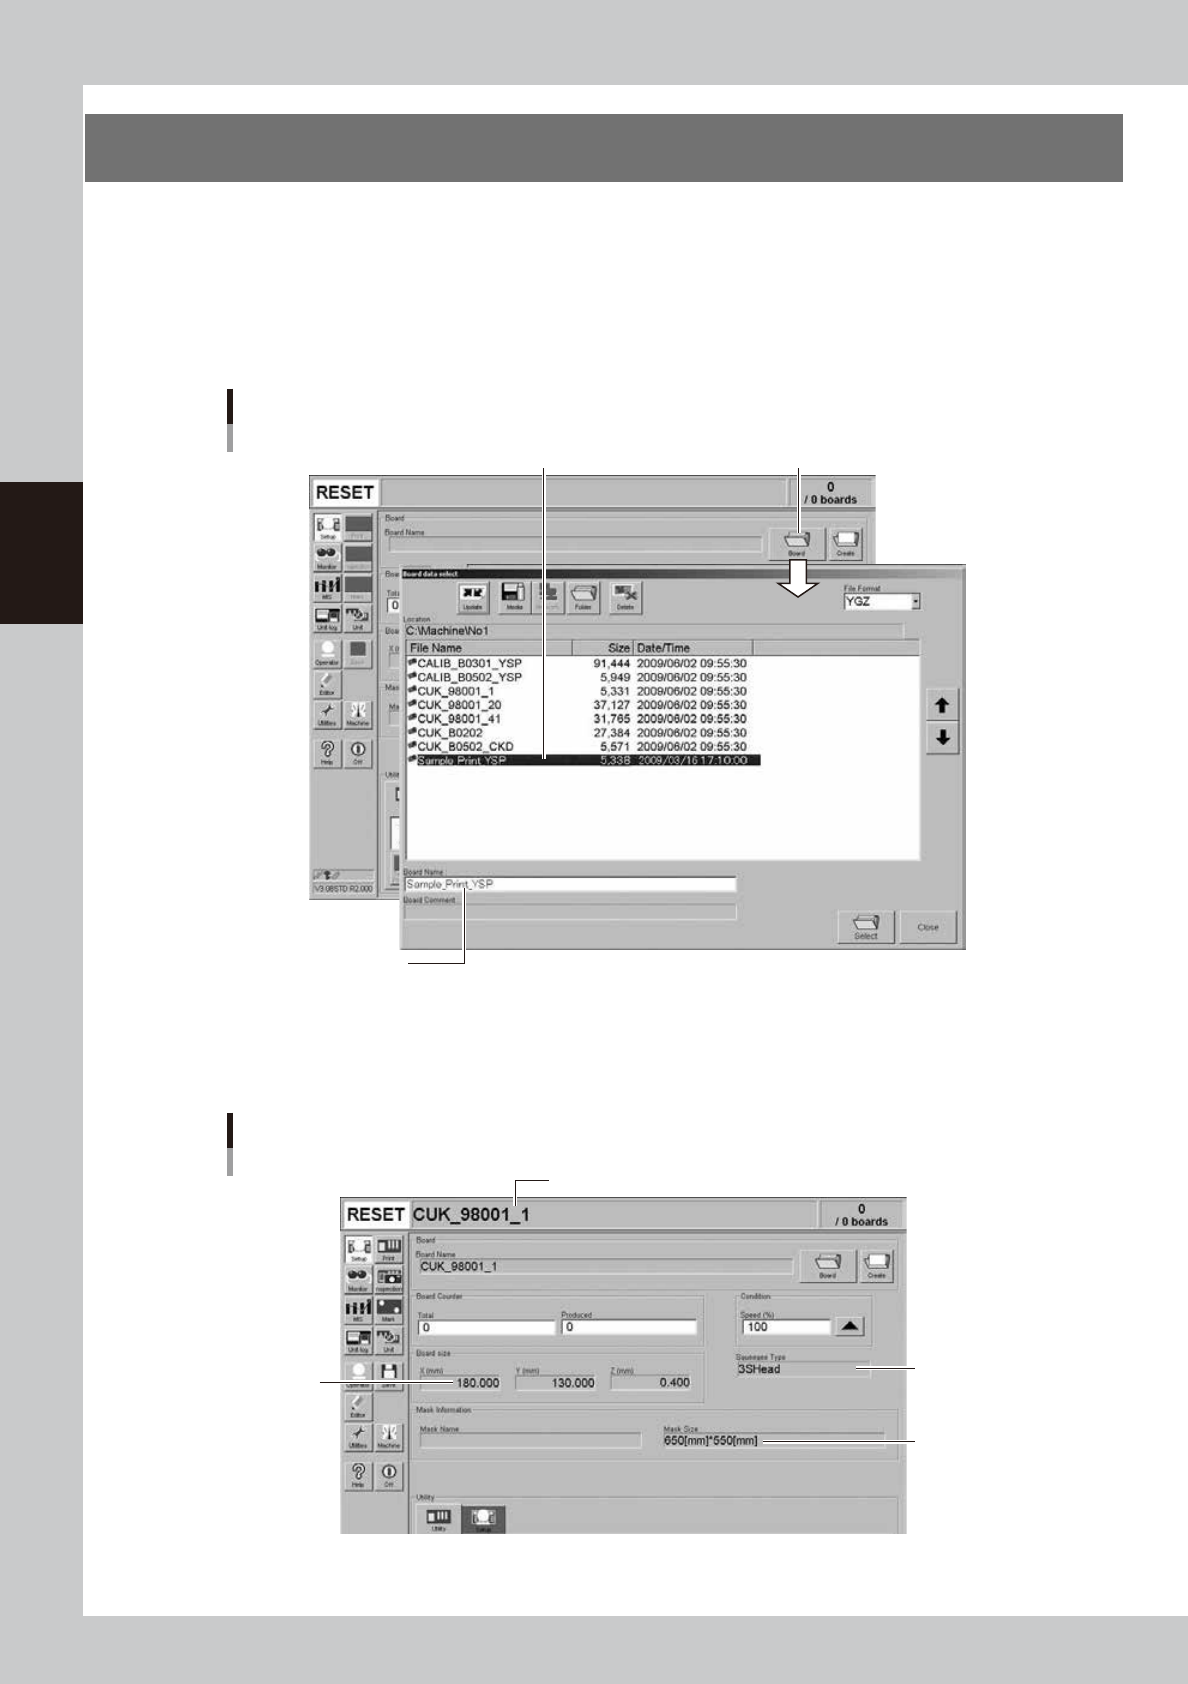
1
Select the board data.
1. When the board data is not yet selected, press the [Board] button on the Setup screen.
A list of board data appears.
2. Line up the cursor with the board data to be produced and press the [OK] button.
The machine loads the selected board data.
[Board] button
Selecting the board
Select board data from list.
Selected board data
name is displayed.
64304-L3-00
2
Check the board data.
Check that the selected board data name is shown in the status area. Also check that the displayed
board size, mask size and squeegee type are correct.
Setup screen after selecting board data
Selected board name
Board size
Mask size
Squeegee type
64305-L3-00