JANETS_INM.pdf - 第300页
JaNets In structio n Manual 7. Program Editor 7- 93 6) T o change t he lead pit ch, clic k the white c ircular marker at the e nd of the le ad w ith the mous e and drag it as it is. 7) The lead pitch v aries dep ending o…
JaNets Instruction Manual 7. Program Editor
7-92
◆ New lead creation/lead number adjustment
1) Click [Lead].
2) In [Tool box], select a type of a newly created lead among the all-direction lead button ,
up/down direction lad button and left/right direction lead button . Then, click the
target button. (The up/down direction lead button is described here.)
3) After a new lead is created, a new lead set is created on the frame of external dimensions.
The lead portion of the lead set is displayed by yellow frame line and the contact surface is
displayed by pink. In the reference position of the lead set, a blue marker is displayed.
4) In the combo box of [Lead No.], select the lead No. of the lead to be edited.
5) To add the number of leads, click the read adding button in [Tool box].
6) Click the position where leads are to be added in the outside of the lead set to which the
number of leads are added. The number of leads required for this position will be added.
When the blue marker in the reference lead position is clicked with the mouse, one lead is
added.
7) To reduce the number of leads, click the lead reducing button in [Tool box].
8) At the end of the lead, a white marker is displayed. Click the marker of the lead to be deleted
with the mouse, the lead is deleted. (If any other than both ends of the lead is deleted, lead
loss information is configured.)
◆ Lead width/pitch/length editing
1) Click [Lead]
2) In the combo box of [Lead No.], select the lead No. of the lead to be edited.
3) In [Tool box], click the lead size button .
4) To change the lead length, click the white upward marker at the end of the lead with the
mouse and drag it as it is.
5) The lead length varies depending to the mouse button position. After the end of the adjust-
ment, release the mouse button.
JaNets Instruction Manual 7. Program Editor
7-93
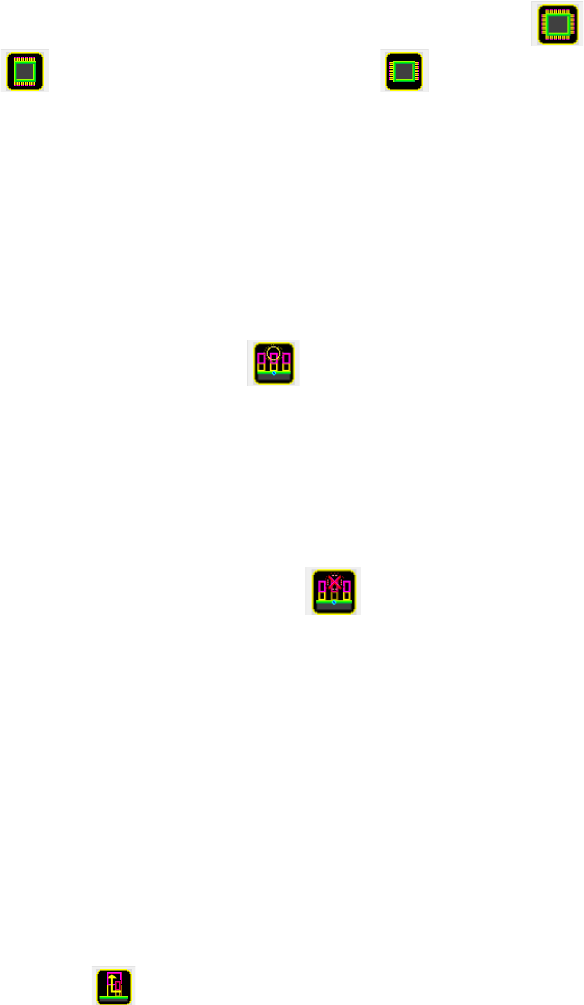
6) To change the lead pitch, click the white circular marker at the end of the lead with the mouse
and drag it as it is.
7) The lead pitch varies depending on the mouse pointer position. After the end of the adjust-
ment, release the mouse button.
8) To change the mouse pointer position, click the orange outward marker at the end of the lead
with the mouse and drag it as it is.
9) The lead with varies depending on the mouse pointer position. After the end of the adjustment,
release the mouse button.
10) To change the contact surface length, click the orange upward marker at the end of the lead
with the mouse and drag it as it is.
11) The contact surface length varies depending on the mouse pointer position. After the end of
the adjustment, release the mouse button.

JaNets Instruction Manual 7. Program Editor
7-94
◆ Lead movement
1) Click [Lead].
2) In the combo box of [Lead No.], select the lead No. of the lead to be moved.
3) In [Tool box], click the lead moving button .
4) Click the blue marker in the reference position of the lead to be moved with the mouse and
drag it as it is.
5) The lead positions in all directions vary depending on the mouse pointer position. After the
end of the movement, release the mouse button.
◆ Lead rotation
1) Click [Lead].
2) In the combo box of [Lead No.], select the lead No. of the lead to be rotated.
3) In the combo box of [Lead No.], click the lead rotating button .
4) Click the yellow marker in the right side of the lead with the mouse and drag it as it is. The
lead set is rotated around the blue marker in the reference lead position. After the end of the
lead position adjustment, release the mouse button.
◆ Lead deletion
1) Click [Lead].
2) In [Tool box], click the lead deleting button .
3) In the combo box of [Lead No.], select the lead No. of the lead to be deleted.
4) Click the blue marker in the reference lead position with the mouse. (Or click an optional
position of [Editing window] with the right part of the mouse.)
5) The deletion confirmation message is displayed. The specified lead information is deleted
by clicking [Yes].