JANETS_INM.pdf - 第752页
JaNe ts Inst ruction Manua l C . Data bas e Manage m ent T ool C-7 C.3 R estor e This f unct ion i s to be us ed t o res tore t he b acked - up data ont o th e d atabase. If two or m ore b acked - up data exi st i n th e…
JaNets Instruction Manual C. Database Management Tool
C-6
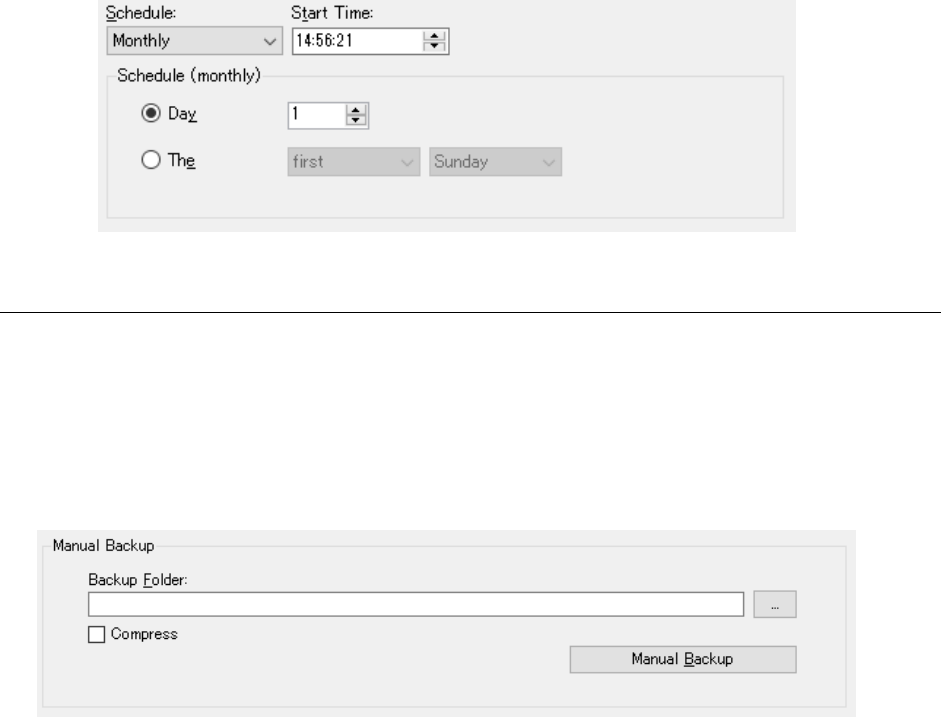
(7) Working out details of the schedule (monthly)
When you select “Monthly” on the “Schedule” menu, the “Schedule (monthly)” screen
appears.
You can specify on which day the system is to back up data (by checking the “Day” radio
button) or the interval at which data is to be backed up (by checking the “the” radio button)
on this screen.
To specify on which day data is to be backed up, enter a value from 1 to 31. Note that
when you specify a value from 29 to 31 even though the number of days of the
corresponding month is less than the specified day, the system will not back up data in that
month.
To specify the interval at which data is to be backed up, enter the week and the day of the
week.
The week you can specify is the first, second, third, fourth or last week, and a day is from
Sunday, Monday, and Tuesday to Saturday. The initial day is the first Sunday.
Figure C.2-8 “Schedule (monthly)” screen
C.2.1.2 Manual Backup
To back up data manually, specify the “Backup Folder” on the “Manual Backup” section of the
“Backup” screen.
Enter the path in the “Backup Folder” text box ① directly, or select the button ② to open the
dialog box for selecting a folder and select the path.
After specifying the back-up folder, press the <Manual Backup> button. The system allows you
to back up data manually.
Figure C.2-9 Setting manual backup operation
When data is manually backed up, the folder of a name that is the same as that in the Data
Manager version is created automatically in the input backup destination folder and a backup
image is saved in it.
For example) When you specify the "D:¥BackUp" as a backup folder in the Data Manager
version 1.01.00A, the backup image is created in the "D:¥BackUp¥1.01.00A."
②
①
JaNets Instruction Manual C. Database Management Tool
C-7
C.3 Restore
This function is to be used to restore the backed-up data onto the database.
If two or more backed-up data exist in the same folder, only the latest one is restored.
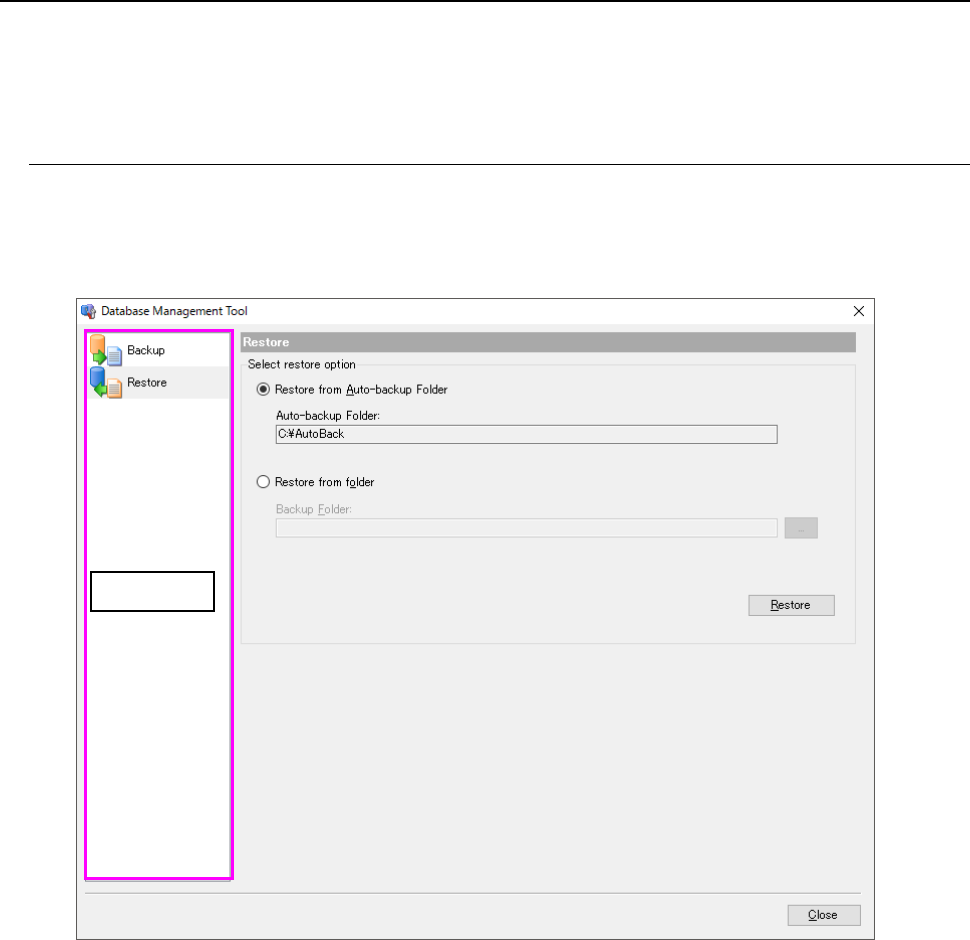
C.3.1 Operations
When you select the “Restore” icon in the menu area, the “Restore” screen appears.
This screen allows you to restore data from the auto-backup folder, or restore data from the
desired folder.
Figure C.3-1 “Restore” screen
Menu area
JaNets Instruction Manual C. Database Management Tool
C-8
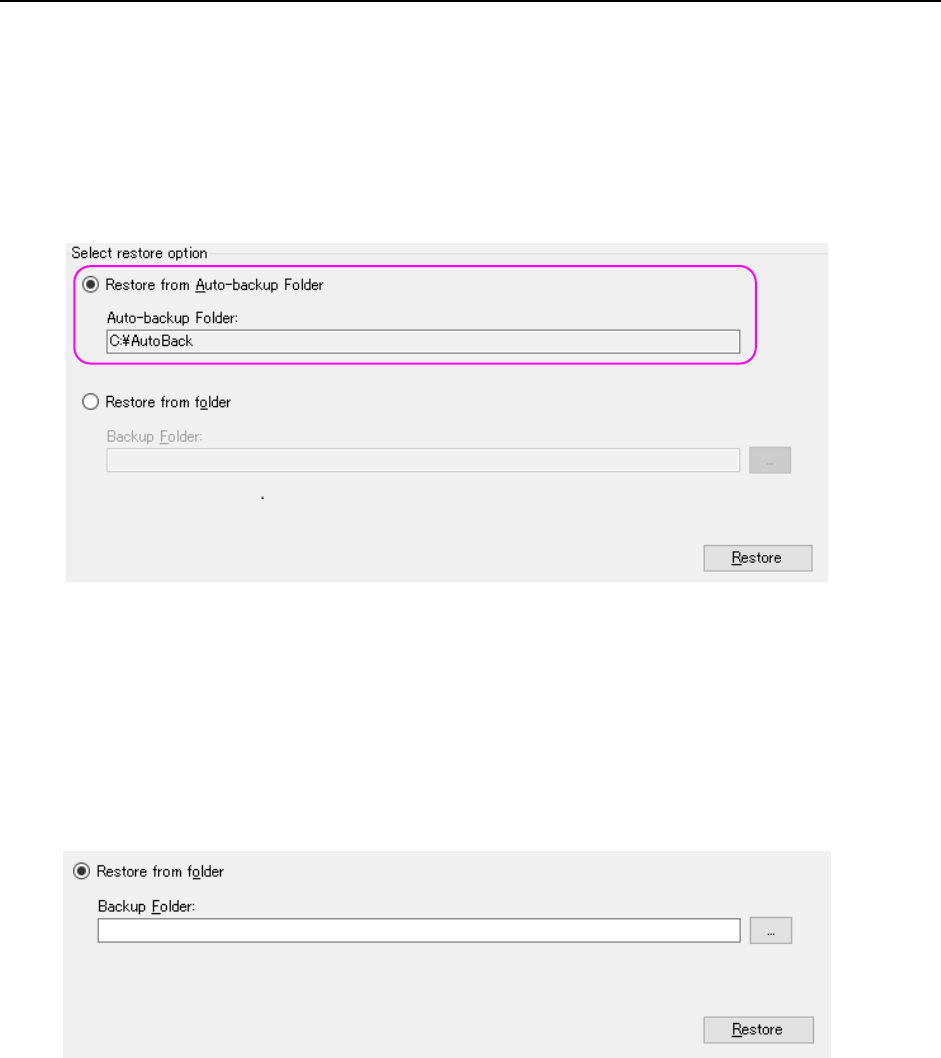
C.3.1.1 Selecting a restore option
(1) Restoring data backed up automatically
To restore data backed up automatically, select the “Restore from Auto-backup Folder”
radio button in the “Select restore option” section of the “Restore” screen. When you press
the <Restore> button, the system restores data from the folder selected in the “Auto-backup
Folder” text box of the “Backup” screen.
When the system restores data, all of data in the database is restored to the backed-up one.
Note that the database cannot be used (it enters Offline mode) during restoring.
Figure C.3-2 Restoring data from the folder specified in the “Auto-backup Folder”
(2) Restoring data backed up manually
To restore data backed up manually, select the “Restore from folder” radio button on the
“Restore” screen. Enter the path in the “Backup Folder” text box ① directly or select the
button ② to open the dialog box for selecting a folder and select the desired path.
When you press the <Restore> button, the system restores data. Note that the database
cannot be used (it enters Offline mode) during restoring.
Figure C.3-3 Restoring data from the desired folder
When restoring the data that has been manually backed up, you do not need to include the Data
Manager version name folder created automatically in the path of a backup folder (specify the
path that is completely the same as that specified at the time of manual backup).
For example) When you restore the data from the backup folder as the example shown in the
section "C.2.1.2 Manual Backup," specify the "D:¥BackUp" as a backup folder.
You do not need to make it the "D:¥BackUp¥1.01.00A."
②
①