00191025-01.pdf - 第105页
SIPLACE 80S/F/G User’s Manual 5 Placement Edition 12/96 from S oftware Version SR.009.xx 5.6 Error Menu s 5 - 29 5.6.3 Fiducial Error Menu If a fiduc ial is not f ound or not r ecognized during pos ition recog nition, th…

5 Placement SIPLACE 80S/F/G User’s Manual
5.6 Error Menus Edition 12/96 from Software Version SR.009.xx
5 - 28
Width Adjustment
If there is an error with regard to the width of the board conveyor you can change the width.
●
With the aid of the cursor keys position the cursor bar over the menu item "Width adjustment".
The width adjustment menu window will drop down (see Section 6.4.8).
NOTE:
If gantry 2 is positioned within the travel range of gantry 1 it will not be possible to carry out width
adjustment or measurement of the conveyor width.
Measuring the conveyor width
●
With the aid of the cursor keys position the cursor bar over the menu item "Measure conveyor width".
The conveyor width which has been set will be measured and this displayed in the conveyor fault menu
(see Section 6.4.9).
SIPLACE 80S/F/G User’s Manual 5 Placement
Edition 12/96 from Software Version SR.009.xx 5.6 Error Menus
5 - 29
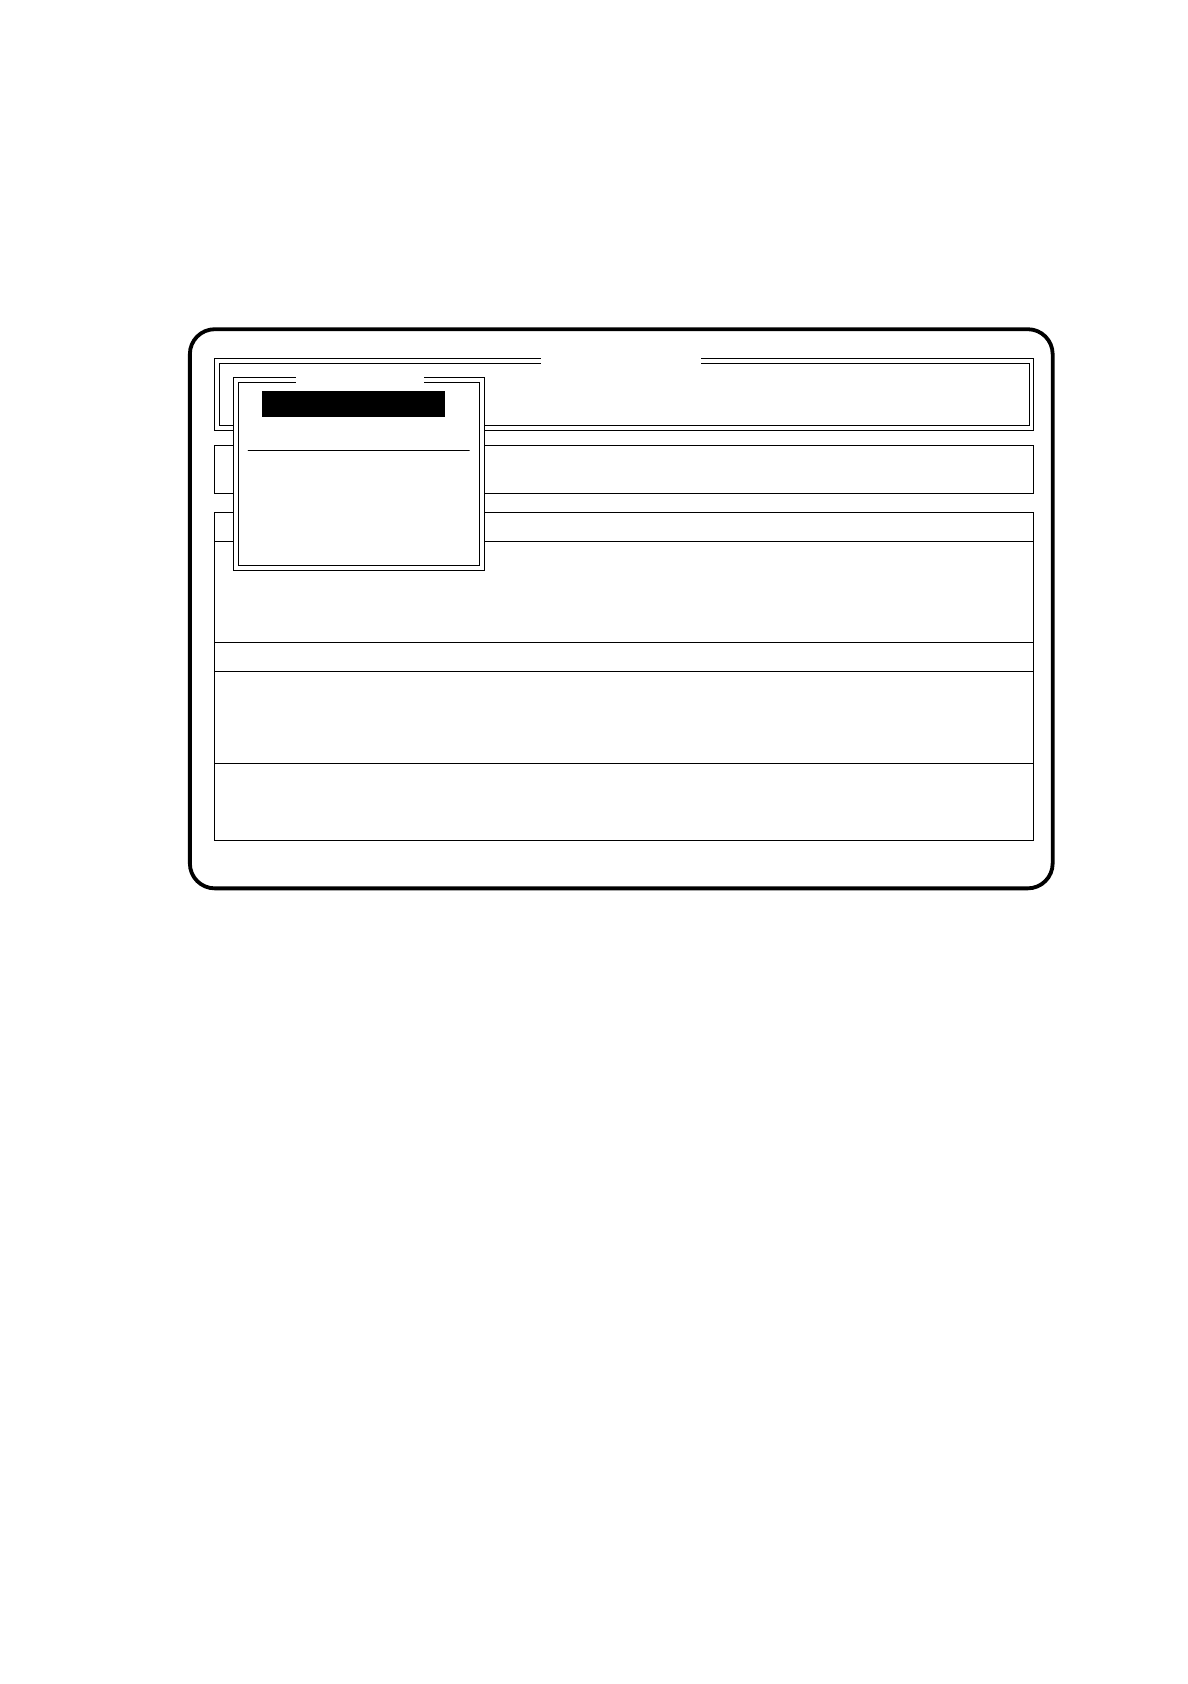
5.6.3 Fiducial Error Menu
If a fiducial is not found or not recognized during position recognition, the fiducial error menu appears auto-
matically on the screen.
Fig. 5.6.2
SI 80 V 9.x
Cluster: TEST
Neuer Nutzen
Display errors
Confirm errors
Machine options
Error
State
Action
:
:
:
Error treatment - fiducial error
Abort placement
PCB to output conveyor
PCB to center conveyor
Display errors
Continue placement
Fiducial error
Continue placement

5 Placement SIPLACE 80S/F/G User’s Manual
5.6 Error Menus Edition 12/96 from Software Version SR.009.xx
5 - 30
5.6.3.1 Range of Functions for the Operator
Display errors
To obtain a display of all errors which have occurred use the
cursor keys
to select the menu point "Display
errors". Then press the
Return key
. On the screen the menu "Display errors" described in Section 5.7
(Display functions) will appear.
Abort placement
Use the
cursor keys
to select the menu item "Abort placement" in order to quit the error menu without
placement continuing, and press the
Return key
. The board on the conveyor is transported onto the output
conveyor. Components at the placement head are ejected. The portals are moved into the waiting position.
Continue placement
Use the
cursor keys
to select the menu item "Continue placement" in order for placement to continue and
press the
Return key
. The machine checks whether there is a board on the center conveyor (placement
area) and continues placement. If there is no board in the placement area, a request is issued under menu
item "Action" of the basic menu.
PCB to output conveyor
When the function "PCB to output conveyor" is selected via the cursor keys and the
Return key
, a printed
circuit board on the center conveyor is conveyed onto the output conveyor and left for removal by hand.
Components which have already been picked up remain at the placement head.
PCB to center conveyor
When the function "PCB to center conveyor" is selected via the cursor keys and the
Return key
, a printed
circuit board on the input conveyor is transported onto the center conveyor, stopped and clamped.
Replacing the printed circuit board without losing the components:
●
Using the
cursor keys
position the cursor bar over the menu item "PCB to output conveyor".
Then press the
Return key
.
The printed circuit board is transferred to the output conveyor and can be removed there. The components
that have been picked up remain at the head.
●
Load a printed circuit board onto the input conveyor. Using the
cursor keys
position the cursor bar over the
menu item "PCB to center conveyor". Then press the
Return key
.
The printed circuit board is transferred to the center conveyor and clamped.
●
Using the
cursor keys
position the cursor bar over the menu item "Continue placement".
Then press the
Return key
.