00191025-01.pdf - 第520页
SIPLACE 80S/F/G User’s Manual 10 SIPLACE G Edition 07/97 from S oftware Version SR.010.xx 10.8 Gluing Tips and Tricks 10 - 53 10.8 G luing Ti ps and Tr icks Malfunction Cause Remedy The ad hesive beco mes soft and string…

10 SIPLACE G SIPLACE 80S/F/G User’s Manual
10.7 Single Functions Edition 07/97 from Software Version SR.010.xx
10 - 52
10.7.4.6 Paper Feed Cleaning Pad
●
In the menu "Gantry" move the cursor bar by means of the
cursor keys
onto the menu item "Paper feed
cleaning pad".
●
Press the
Return key
.
The cleaning pad will perform a defined paper feed.
10.7.4.7 Cleaning Pad Cycle
●
In the menu "Gantry" move the cursor bar by means of the
cursor keys
onto the menu item "Cleaning pad
cycle".
●
Press the
Return key
.
The glueing head moves to over the cleaning pad and with all 3 glueing units sets the glueing points onto the
cleaning pad. The glueing head then moves out of the area of the cleaning pad.
10.7.5 Transport
The single transport functions for the SIPLACE G are identical to the transport functions of the SIPLACE 80.
For the menu "Transport", see Section 6.4 "Transport Functions 80S" or 80F.
SIPLACE 80S/F/G User’s Manual 10 SIPLACE G
Edition 07/97 from Software Version SR.010.xx 10.8 Gluing Tips and Tricks
10 - 53
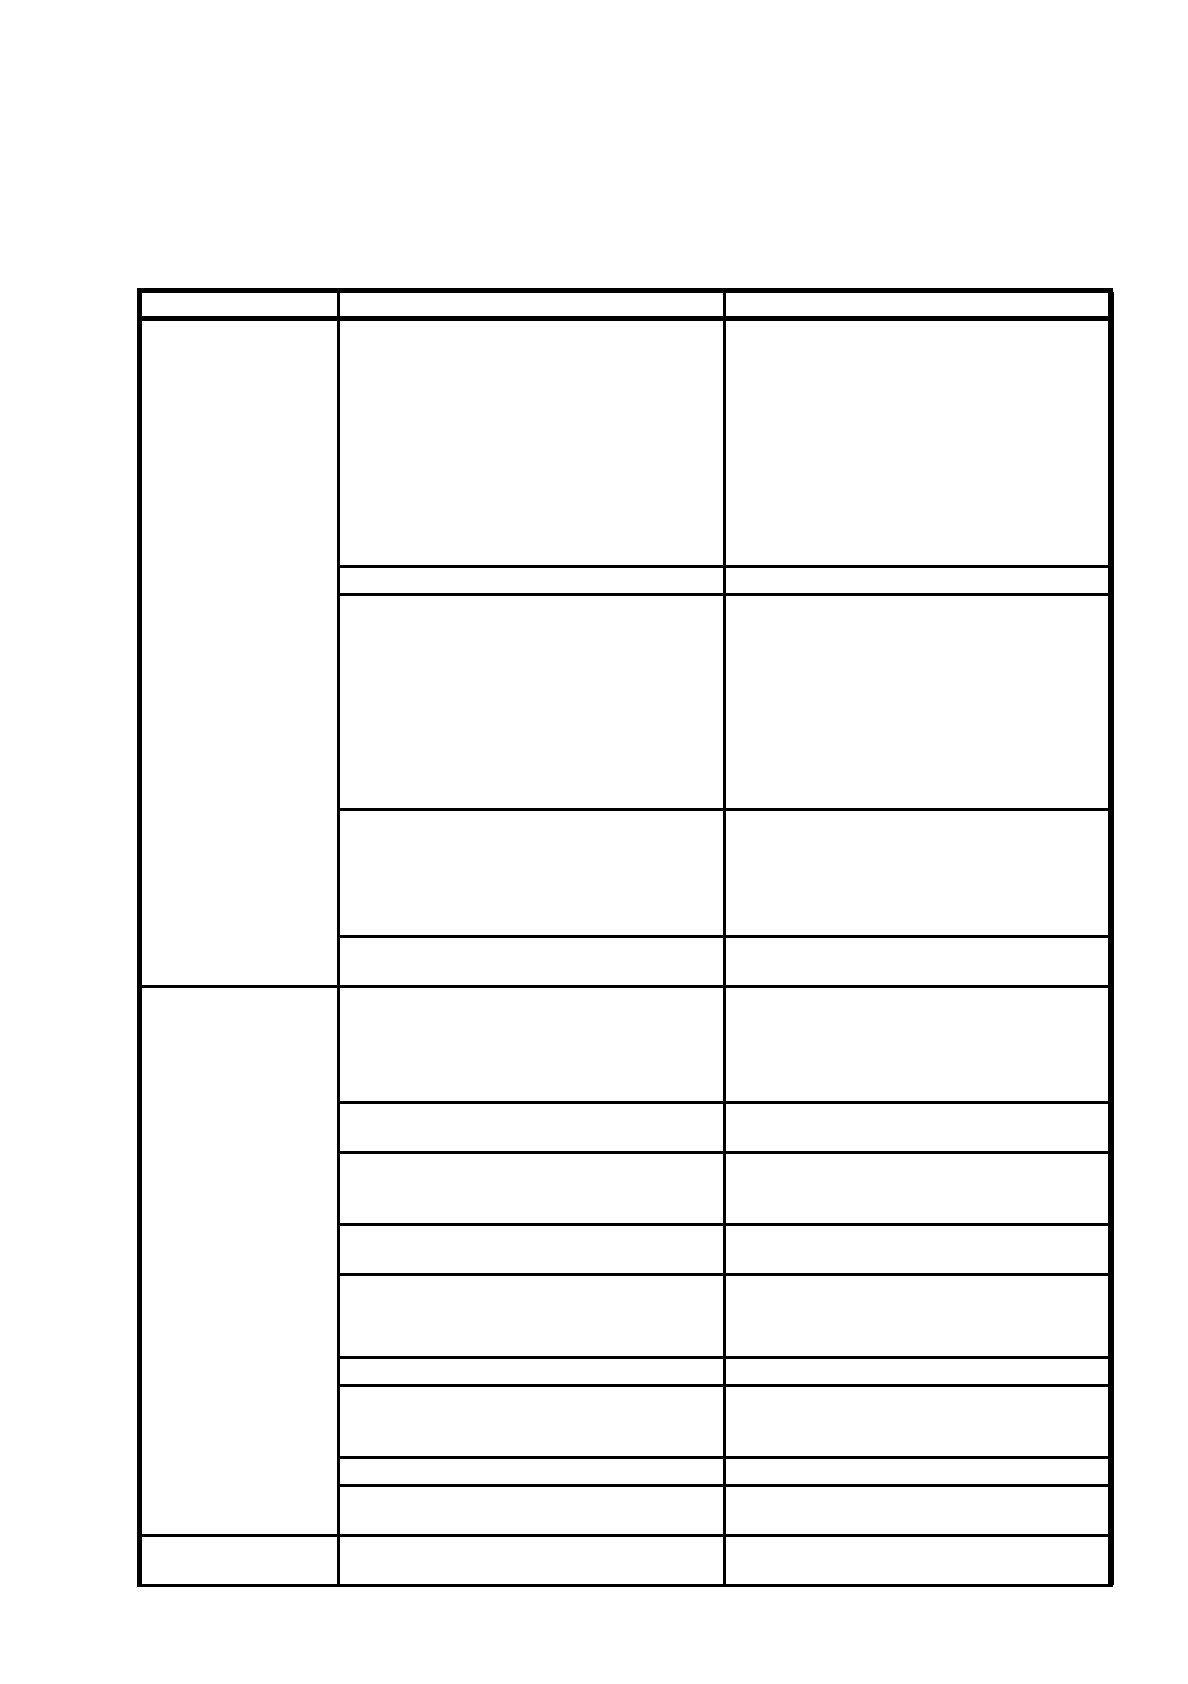
10.8 Gluing Tips and Tricks
Malfunction Cause Remedy
The adhesive becomes
soft and stringy
The outside of the nozzle is dirty. Clean the outside of the nozzle and spacer.
Check the nozzle diameter.
Check the spacer.
Check whether too much adhesive is being
applied and adjust the “Adhesive point volume”
accordingly.
If the gluing unit approaches the adhesive
wiper cyclically, reduce the number of large
adhesive points.
Large points are smeared on the paper roll See “Outside of nozzle is dirty”.
You have used a poor quality adhesive.
This means that the adhesive becomes irregu-
lar and stringy during continuous application
- They break off early and are puckered,
or
- when the solenoid valve is manually actu-
ated, a drop of adhesive forms on the nozzle
and is then pulled back again.
Check the shelf life of the adhesive.
Follow the manufacturer’s storage instructions
on the data sheet.
Replace the glue cartridge.
You are using the wrong spacer. Check the label to ensure that you have fitted
the spacer correctly.
Using a slide gauge, check the distance
between the nozzle and spacer and compare
against the reference value.
The nozzle has been damaged.
(See below for possible causes)
Replace the nozzle.
Fluctuations in the glue
point size (fluctuations
in diameter of
±
1 metering stage)
are not faults
The nozzle is clogged.
(See below for possible causes)
Clean the nozzle.
Batch fluctuations with a new glue cartridge Adjust the adhesive volume and carry out
another adhesive point check.
The cartridge has not been set to ’full’ or has
been set to ’full’ incorrectly.
Insert a new, full cartridge and confirm using
the ’New cartridge’ menu item in the Single
functions.
The characteristic curve does not match the
adhesive used.
Load the correct characteristic curve.
The adhesive temperature is too low. Set the correct temperature.
Check the adhesive temperature control sys-
tem.
You are using plastic nozzles. Use coated aluminum nozzles.
The chemical properties of the adhesive have
changed on account of atmospheric humidity,
for example.
Adjust the adhesive volume and carry out
another adhesive point check.
You are using a poor quality adhesive. Insert a new cartridge.
The nozzle has been damaged. (See below for
possible causes.)
Replace the nozzle.
Air bubbles have formed in the adhesive after
changing the nozzle.
Carry out a continuous metering cycle.
10 SIPLACE G SIPLACE 80S/F/G User’s Manual
10.8 Gluing Tips and Tricks Edition 07/97 from Software Version SR.010.xx
10 - 54
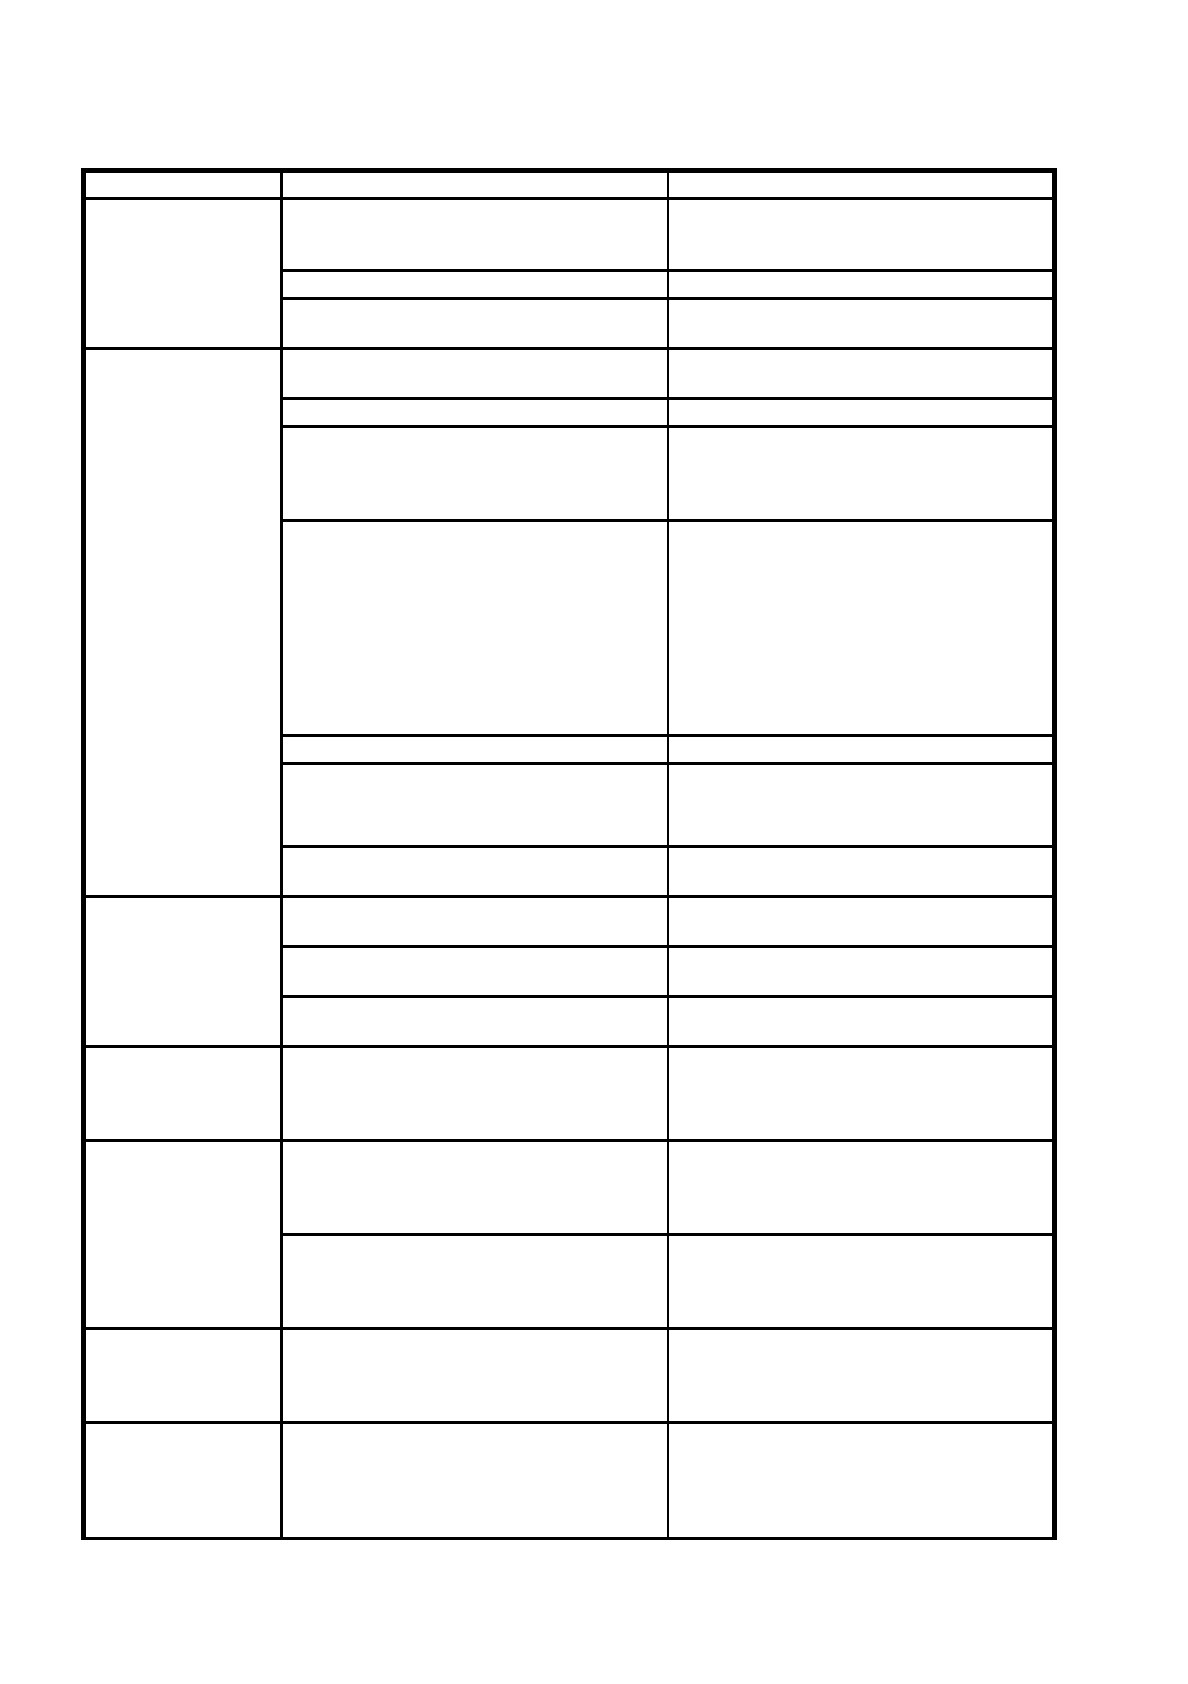
The adhesive points
are smeared
The outside of the nozzle is dirty. Check the nozzle diameter and, if the glue
cleaning pad is approached cyclically, reduce
the number of large adhesive points.
The point volume is too large. Adjust the point volume.
You are using the wrong spacer. Compare the spacer against the correct val-
ues.
Adhesive points are
missing
The nozzle is clogged.
(See below for possible causes)
Clean the nozzle.
The spacer is too large. Fit a spacer that matches the reference value.
The spacer ran into an obstacle (clinch, raised
galvanized pad, etc.)
Change the spacer angle and enter the values
in the program under ’Gluing parameters’. The
new values will not take effect until you restart
the software.
You have used a poor quality adhesive.
This means that the adhesive becomes irregu-
lar and stringy during continuous application
- They break off early and are puckered,
or
- when the solenoid valve is manually actu-
ated, a drop of adhesive forms on the nozzle
and is then pulled back again.
Check the shelf life of the adhesive.
Follow the manufacturer’s storage instructions
on the data sheet.
Replace the glue cartridge.
The temperature of the adhesive is too low. Increase the temperature.
The PCB is contaminated (by fingerprints,
grease, dust or environmental influences, for
example).
Use clean PCBs.
Eliminate the cause of contamination during
the production sequence.
The z-axis moves jerkily. Clean the cam disc with ethyl alcohol and
notify the Service department.
The first adhesive point
is missing
The ’use by’ date of the adhesive has passed. Use a new cartridge.
The sealing ring on the cartridge seal is miss-
ing or worn.
Insert a new sealing ring and grease lightly
with Unisilkon.
The glue cleaning pad is not approached. Activate the glue cleaning pad in the machine
options.
Software error mes-
sage: ’Spacer in con-
tact with glueing point’
The adhesive point sequence has been opti-
mized with respect to speed, but not with
respect to the spacer angle.
Change the spacer angle and enter the values
in the program under ’Gluing parameters’. The
new values will not take effect until you restart
the software.
The spacer is touching
the adhesive point
The mechanically set spacer angle does not
correspond to the data in the gluing parame-
ters.
Correct the angle and enter the values in the
program under ’Gluing parameters’. The new
values will not take effect until you restart the
software.
The adhesive point diameter is not included in
the computer model.
Change the spacer angle and enter the values
in the program under ’Gluing parameters’. The
new values will not take effect until you restart
the software.
Large points lead to
incorrect measure-
ments in the adhesive
point check
The adhesive points are smeared. Clean the nozzle, carry out the adhesive point
check with adhesive point volume factor -4 (-5),
accept the proposed measurement and do not
carry out any further measurements.
Metering stage 20
causes ’mounds’ to
form on the PCBs and
the points smear on
the paper roll
The adhesive properties have changed. Reduce the volume.
Increase the size of the spacer.
Malfunction Cause Remedy