00191025-01.pdf - 第239页
SIPLACE 80S/F/G User’s Manual 7 Vision Systems Edition 07/97 from S oftware Version SR.010.xx 7.5 Teaching the Fiducial Line engi neer 7 - 47 7.5.3.8 O ption “PCB to output conveyor” This func tion is exe cuted when ther…
7 Vision Systems SIPLACE 80S/F/G User’s Manual
7.5 Teaching the Fiducial Edition 07/97 from Software Version SR.010.xx
7 - 46 Line engineer
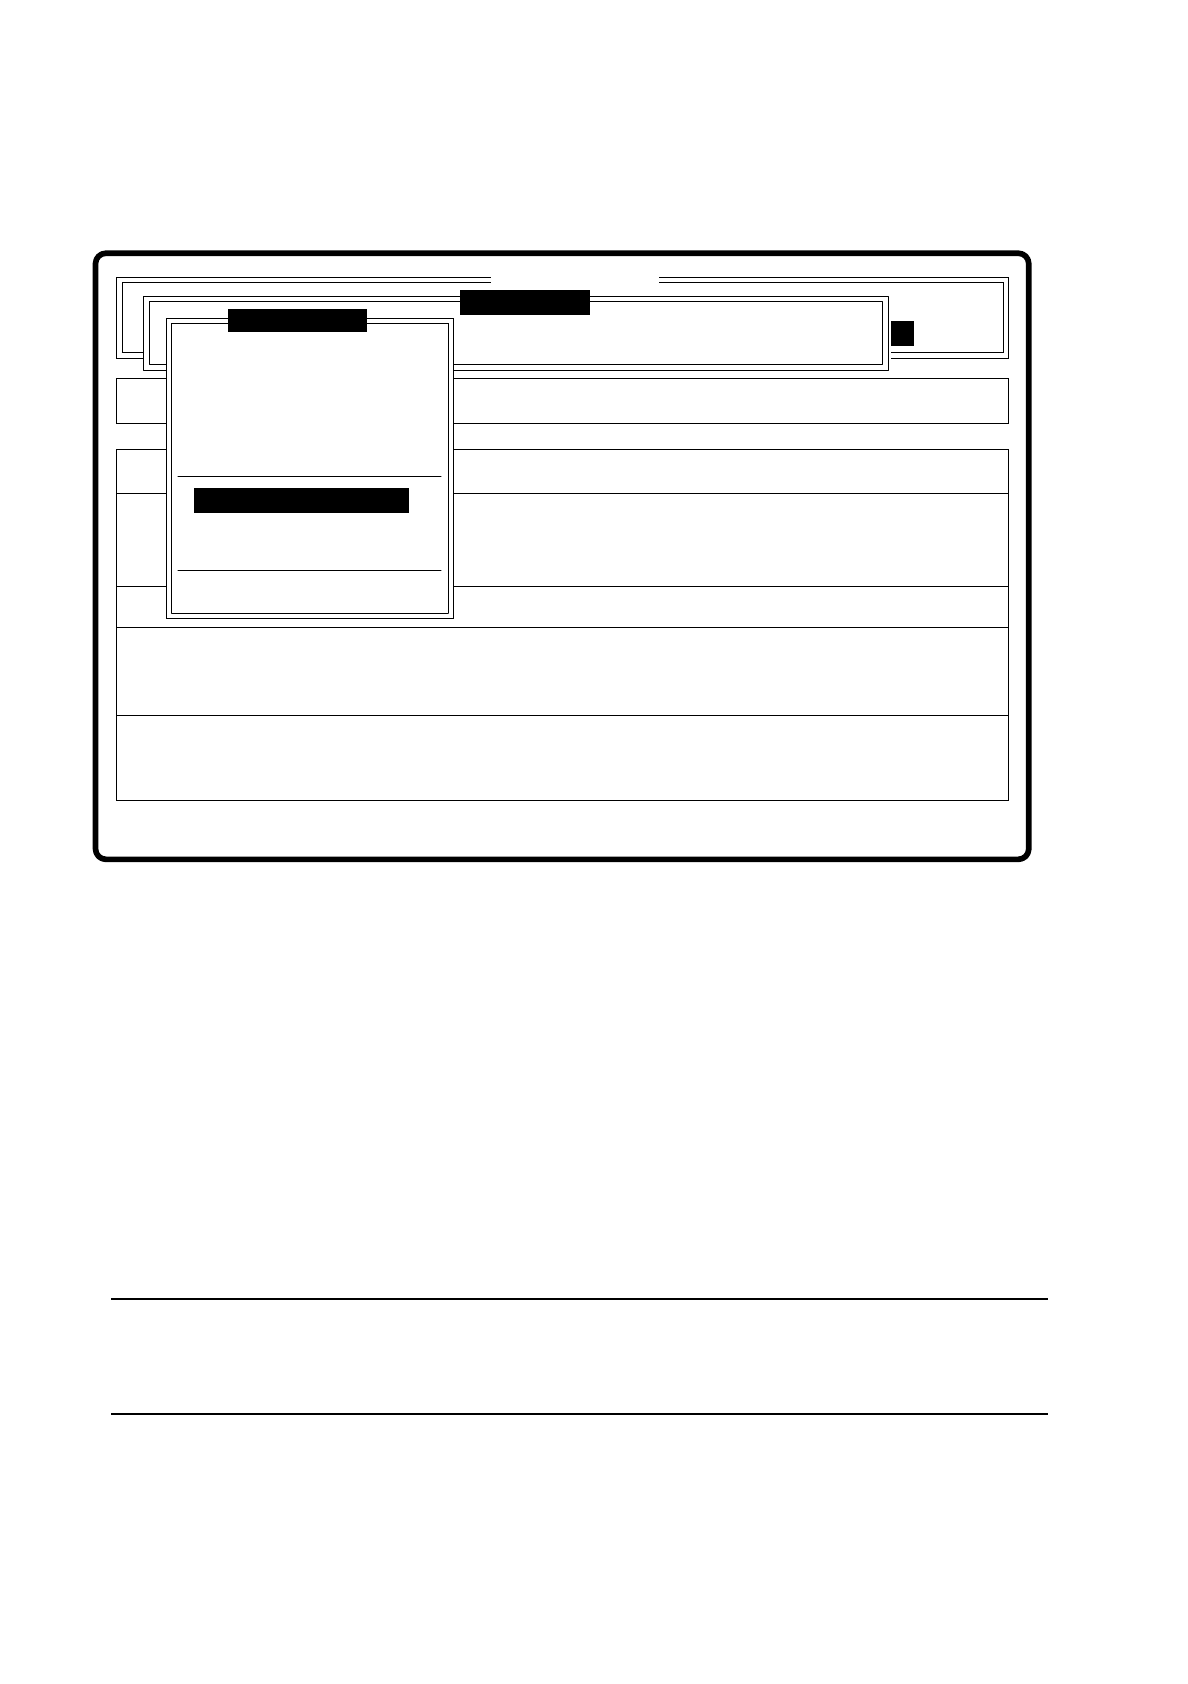
7.5.3.7 Option “PCB to center conveyor”
Fig. 7.5.13
●
When you press the “RETURN” key, following actions are initiated:
1. A board is on the input conveyor.
–
The conveyor belt starts up and transports the board as far as the stopper.
–
The board is clamped.
2. There is no board on the input conveyor.
–
You receive the message “No PCB on input conveyor”.
–
Insert a board.
–
Press RETURN in the menu.
–
The conveyor belt starts up and transports the board as far as the stopper.
–
The board is clamped.
NOTE
If there is a board on the center conveyor, this function will be blocked. You then receive a message that
there is already a board on the center conveyor.
Error
State
Action
PCB entering center conveyor
Single functions
:
:
:
SI80 V 10.x
Vision system
Vision system
Rüstung
Rüstung:
BE - Zuführung
Cluster:
Vision system
Version: 2133
Enter fiducial number
New fiducial
Edit fiducial
Center fiducial
Test fiducial
Move x/y axes
PCB to center conveyor
PCB to output conveyor
Choose gantry
Display errors
Teach fiducial
SIPLACE 80S/F/G User’s Manual 7 Vision Systems
Edition 07/97 from Software Version SR.010.xx 7.5 Teaching the Fiducial
Line engineer 7 - 47
7.5.3.8 Option “PCB to output conveyor”
This function is executed when there is a board on the center conveyor.
NOTE
Before you quit the menu "Teach fiducial" send the PCB to the output conveyor. If you do not do this a window
asking you to do so will pop up.
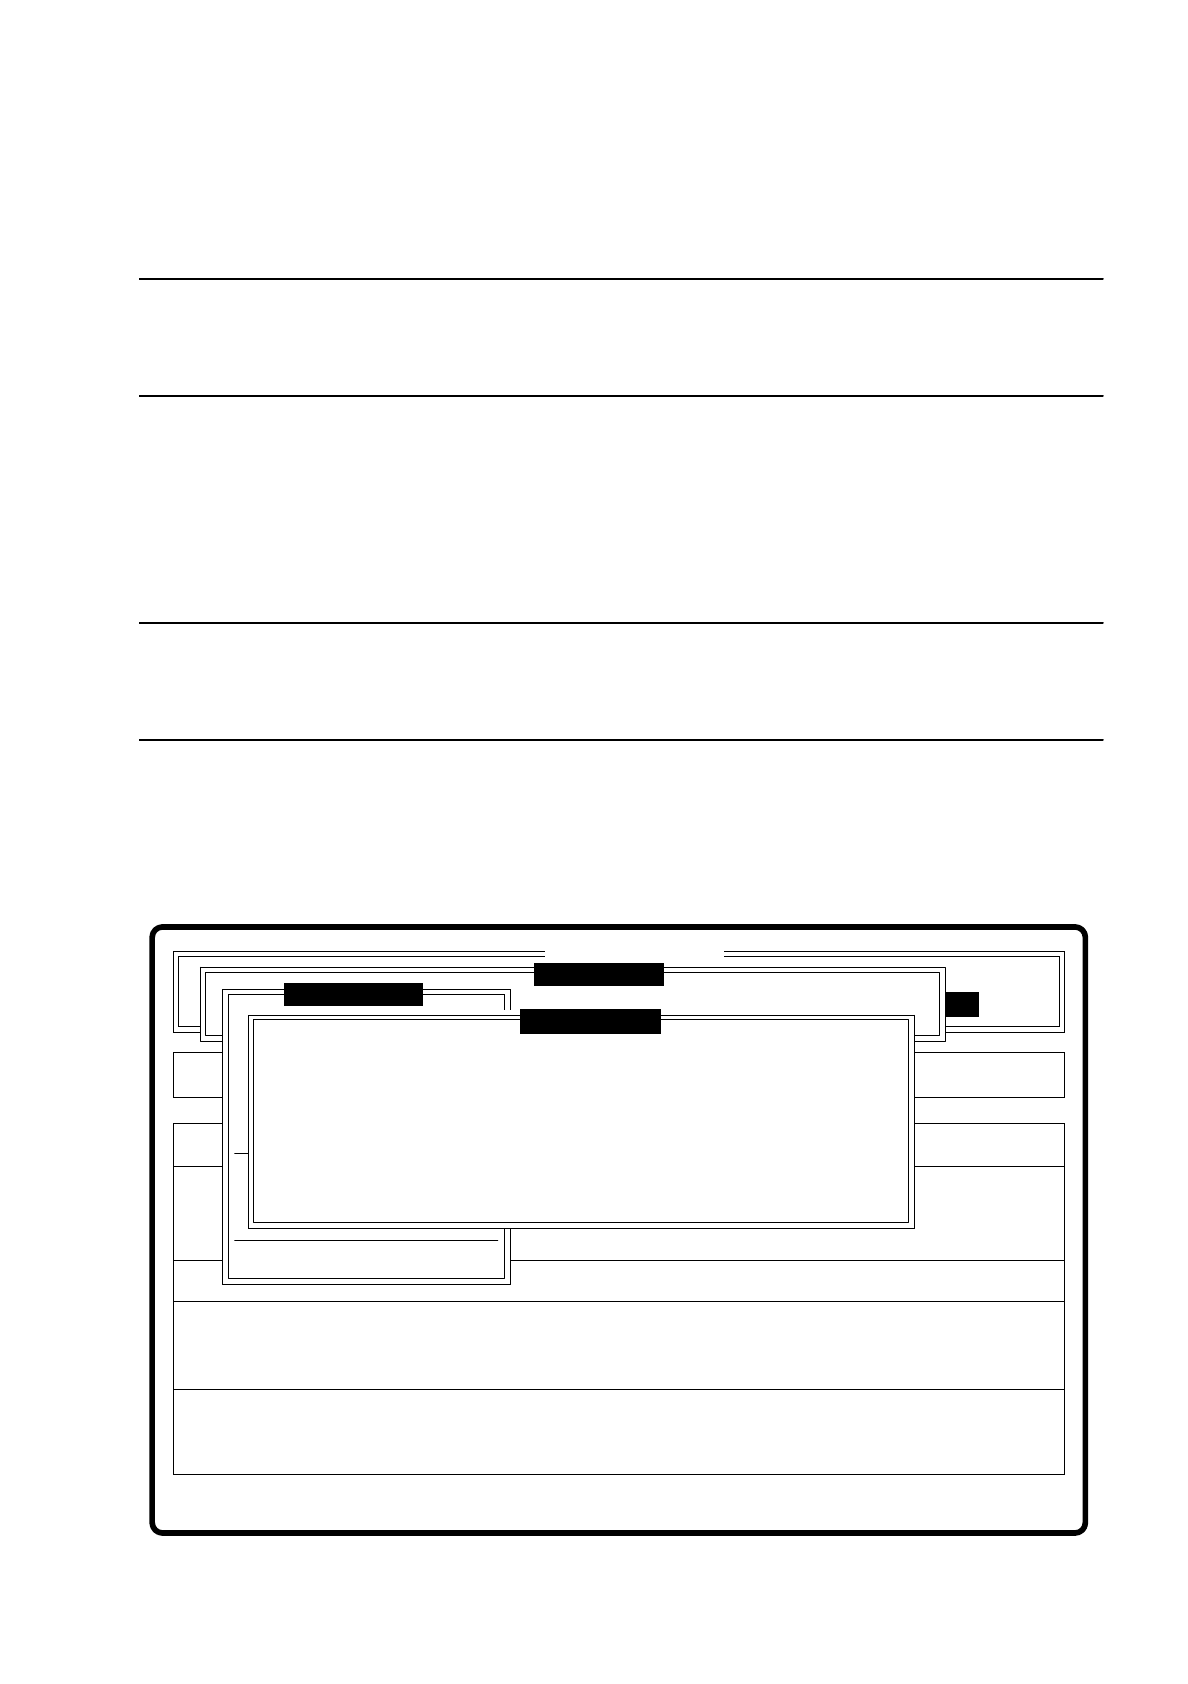
7.5.3.9 Option “Choose gantry”
Using this option you can select gantry 1 or gantry 2 as teach gantry via a dialog box. The default setting is
gantry 2.
NOTE
You can teach with both cameras since both PCB cameras have the same installation position with respect to
the machine's coordinate system.
●
With the space bar you can select the gantry. Your choice is shown by a cross.
●
With “RETURN” you confirm your selection and quit the dialog box.
●
With “ESC” you abort the procedure and return to the menu “Teach fiducial”.
Fig. 7.5.14
Error
State
Action
Select gantry to be used for teaching
Single functions
:
:
:
SI80 V 10.x
Vision system
Vision system
Rüstung:
BE - Zuführung
Vision system
Version: 2133
Markennummer eingeben
Teach fiducial
Marke zentrieren
Teach-Portal
Choose gantry
( ) Gantry 1
( x ) Gantry 2
Esc: abort Blank: selectRet: input
Display errors
7 Vision Systems SIPLACE 80S/F/G User’s Manual
7.5 Teaching the Fiducial Edition 07/97 from Software Version SR.010.xx
7 - 48 Line engineer
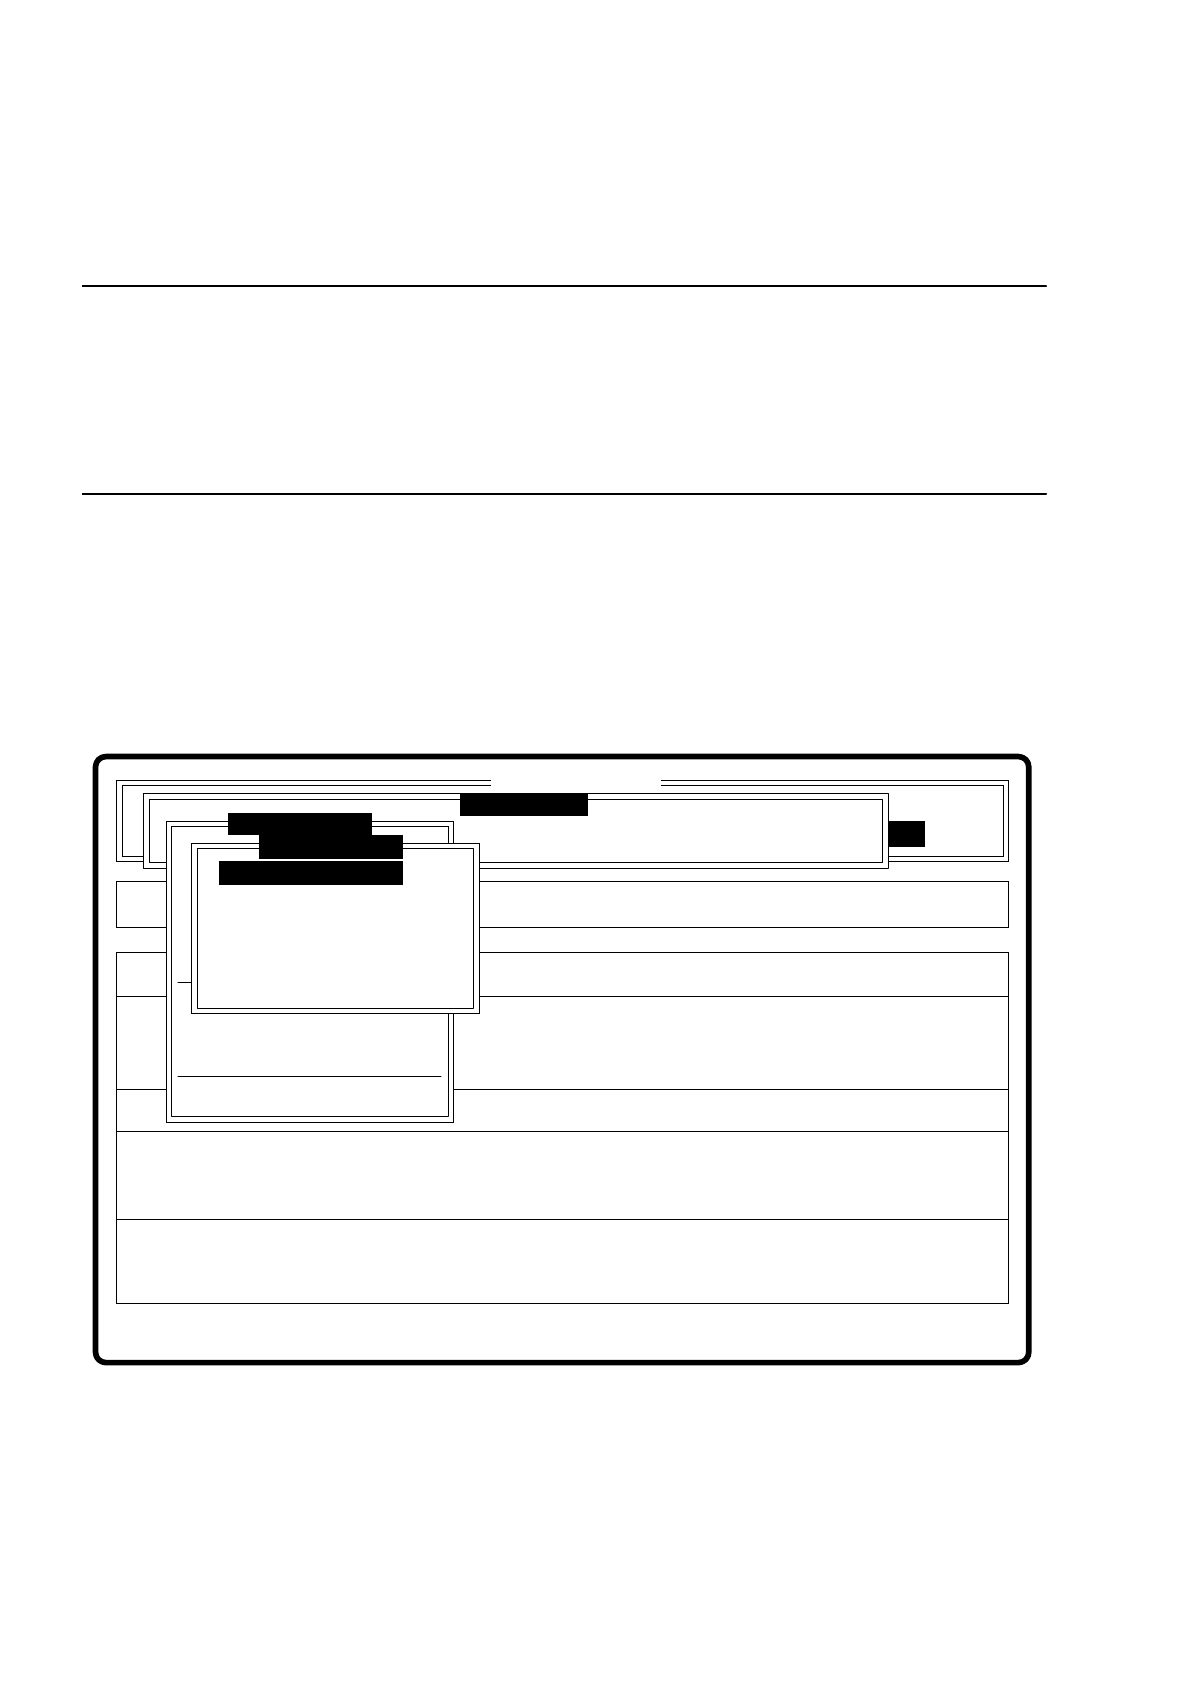
7.5.4 Menu “Edit fiducial”
NOTE
The menu “Edit fiducial” is only activated if
— you have already entered a fiducial number and
— a definition already exists for the fiducial selected.
If this is not so, a message text is displayed which asks you to enter a fiducial number. If the above conditions
have been fulfilled, the menu is displayed.
In this menu you can implement
–
parameter modifications to the fiducial structure field (template)
–
parameter modifications to the search area
–
parameter modifications to the color graduations,
–
and teaching using default values.
Fig. 7.5.15
●
Fiducial structure field parameters are
–
width
–
height
–
camera resolution
Error
State
Action
Change template with high resolution
Maschinenoptionen Single functions
Softwareoptionen
:
:
:
BE - Zuführung
SI80 V 10.x
Vision system
Vision system
Vision system
Version: 2133
Choose gantry
Teach fiducial
Marke ändern
Display errors
PCB to output conveyor
Marke testen
x/y - Achsen verfahren
LP ins Mittenband
Marke zentrieren
Marke neu
Marke ändern
Color graduation
Standard values
Change search area
Template medium res.
Template low res.
Template high res.
Teach fiducial