SG_FSE_SiplaceHF_HF3_00193901-05_eng.pdf - 第559页
1 - 85 S tudent Guide SIPLACE HF/HF3 Edition 09/2005 1 1 MTC 2 85 St art Drive Monitor 11 ➠ Connect the cabel (serial in terface) betwe en the Masterdrive s and Servicenotebook. Note : During the installation , the softw…
1 - 84
Student Guide SIPLACE HF/HF3
11 MTC 2 Edition 09/2005
84
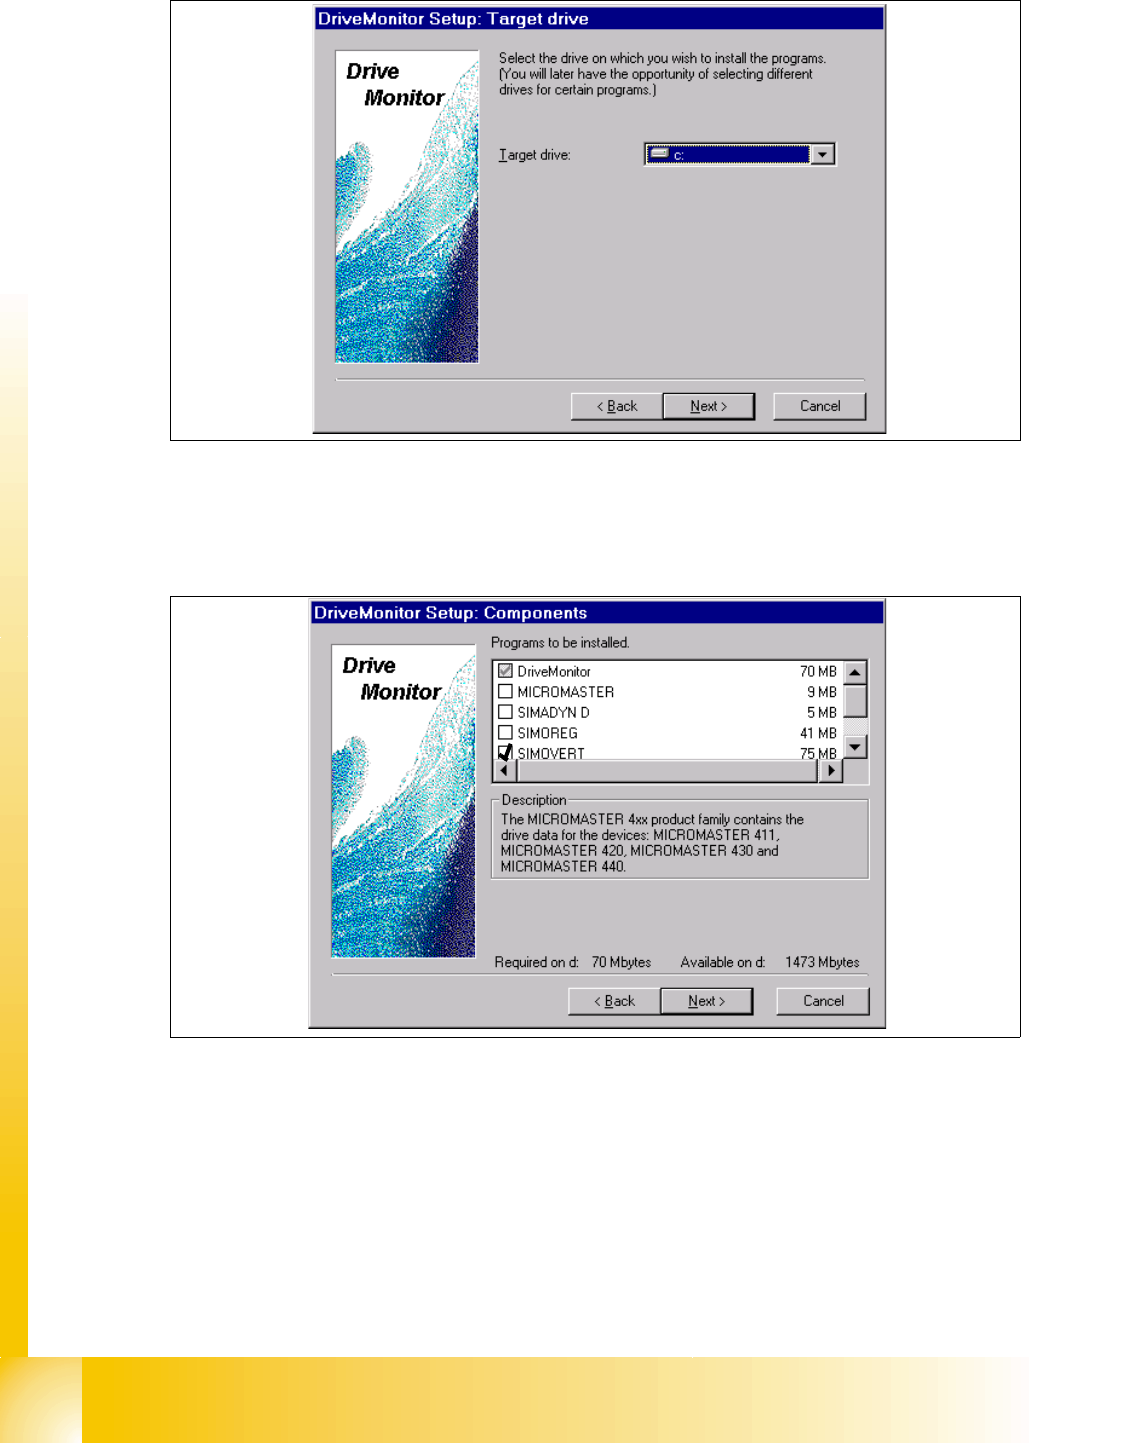
➠ choose your target drive, on which your wish to install the program.
➠ Click button "Next".
➠ Choose the program Drive Monitor and Simovert.
➠ Clicken the button "Next".
➠ Software installation will be started.
➠ Shutdown the computer and start again.
1 - 85
Student Guide SIPLACE HF/HF3
Edition 09/2005 11 MTC 2
85
Start Drive Monitor 11
➠ Connect the cabel (serial interface) between the Masterdrives and Servicenotebook.
Note:
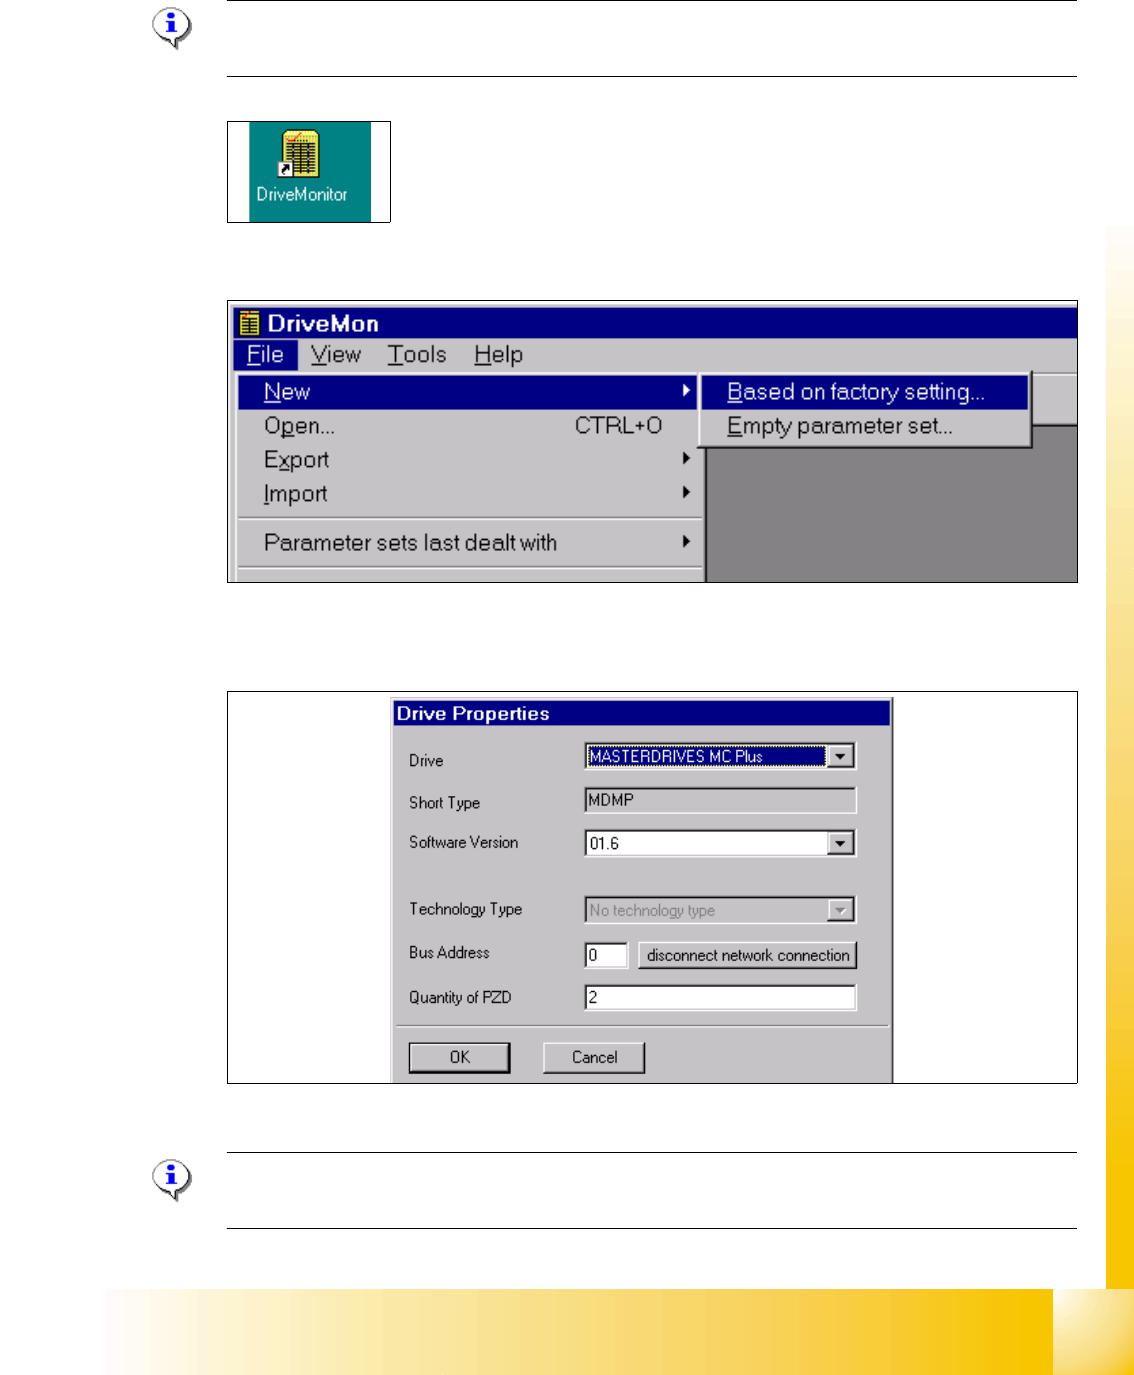
During the installation, the software create an ikon on the desktop.
➠ Double click Ikon "Drive Monitor"
➠ Create a new file based on factory settings, standardconfig.dnl (see picture above), this include
the parameter see picture below.
➠ Choose the drive "Masterdrive MC Plus" and the software for MTC2 it is 1.6.
Note:
Software for the MTC 1 is 1.5!
1 - 86
Student Guide SIPLACE HF/HF3
11 MTC 2 Edition 09/2005
86
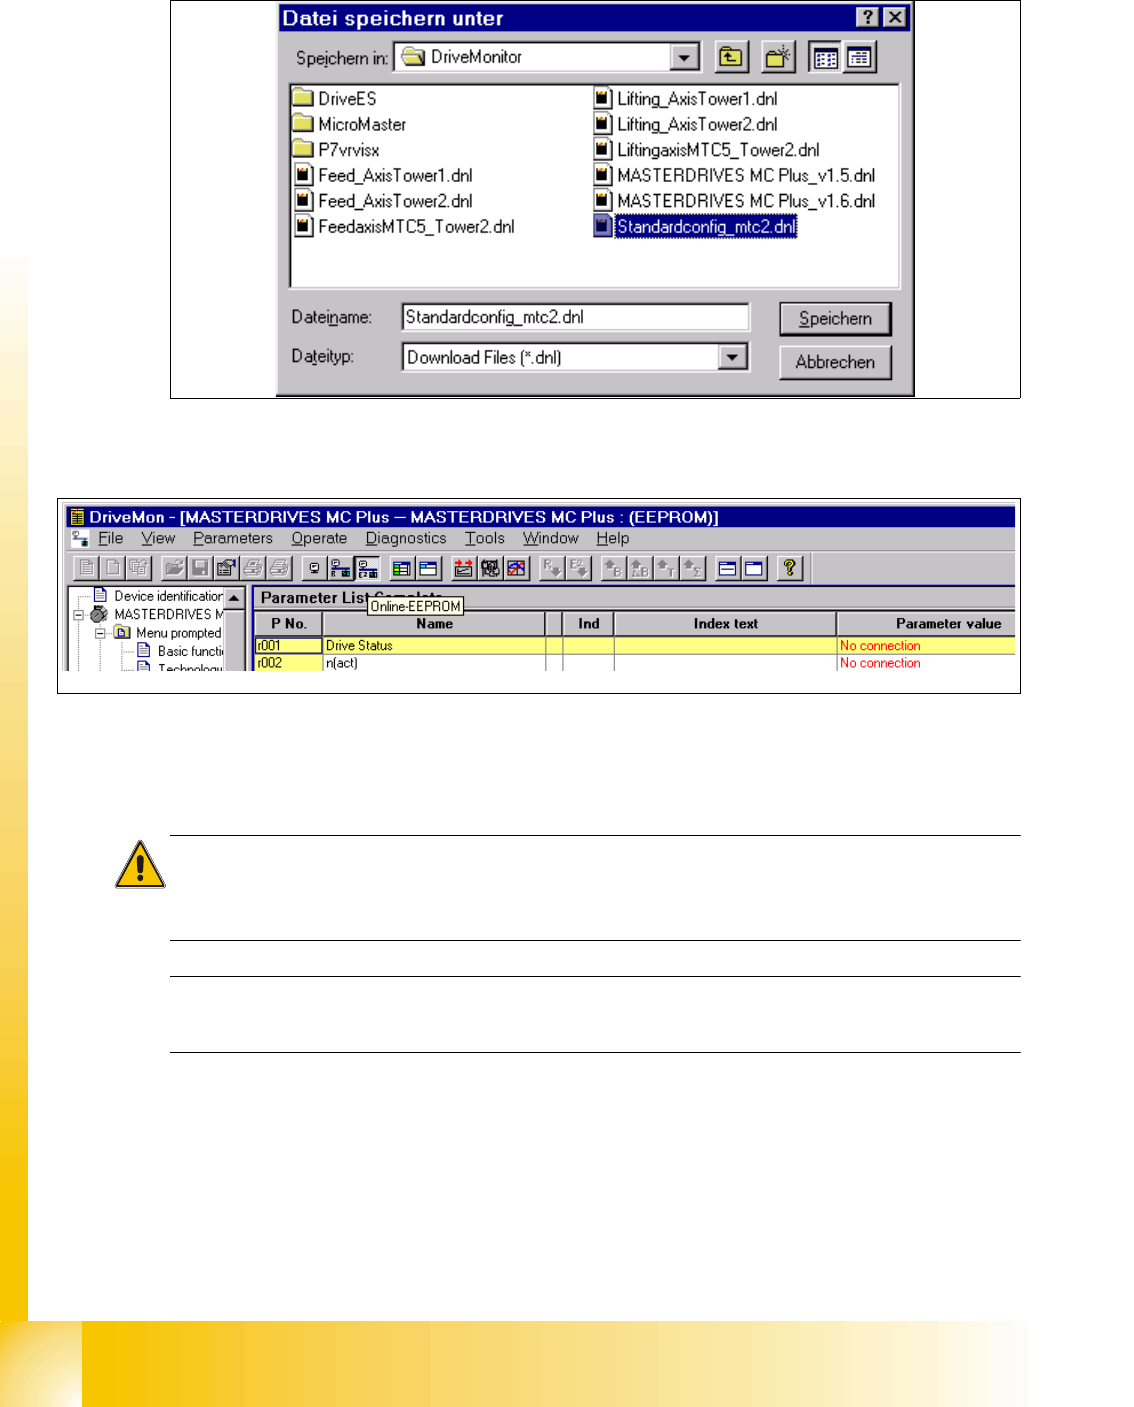
➠ Click the button "OK".
➠ Click the button "SAVE"
➠ Select "Online EEPROM"
When the settings for the serial interface correct you are connected directly with the drive now.
Caution:
All parameters which you change now will be send to the drive directly and they are immediately
active.
The serial interface could you check in the SW drive monitor under
"TOOLS" --> "ONLINE SETTINGS".