4OM-1603-007_w.pdf - 第119页
4OM-1603 1-64 5. Use Procedure of Diffusion Plate Setup Jig : Chap.1 1202-002 5. Use Procedure of Diffusion Plate Setup Jig Procedure (1) Set the both inner and outer dif fusion plates temporarily . Outer Diffusion Plate…
4OM-1603
1-63
4. Maintenance Method : Chap.1
1012-003
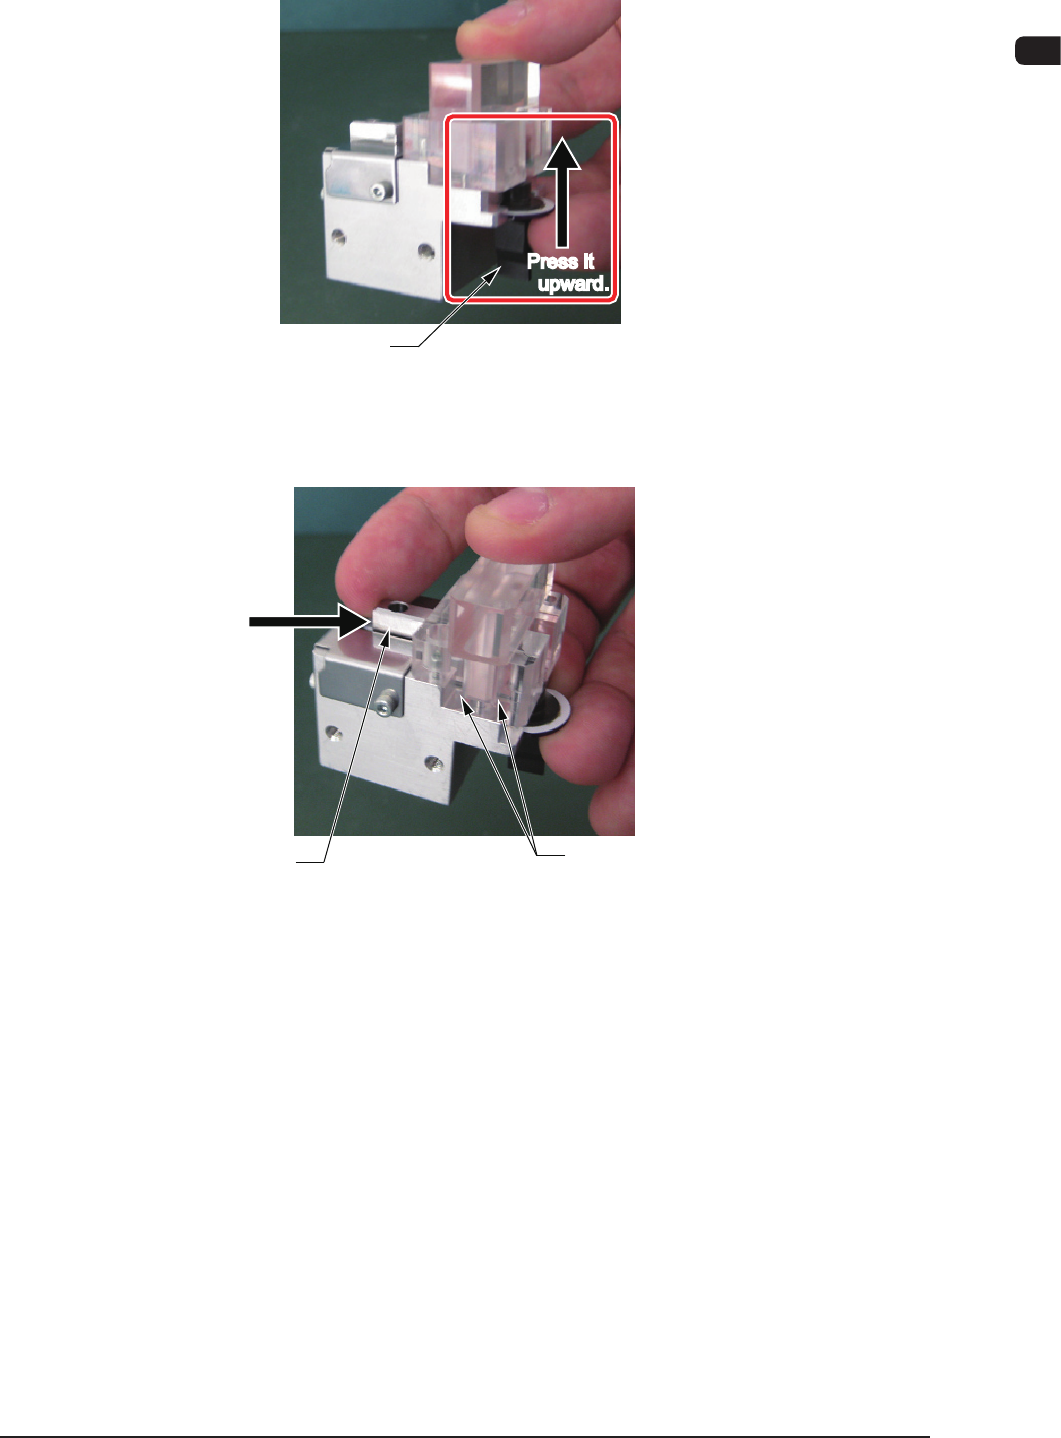
(4) Fix the nozzle ange holding its lower surface upward by nger so that the
nozzle is not inclined.
Nozzle
Press it
upward.
F4A39-7
(5) Push the sliding section to the main machine acrylic block end face and
insert the nozzle lter.
Acrylic Block End Face
Sliding Section
Push
F4A39-8

4OM-1603
1-64
5. Use Procedure of Diffusion Plate Setup Jig : Chap.1
1202-002
5. Use Procedure of Diffusion Plate Setup Jig
Procedure
(1) Set the both inner and outer diffusion plates temporarily.
Outer Diffusion Plate
Inner Diffusion Plate
F4A40
(2) Attach the Jigs No. 1 and No. 2 onto the three locations as shown in the
gure.
Take care not to damage the linear measure sensor.
Jig 1 Jig 2
F4A41
(2) After xing the diffusion plates using bolts, remove the jigs No. 1 and No. 2.
F4A42
4OM-1603
1-65
6. Head Change Procedure (Hard) : Chap.1
1202-002
6. Head Change Procedure (Hard)
Note
Provide the following tools.
•
Hexagon Wrench for M6
•
Phillips Type Screwdriver (for attaching the round head screws)
•
Precision Screwdriver (for setting the rotary switch)
Procedure
(1) House the nozzle attached to the head.
(2) After the machine shut-down, turn off the breaker and stop the air supply.
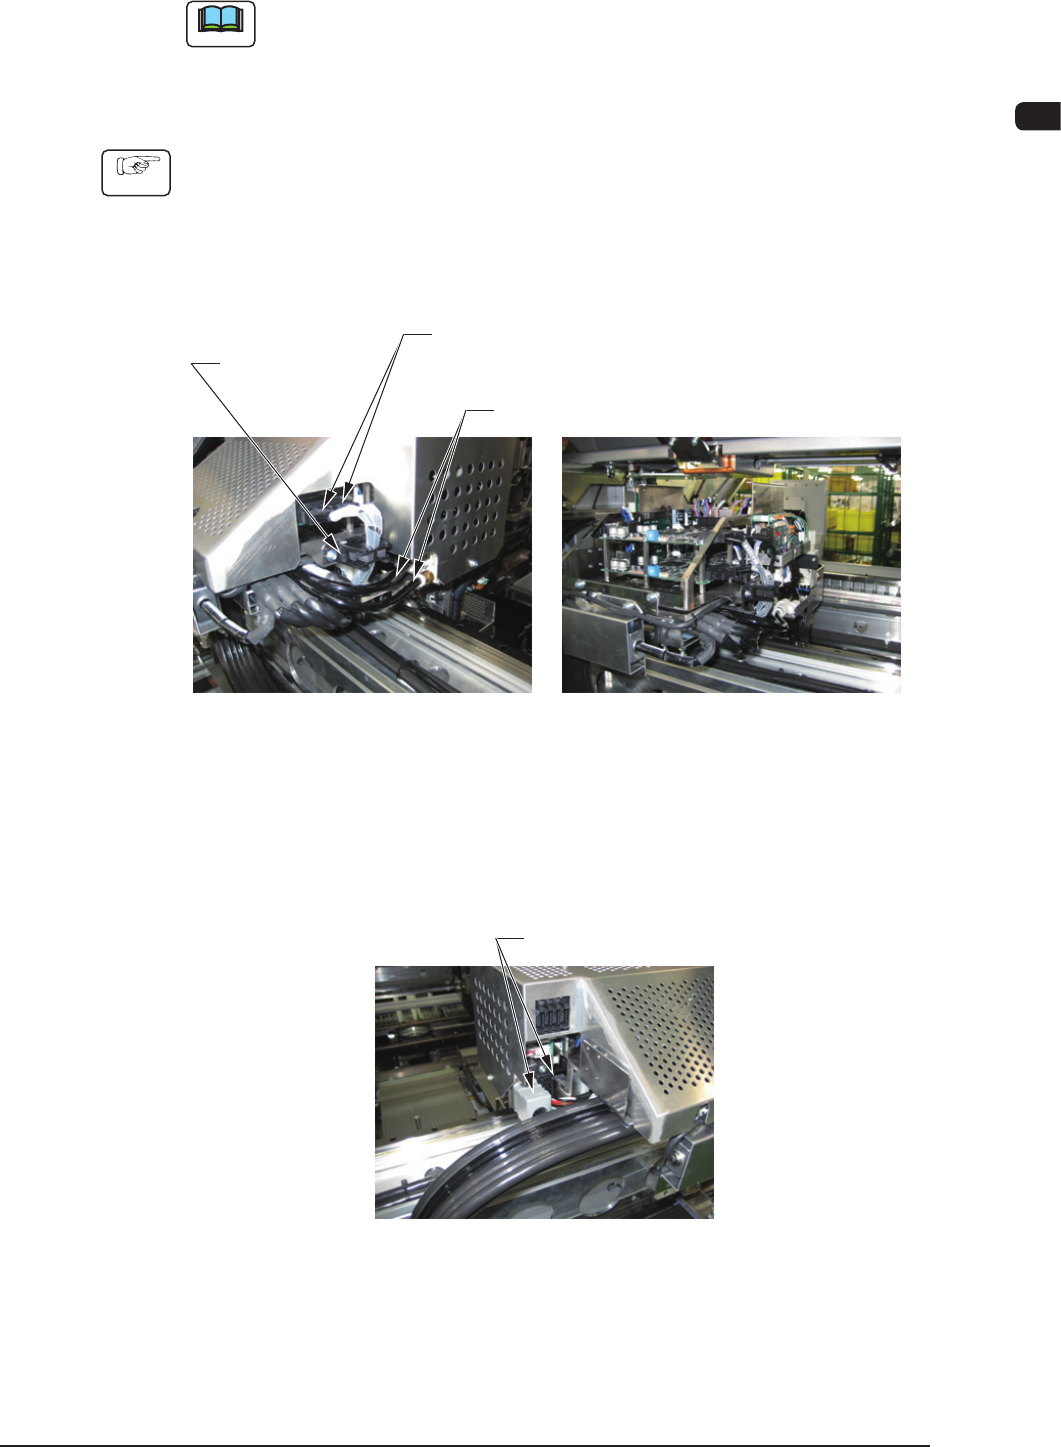
(3) Remove the ber optic cable from the ber optic cable set belt.
Two Piping Tubes
Two Fiber Optic Cables
(Four for Multi-Functional Head)
High Speed Head Multi-Function Head
Fiber Optic
Cable Set Belt
F4A43
(4) Remove the piping tubes.
(5) Disconnect the connectors.
Two Connectors
F4A44