2OM-1064-002.pdf - 第119页
Fig. 2.97-2 Fig. 2.97-1 Fig. 2.98 [SCREEN] Key [1] 4. P A TTERN PROGRAM Display 4.3.2 P .E.C. MARK DA T A EDIT Display (1) When the [P .E.C. MARK DA T A EDIT] key is pressed at the “OPERA- TION DA T A 02/03” display (Fig…
Third Page
Fig. 2.96-3
4. PATTERN PROGRAM Display
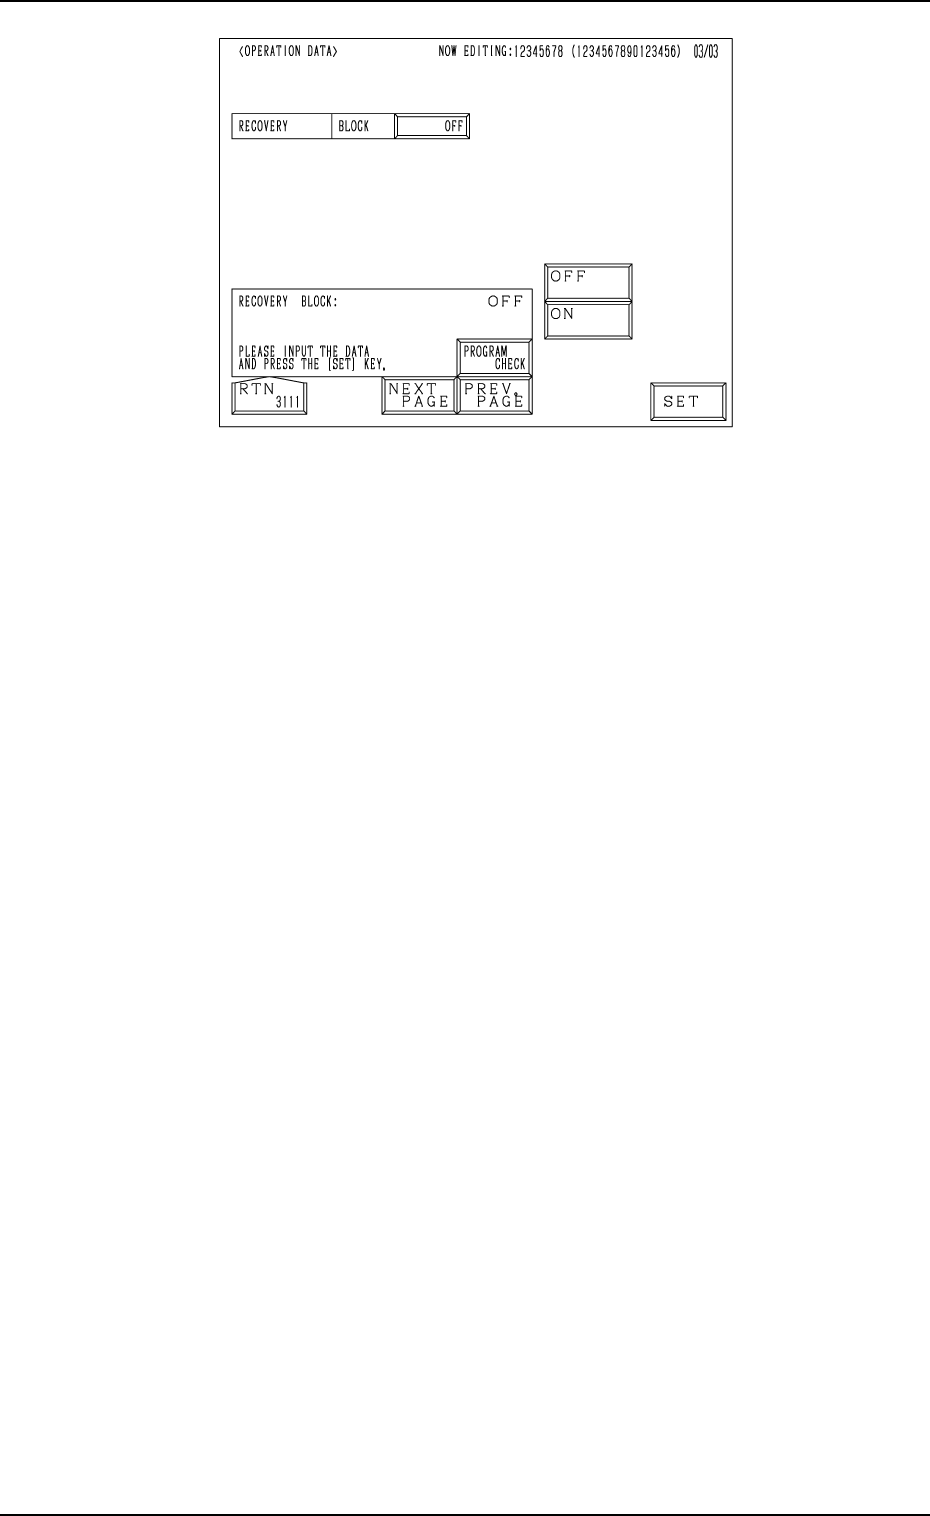
(2) Select the data to be edited.
(3) Enter a parameter and press the [SET] key.
(4) Press the [RTN] key. The “PATTERN PROGRAM EDIT” display ap-
pears on the screen.
• When the [PROGRAM CHECK] key is pressed, the edited pattern program
is checked.
0004-002 2-106 Tg0247-PM-PM
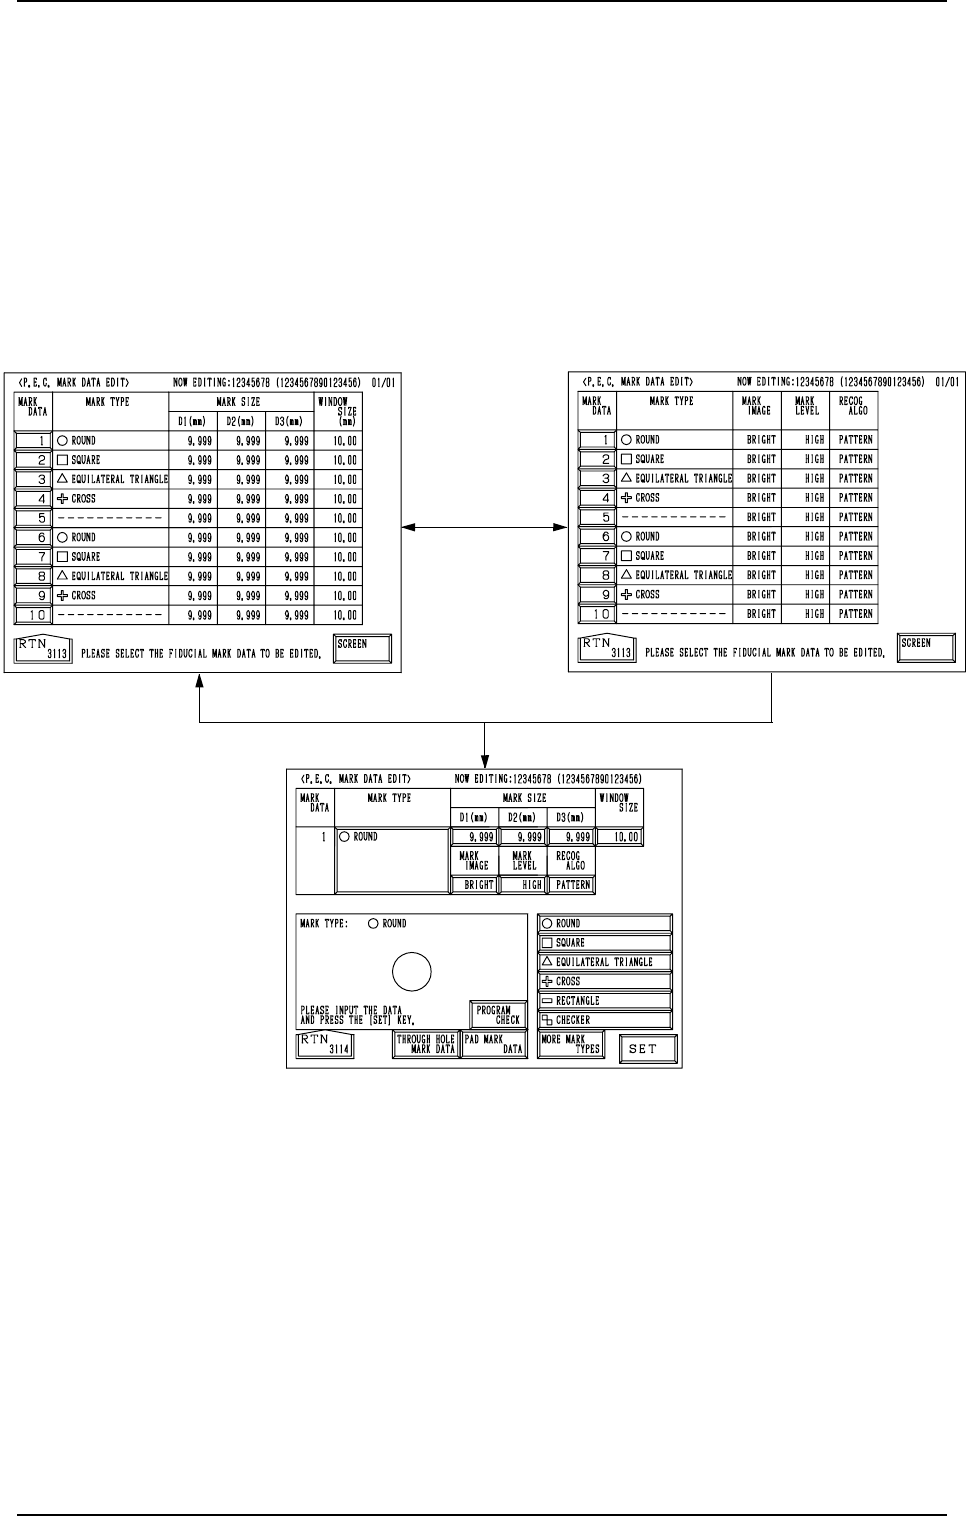
Fig. 2.97-2
Fig. 2.97-1
Fig. 2.98
[SCREEN] Key
[1]
4. PATTERN PROGRAM Display
4.3.2 P.E.C. MARK DATA EDIT Display
(1) When the [P.E.C. MARK DATA EDIT] key is pressed at the “OPERA-
TION DATA 02/03” display (Fig. 2.96-2), the display (Fig. 2.97-1) ap-
pears on the screen.
Pressing the [SCREEN] key at this display opens another “P.E.C. MARK
DATA EDIT” display.
(2) When the [1] key under the label “MARK DATA” is pressed, the display
(Fig. 2.98) appears on the screen, enabling the editing of the P.E.C. mark
data.
(3) Select the data to be edited.
(4) Enter a parameter and press the [SET] key.
(5) Press the [RTN] key. The display (Fig. 2.97-1) appears on the screen.
• When the [PROGRAM CHECK] key is pressed, the edited pattern program
is checked.
0004-002 2-107 Tg0247-PM-PM
4. PATTERN PROGRAM Display
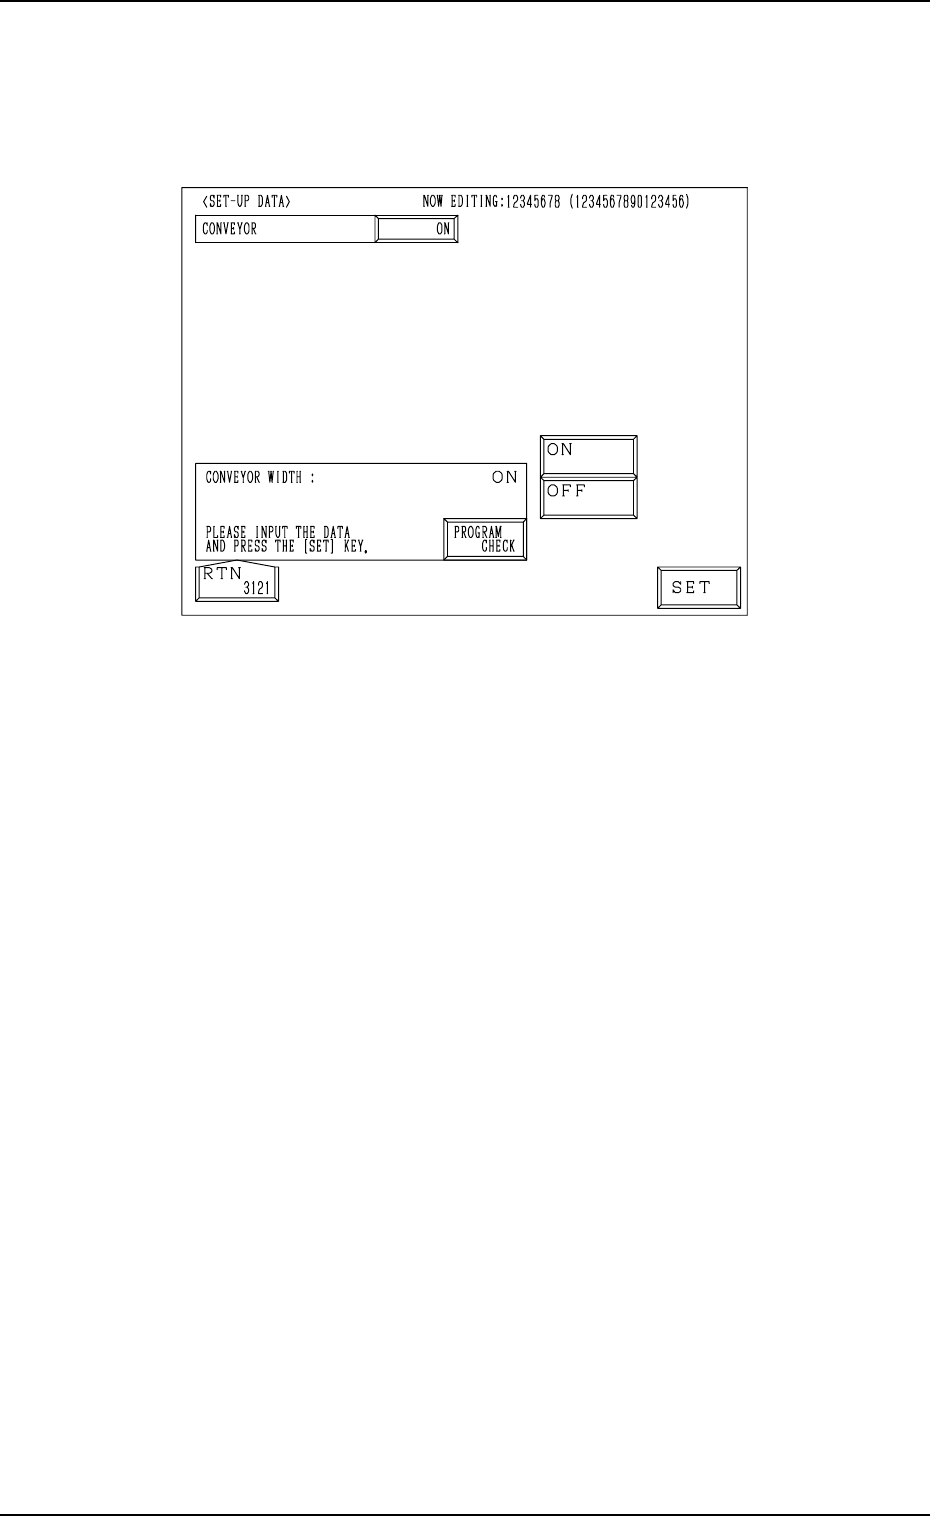
4.4 SET-UP DATA Display
(1) When the [SET-UP DATA] key is pressed at the “PATTERN PROGRAM
EDIT” display, the following display appears on the screen.
Fig. 2.99
(2) Select the [ON] or the [OFF] key to determine whether or not the con-
veyor width should be set up automatically and press the [SET] key.
(3) Press the [RTN] key. The “PATTERN PROGRAM EDIT” display ap-
pears on the screen.
• When the [PROGRAM CHECK] key is pressed, the edited pattern program
is checked.
0004-002 2-108 Tg0247-PM-PM