YSM20R_YSM20WR_Ope_E.pdf - 第211页
3-23 3 Flow fr om starting up machine to production n “T ray Counter” – “T ray” screen T he “T ray” tab on the “T ra y Counter” screen enables to designate the pallet loaded with the components to be picked up first, tra…
3-22
3
Flow from starting up machine to production
1.8 Preparing tray component supply unit
Prepare the tray components. This procedure description in this section assumes that the board data to be used
for production has been read out.
1
Call up the “Required Parts” screen.
Pressing the [Required Parts] button makes the “Required Parts” screen pop up.
2
Set the pallets loaded with components.
There are several information such as "Set Num.", "Parts Name" and "Parts No." listed in [Required Parts]
screen. "Set Num." for the tray components are indicated with "P1 to P30 and P101 to P130". Set the
pallets loaded with components onto the rack where the tray component supply unit is to be set.
n
NOTE
See Chapter 2, "5. Preparing tray component supply unit" for the procedure to set the magazine and the pallet on
the tray component supply unit.
n
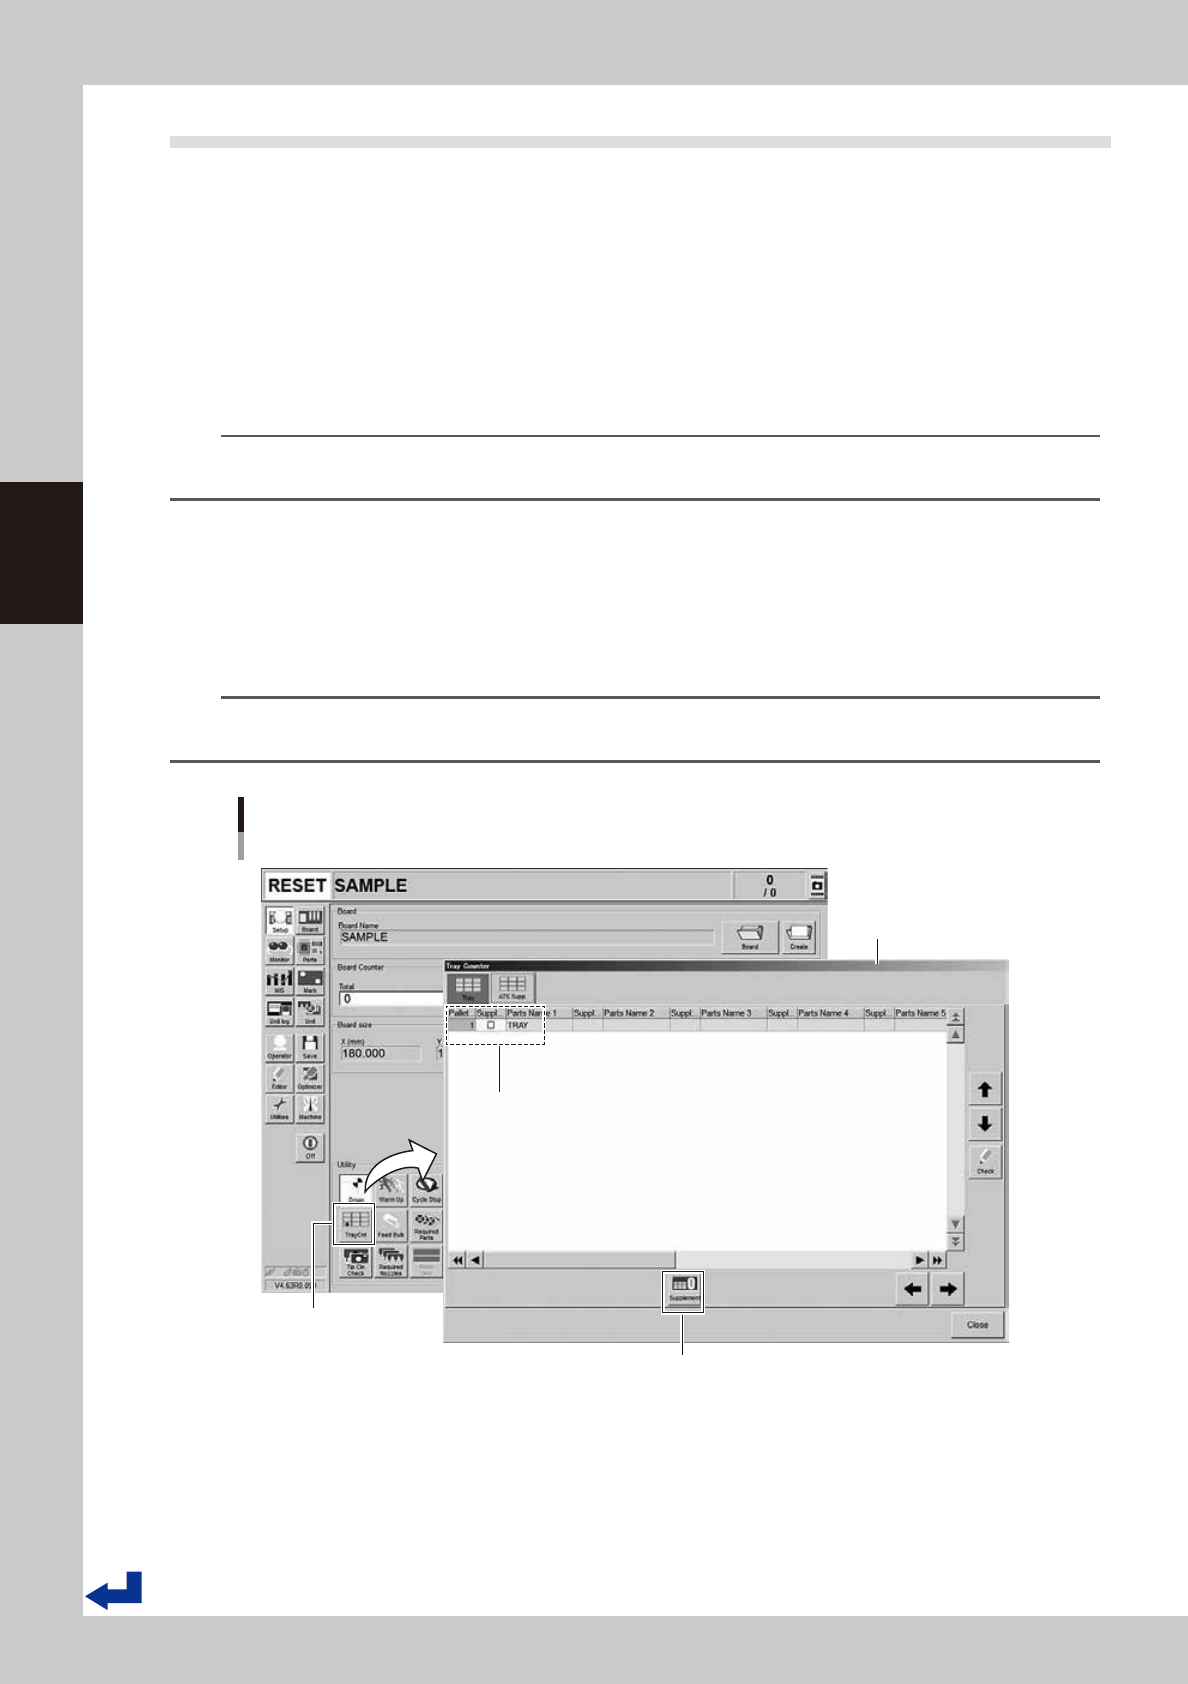
“Tray Counter” – “ATS Supp.” screen
If the machine is equipped with the tray component supply unit, pressing the [TrayCnt] button on the “Setup” screen calls
up the “Tray Counter” screen. The “ATS Supp.” tab of the “Tray Counter” screen allows the same operation as that of the
pallet indicator button on the screen. After setting a pallet, provide “Supplement Check” with a check mark. Then, press
the [Supplement] button. This completes the replenishing the pallet components.
TIP
When completing replenishing the pallet components, the “Supplement Check” column changes the color from
yellow to blue.
Setting tray components
“Tray Counter” - ”ATS Supp.” screen
[TrayCnt] button
“Tray Counter” - ”ATS Supp.”
screen
[Supplement] button
After setting a pallet, provide “Supplement Check” of the set pallet number
with a check mark. Then, press the [Supplement] button.
24314-KMK-00
3-23
3
Flow from starting up machine to production
n
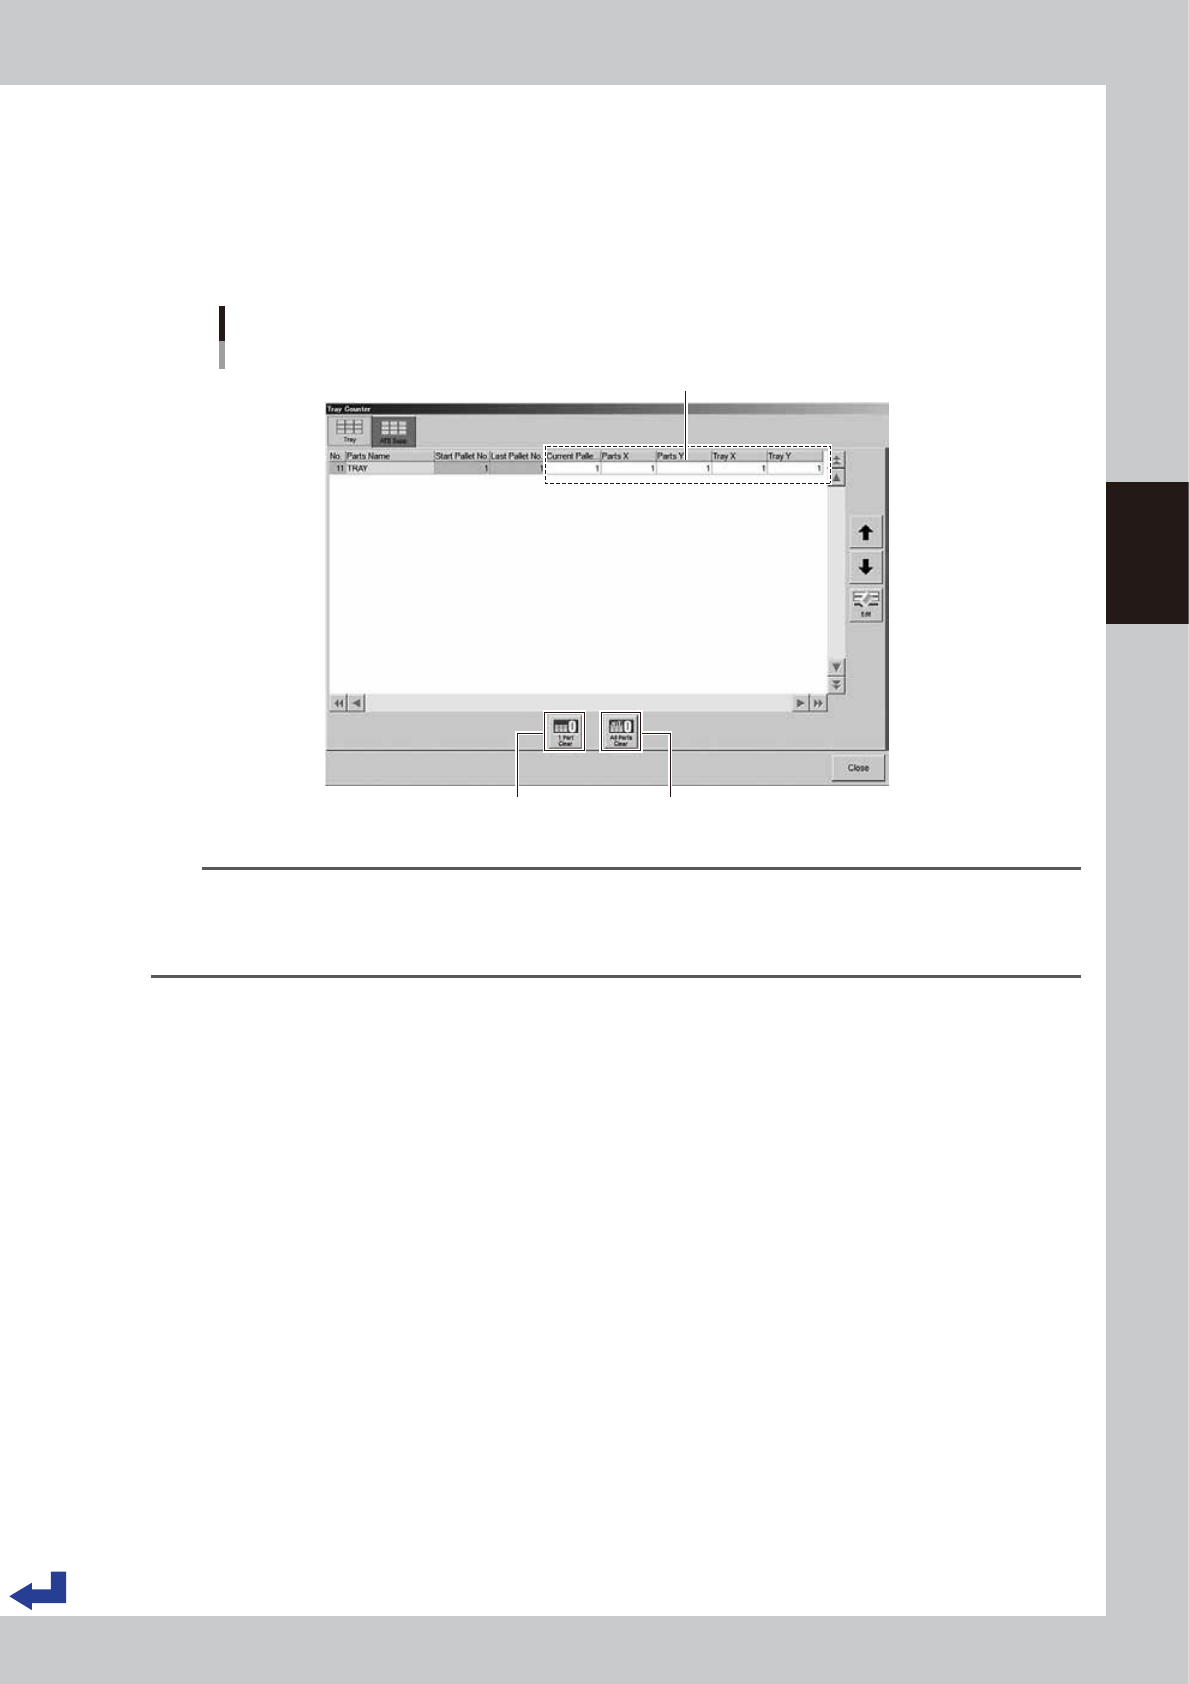
“Tray Counter” – “Tray” screen
The “Tray” tab on the “Tray Counter” screen enables to designate the pallet loaded with the components to be picked up
first, tray and components location. You do not have to change the parameters on the screen when setting a pallet fully
loaded with the tray components. However, you need to enter parameters on this screen to use a pallet where some of
the components have been used such as for another production.
Enter the “Current Pallet No.”, “Parts X, Y” and “Tray X, Y” of the object components.
Designating the tray component position to start picking up
“Tray Counter” - ”Tray” screen
[1 Part Clear] button
Enter any “Current Pallet No.”, “Parts X, Y” and “Tray X, Y”.
[All Parts Clear] button
Current Pallet No. : The pallet number to be used first
Parts X, Y : The location of component to be picked up first
Tray X, Y : The location of tray to be picked up first
(If two or more trays are present in a same pallet.)
24315-KMK-00
TIP
After selecting the object components, pressing [1 Part Clear] button sets the both parameters of “Parts X, Y” and
“Tray X, Y” to “1” of that particular component and “Current Pallet No.” is set to the pallet starting number.
Pressing [All Parts Clear] button resets the parameters of all the components on the “Tray Counter” screen, same as
above.
3-24
3
Flow from starting up machine to production
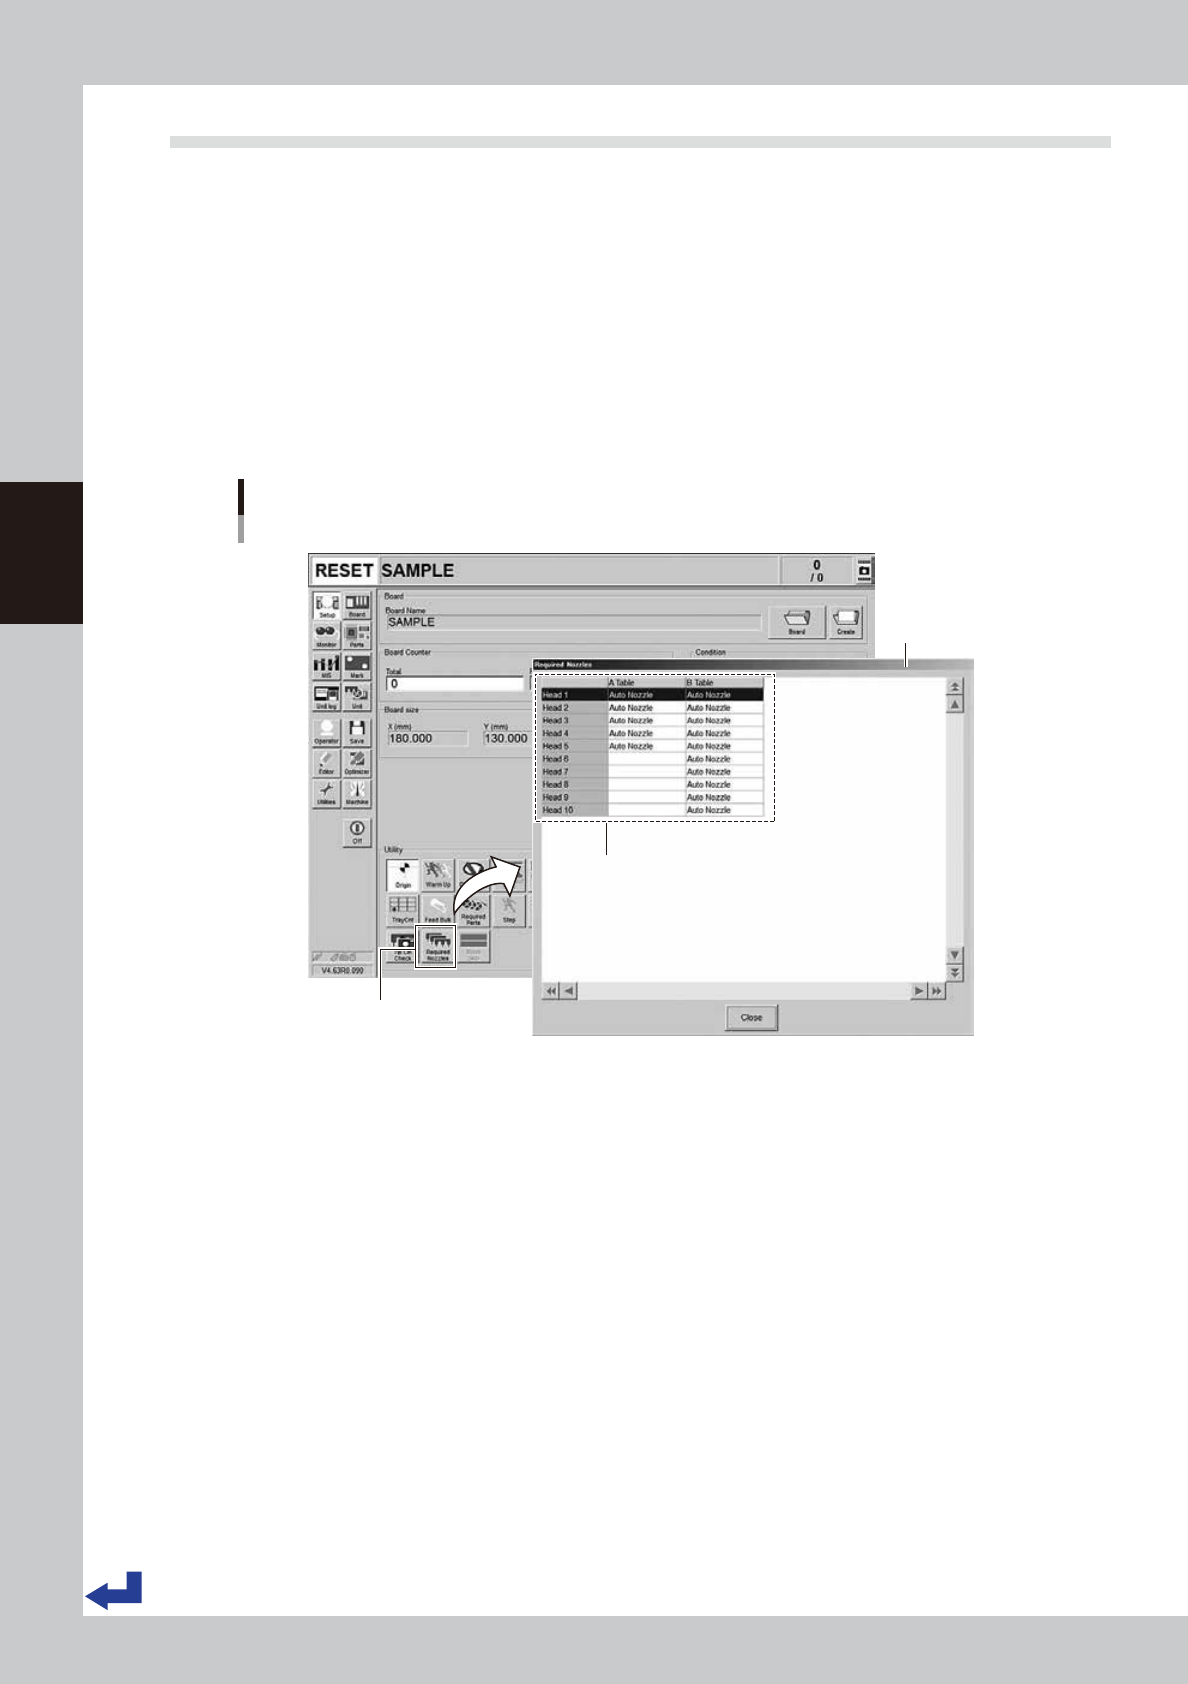
1.9 Confirming nozzles
Confirm the nozzles before starting the production. This procedure description in this section assumes that the
board data to be used for production has been read out. Note that Steps 1 and 2 are not necessary where the
setting is such that all the heads go through the automatic nozzle changing process.
1
Call up the “Required Nozzles” screen.
Press the [Required Nozzles] button on the “Setup” screen calls up the “Required Nozzles” screen.
2
Confirm the nozzle types.
If the machine is not equipped with the nozzle station or the machine has a head that does not go
through the automatic nozzle changing process, the types of nozzles appear on the “Nozzle Type” list.
Check that these nozzles in the list match the nozzles that are currently attached on the heads. Note
that this process is not necessary if set to “AUTO”.
Confirming the nozzle types
[Setup] screen - “Required Nozzles” screen
[Required Nozzles] button
“Required Nozzles”
screen
Check that these nozzles in the list match the nozzles
that are currently attached on the heads.
* This process is not necessary if set to “AUTO”.
24316-KMK-00