PathMaster-REV-L-4.5-1.pdf - 第188页
Machine Operati on Manual Revision L / February 2020 Page 188 of 200 Figure 204 : D atum Ref erence Heigh t The “Tea ching, Plea se Wait” screen will be shown. Figure 205 : T eachin g, Please W ait 5. Next the HeightT oo…
Machine Operation Manual
Revision L /
February 2020
Page 187 of 200
Bond Offsets Wizard
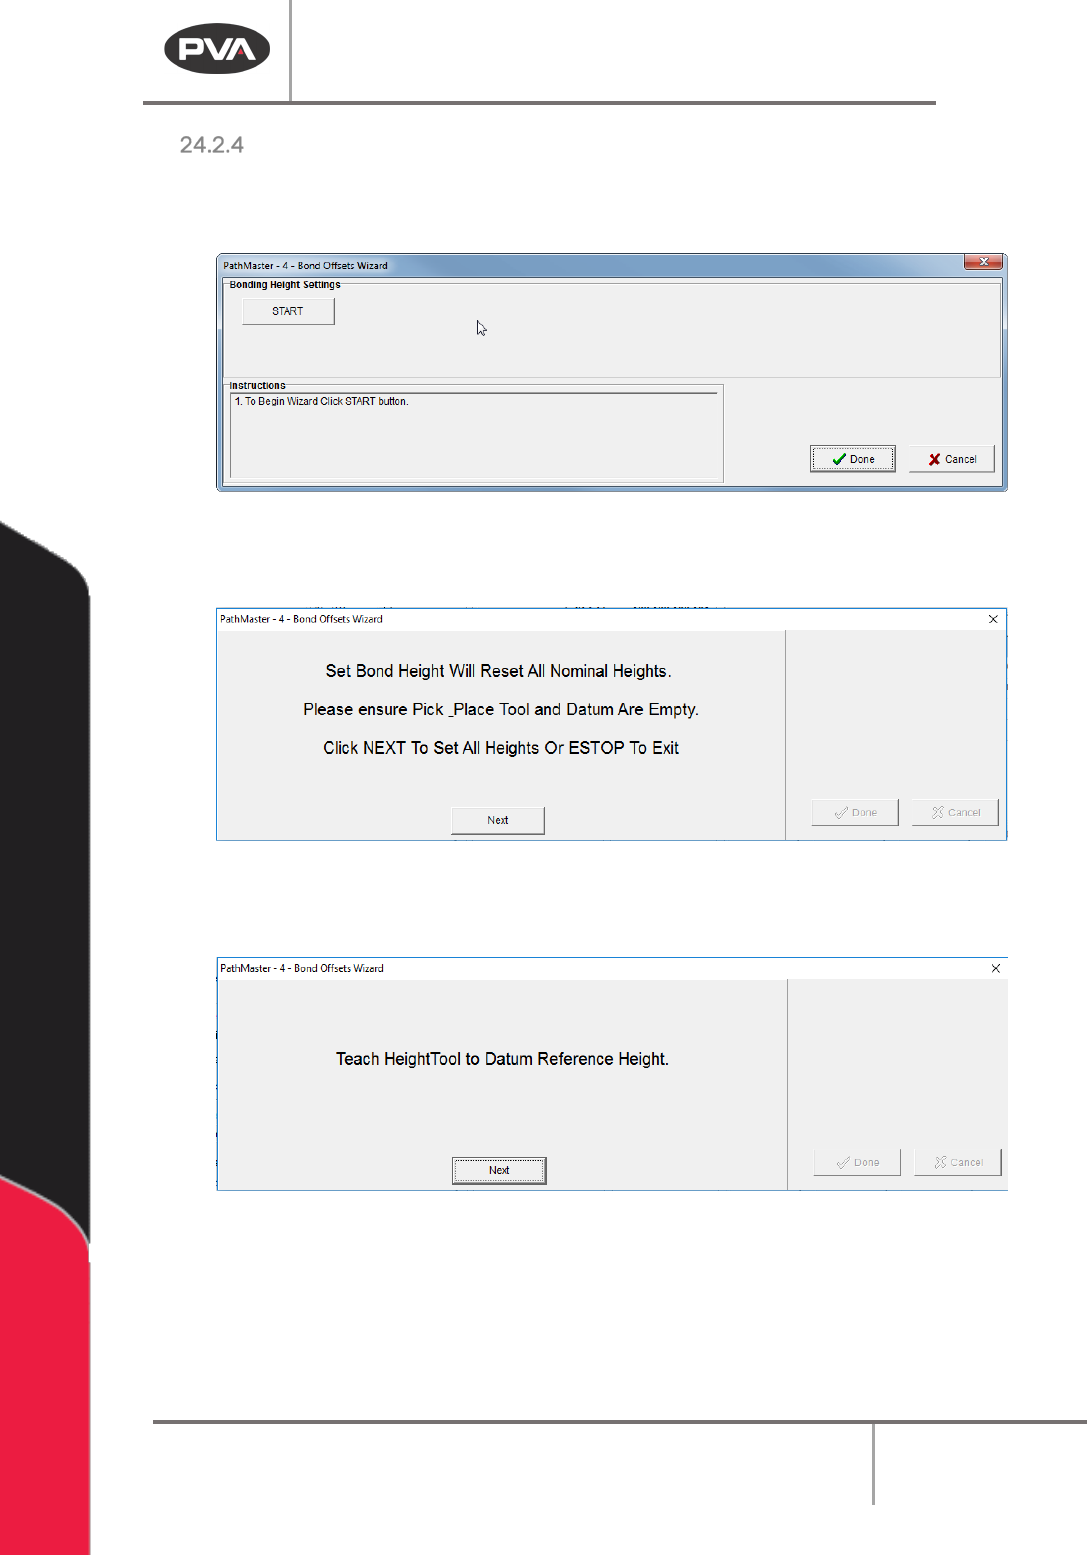
1. After the other three bonding plugins have been setup, select the Bond Offsets
Wizard.
Figure 201: Bond Offset Wizard
2. Select the “Start” Button.
Figure 202: Make Sure Pick Tool and Datum are Empty
3. Select the “Next” button when the datum and pick tool are empty.
Figure 203: Teach the HeightTool to Datum Reference Height
4. Use the teach pendant to teach the HeightTool to the Datum Reference Height.
Machine Operation Manual
Revision L /
February 2020
Page 188 of 200
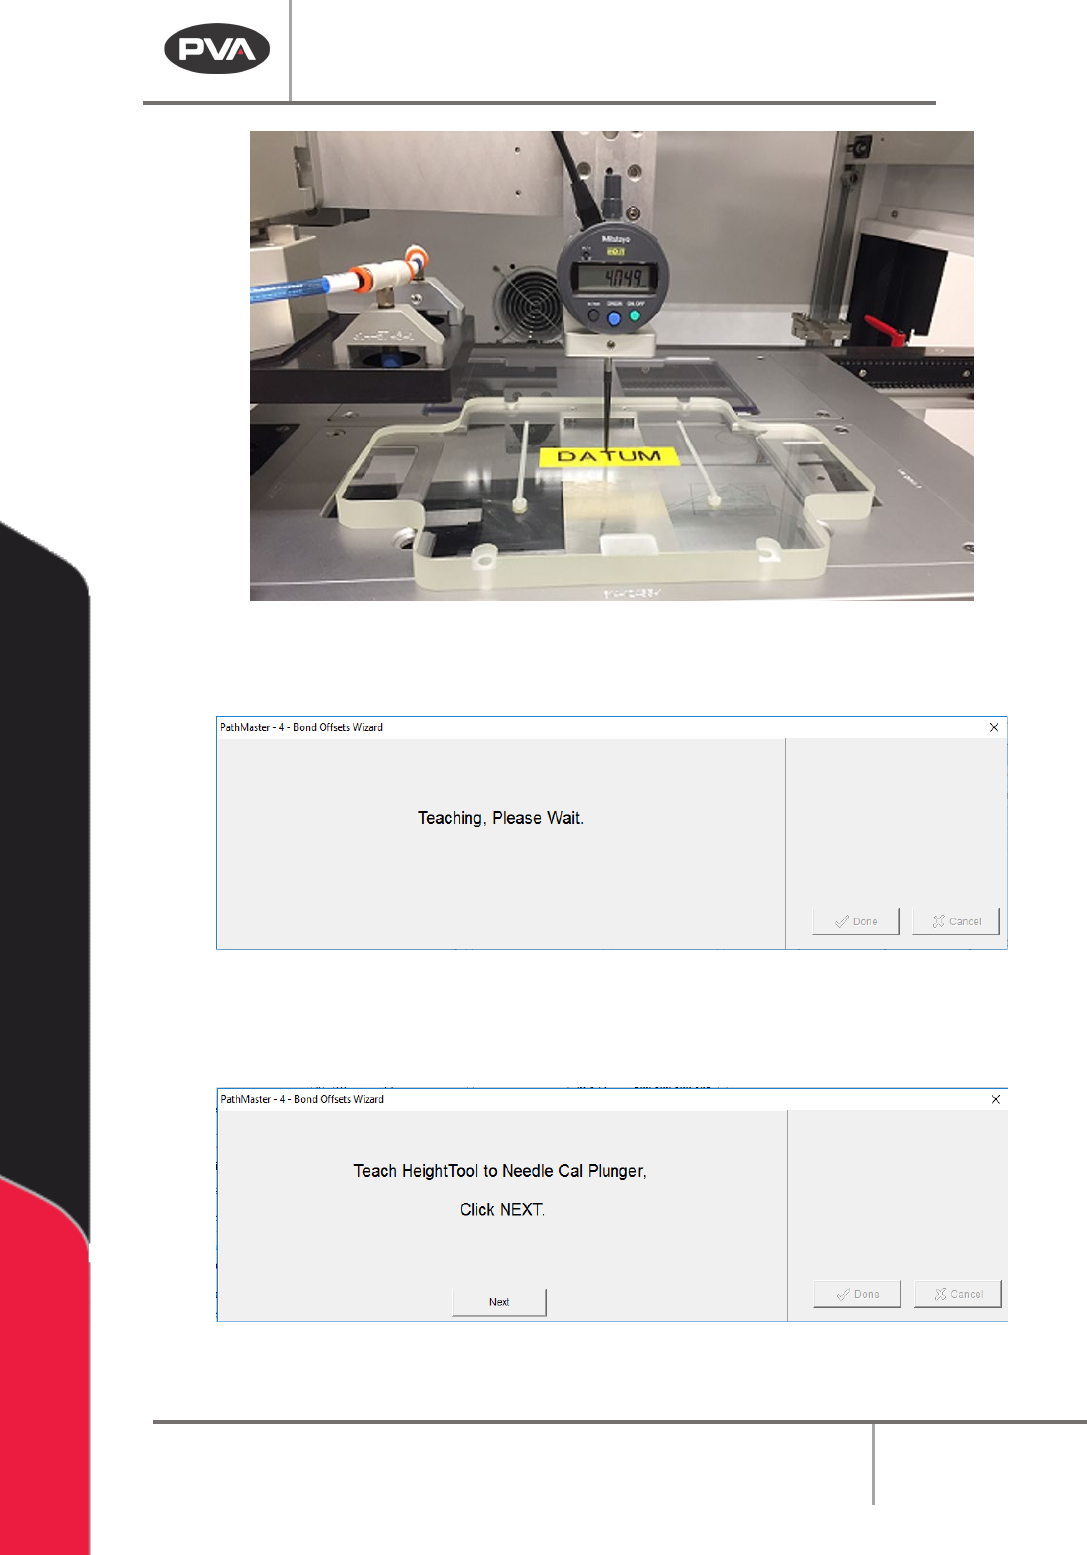
Figure 204: Datum Reference Height
The “Teaching, Please Wait” screen will be shown.
Figure 205: Teaching, Please Wait
5. Next the HeightTool to the Needle Cal plunger is taught. The height is automatically
detected by the wizard, there is no user input.
Figure 206: Teach HeightTool to Needle Cal Plunger
6. Click “Next”. The Teaching, Please Wait screen will be shown.
Machine Operation Manual
Revision L /
February 2020
Page 189 of 200
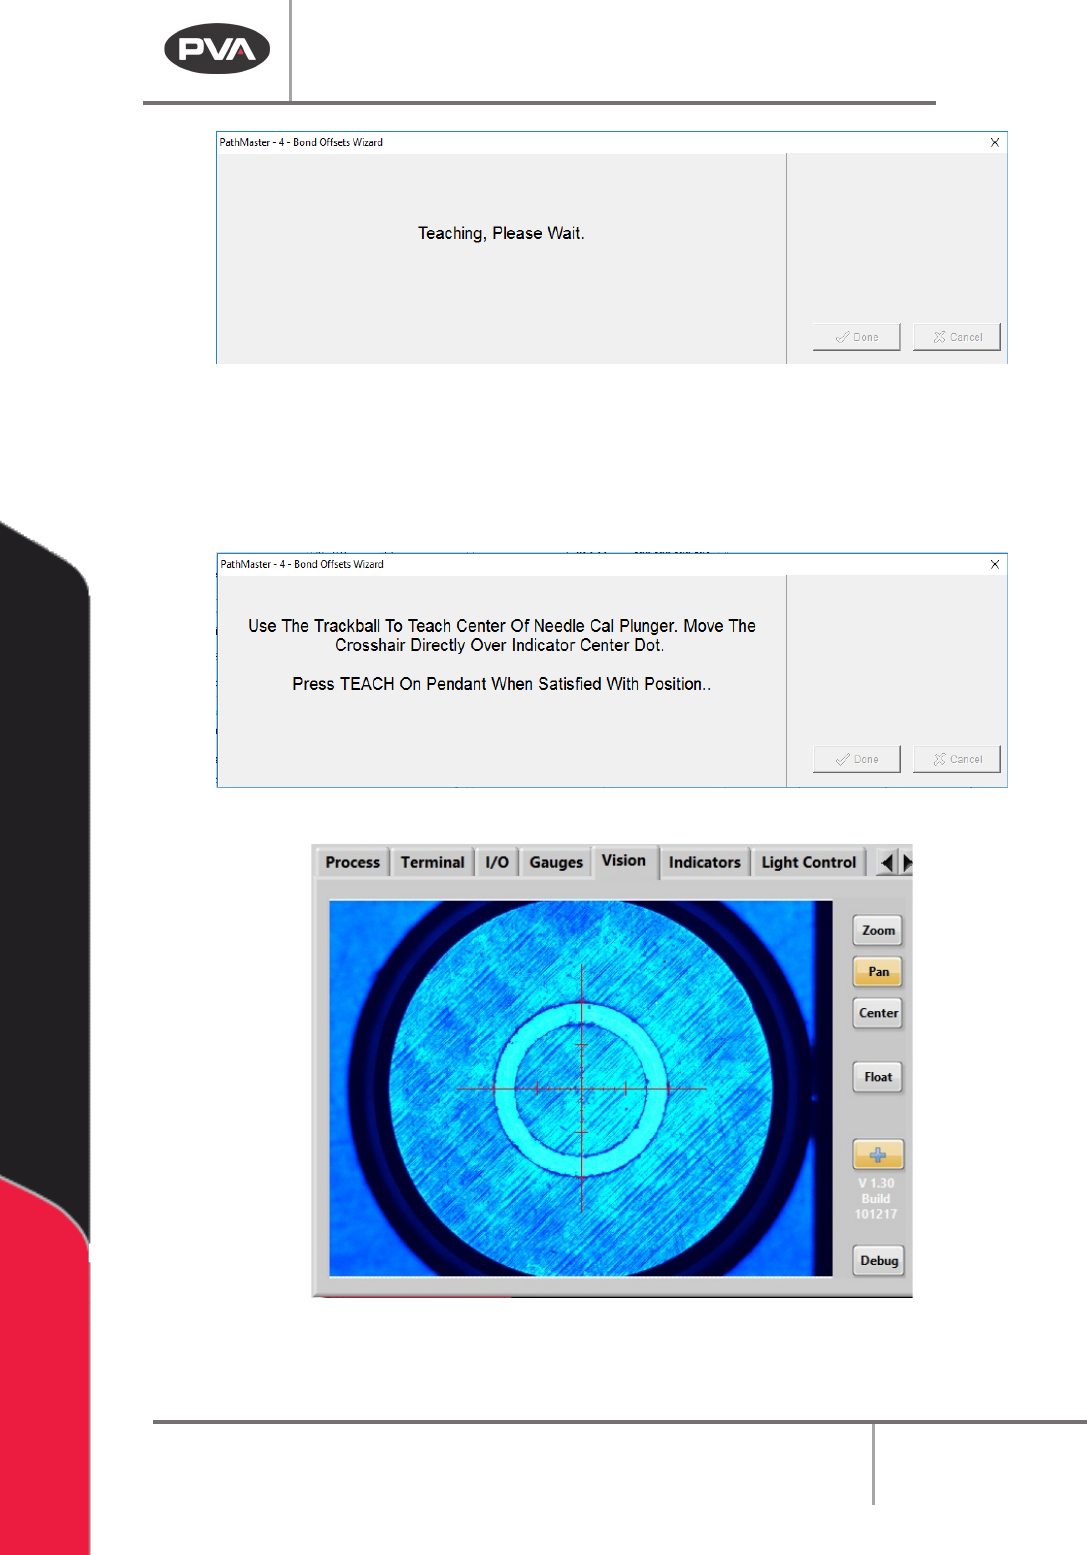
Figure 207: Teaching, Please Wait
7. Use the teach pendant to teach the center of the needle calibration plunger as
shown on the screen. Use the teach pendant to make sure the crosshair is in the
center of the indicator dot. When the crosshair is correctly aligned, push the “
Teach”
button on the teach pendant.
Figure 208: Teach the Needle Cal Plunger Center
Figure 209: Portal Front Panel Screen, Needle Calibration for Plunger Center
8. Next, to turn the door bypass to on.