PathMaster-REV-L-4.5-1.pdf - 第77页
Machine Operati on Manual Revision L / February 2020 Page 77 of 200 NOTE: P layback can only o perate if the workcell is in Manual m ode . NOTE: When tea ching a position on a 4 - axis machine the last coordinat e in the…
Machine Operation Manual
Revision L /
February 2020
Page 76 of 200
Programming Functions
General Function Parameters and Buttons
The following function definitions apply to 2D path, 3D path, Arc, Circle, and Area tools.
Current Position – If there is communication with the controller, the current position is
shown in the text box. Use the teach pendant on the workcell to change the position.
Input Coordinates –Enter the target position manually.
Dispensing Parameters – Select parameters for the current dispense and the active tool.
Tool On Wait – The pause after the tool is turned on before the dispense path starts.
Tool Off Wait – The pause after the path is finished and the tool is off, but before the tool
moves to the next point.
Tool On Distance – The distance of the path traveled before the tool turns on.
Tool Off Distance – The distance of the path traveled when the tool is turned off, but
before the path is finished.
Z Retract (Relative) – Distance to raise the Z-axis after certain moves are completed.
Teach – Records the current point.
Surface- Drop down menu to select the end-effector height. Menu options depend on the
function.
• Gantry (Raw) uses the Z coordinate exactly as it was taught.
• Gantry (Relative) uses the Z coordinate that was taught and subtracts the “Relative
Height” numeric field’s current value.
• Calibrated Z uses the Run Tool Reference Z for the current run tool and subtracts
the global “
Relative Height” set for that tool in Tool Configuration.
• Use Last uses the Z height of the previous Surface used in the Polyline.
• Custom Surface uses the XY coordinates of the Surface command that shares the
same name and uses the Z height and the current run tool’s “
Calibrated Z” to set the
dispense Z height.
Use Current Z Height – This will teach all coordinates at the current end-effector height.
Use Calibrated Z Height – This will teach all coordinates at the end-effector height taught
during teaching offsets. The final calibrated height is the tool offset Z Height minus the
“Relative Height” parameter set for the tool in Tool Configuration.
Done – Adds all edits to the program.
Cancel – Exit without changes to the program.
Machine Operation Manual
Revision L /
February 2020
Page 77 of 200
NOTE: Playback can only operate if the workcell is in Manual mode.
NOTE: When teaching a position on a 4-axis machine the last coordinate in the list (0.000,
0.000, 0.000, 0) is the theta value. Theta is measured in encoder counts and is always a
whole number.
NOTE: Teach tool selections only apply when the teach tool is used.
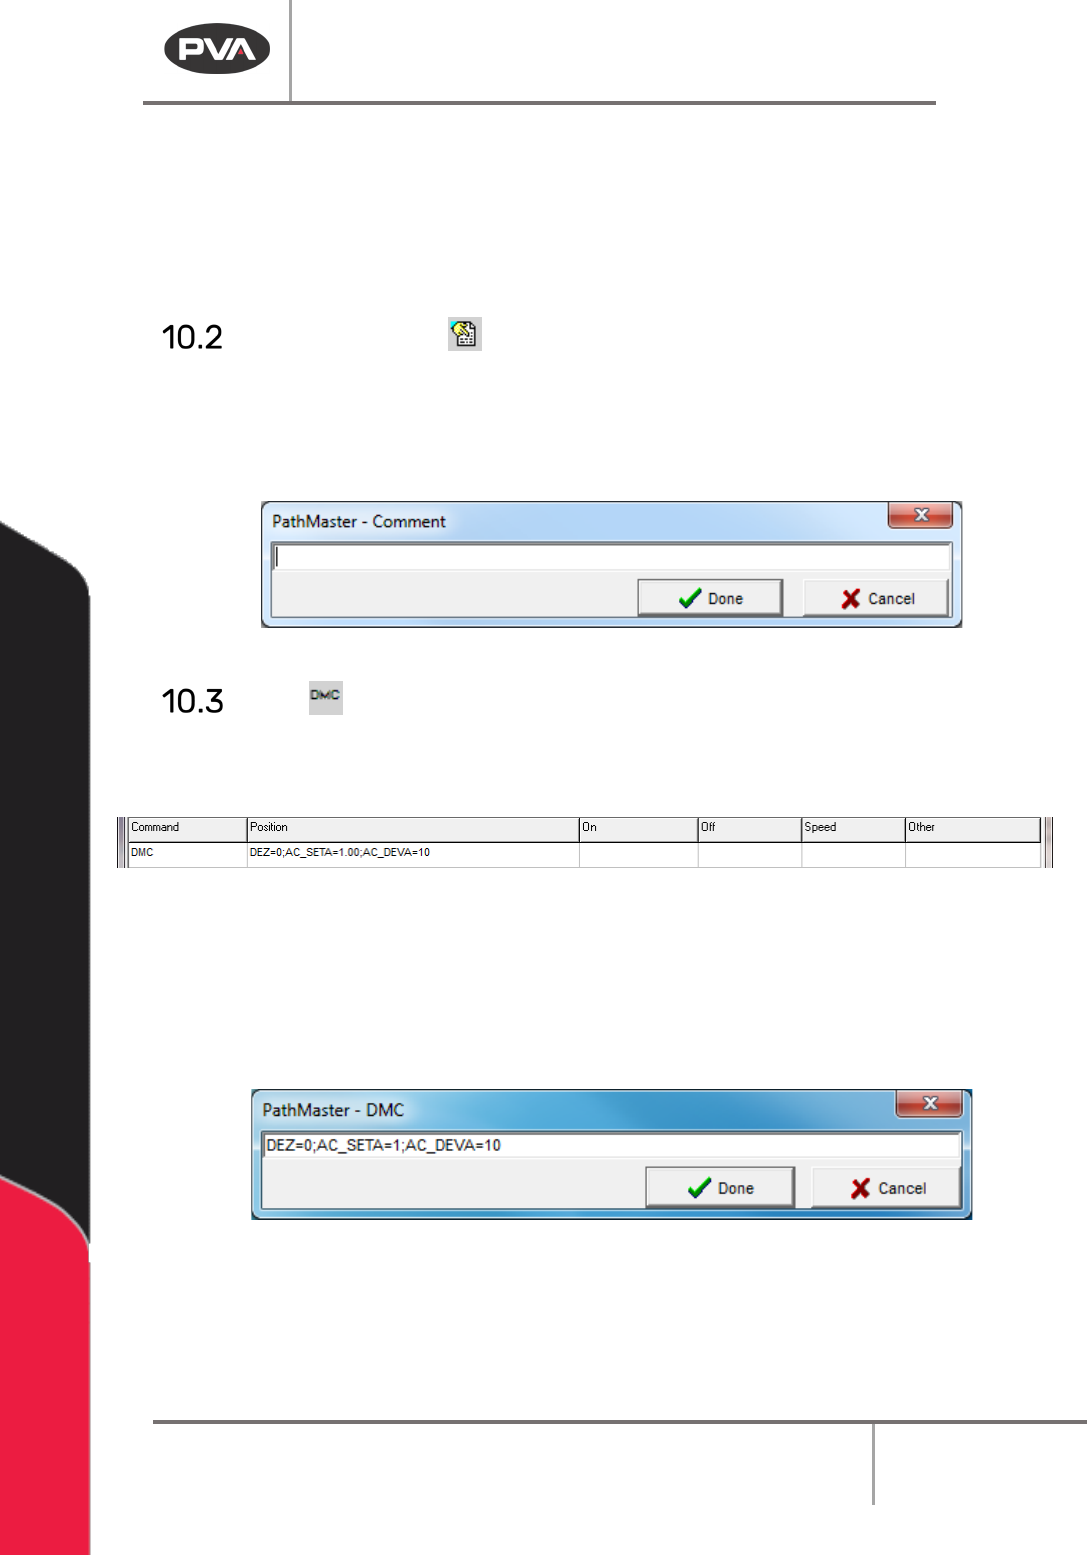
Add Comment
1. Select the add comments icon from the tool bars.
2. Add a comment to each path program so anyone who views the path program can
understand the program. All comments are removed from the program on
compilation and do not use any controller memory.
Figure 77: Comment
DMC
With this function the user can enter DMC code into the program. Only users who
understand the DMC language should use this.
Figure 78: DMC Command Programmed
1. Select the DMC function.
2. Enter the correct command into the Edit DMC window.
3. Select “Done” to save the changes.
4. Select “Cancel” to exit and not add a command.
Figure 79: Edit DMC
Machine Operation Manual
Revision L /
February 2020
Page 78 of 200
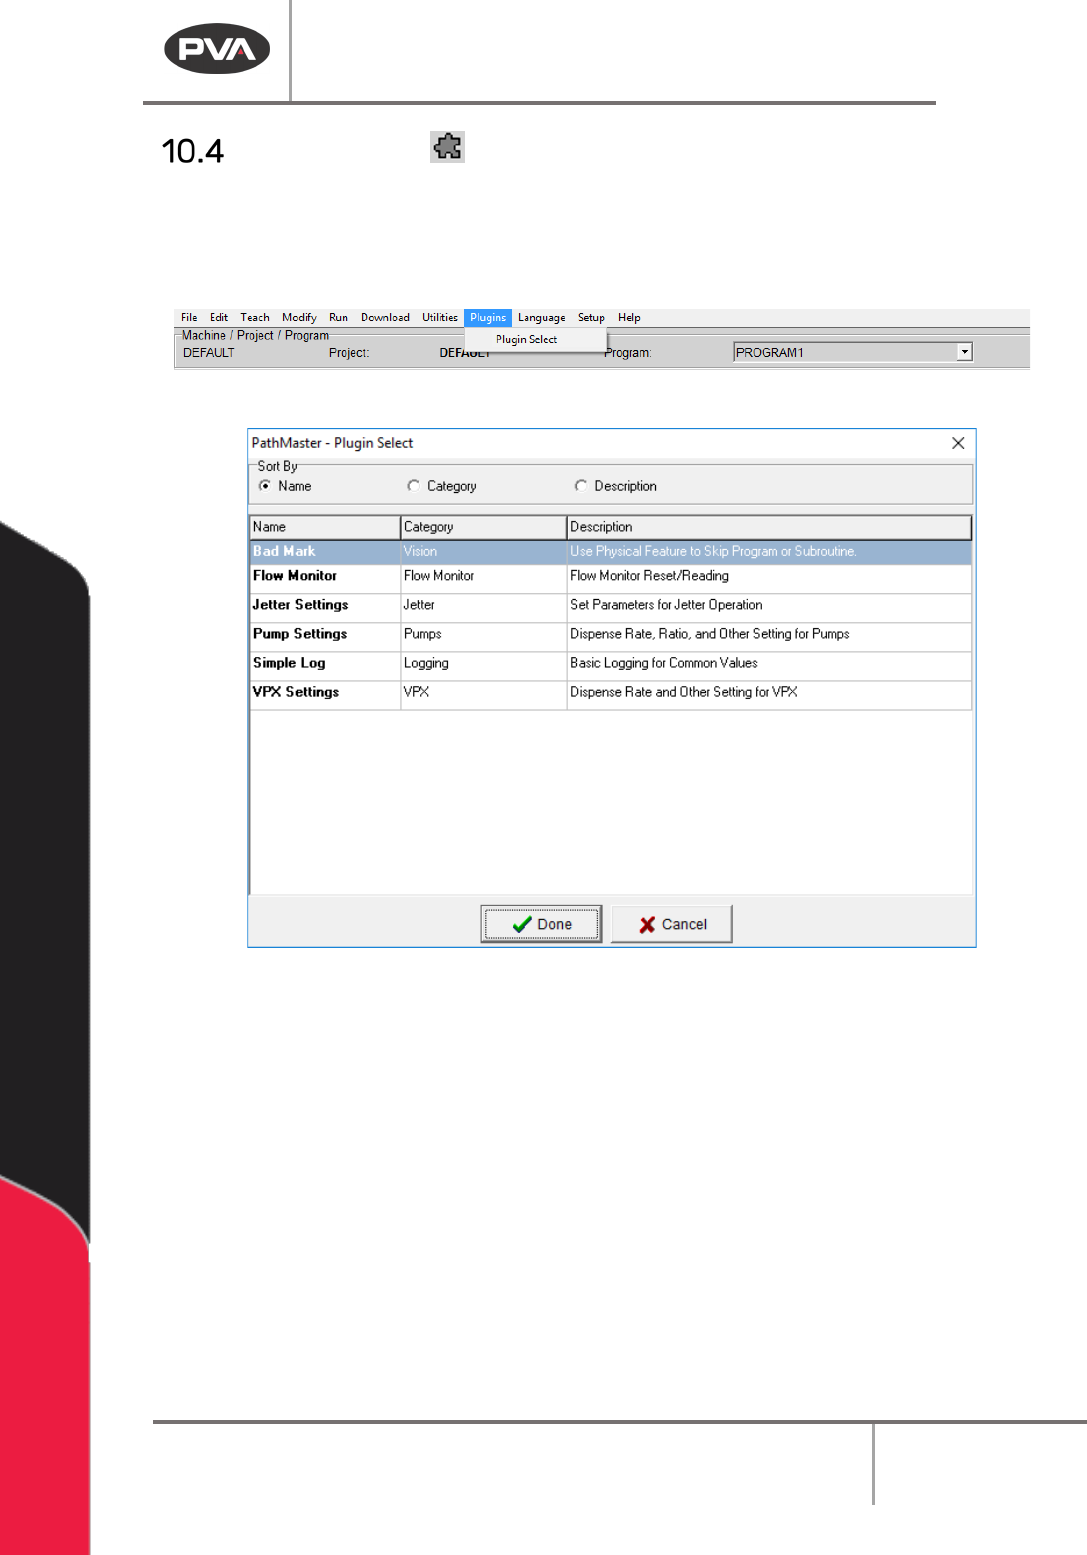
Plugin Select
Plugin Select is where the user can select which plugins are used.
1. Select the Plugin Select icon or select
Plugins->Plugin Select
from the main menu
bar.
Figure 80: Plugin Select Menu
Figure 81: Plugin Select
2. Use the radial buttons to sort the plugins as necessary by Name, Category, or
Description.
3. Select necessary plugin so it is highlighted.
4. Select “Done”.
A plugin specific window will be shown. Refer to plugin specific documentation for more
information.