PathMaster-REV-L-4.5-1.pdf - 第59页
Machine Operati on Manual Revision L / February 2020 Page 59 of 200 2. Teach the Dispens e Position with the teac h butto n, this is the l ocatio n the dot will be dispen sed. The dispe nse posi tion is sto red for thi s…
Machine Operation Manual
Revision L /
February 2020
Page 58 of 200
NOTE: If the Update Reference Position Only (Do not apply Offsets) box is unchecked,
offsets will automatically be applied to any existing paths or programs that use the tool
that was changed and will be applied to any new paths or all programs created.
NOTE: When the Teach Tool reference position is updated, Tool Offsets are updated to
reflect the change in relationship between the Teach Tool and each Run Tool.
9. When tool offsets have been taught for each tool, select the “Done” button, or
select
“Cancel” to exit and not save changes.
The distance between the run tool and the teach tool has now been taught. Repeat steps
2-9 for all other tools.
NOTE: If the run tool is a valve, you can use a dot of material on a surface and teach the run
tool over the dot. Refer to Section 6.6.7.
10. Select the “Save & Close” button to exit and save the changes.
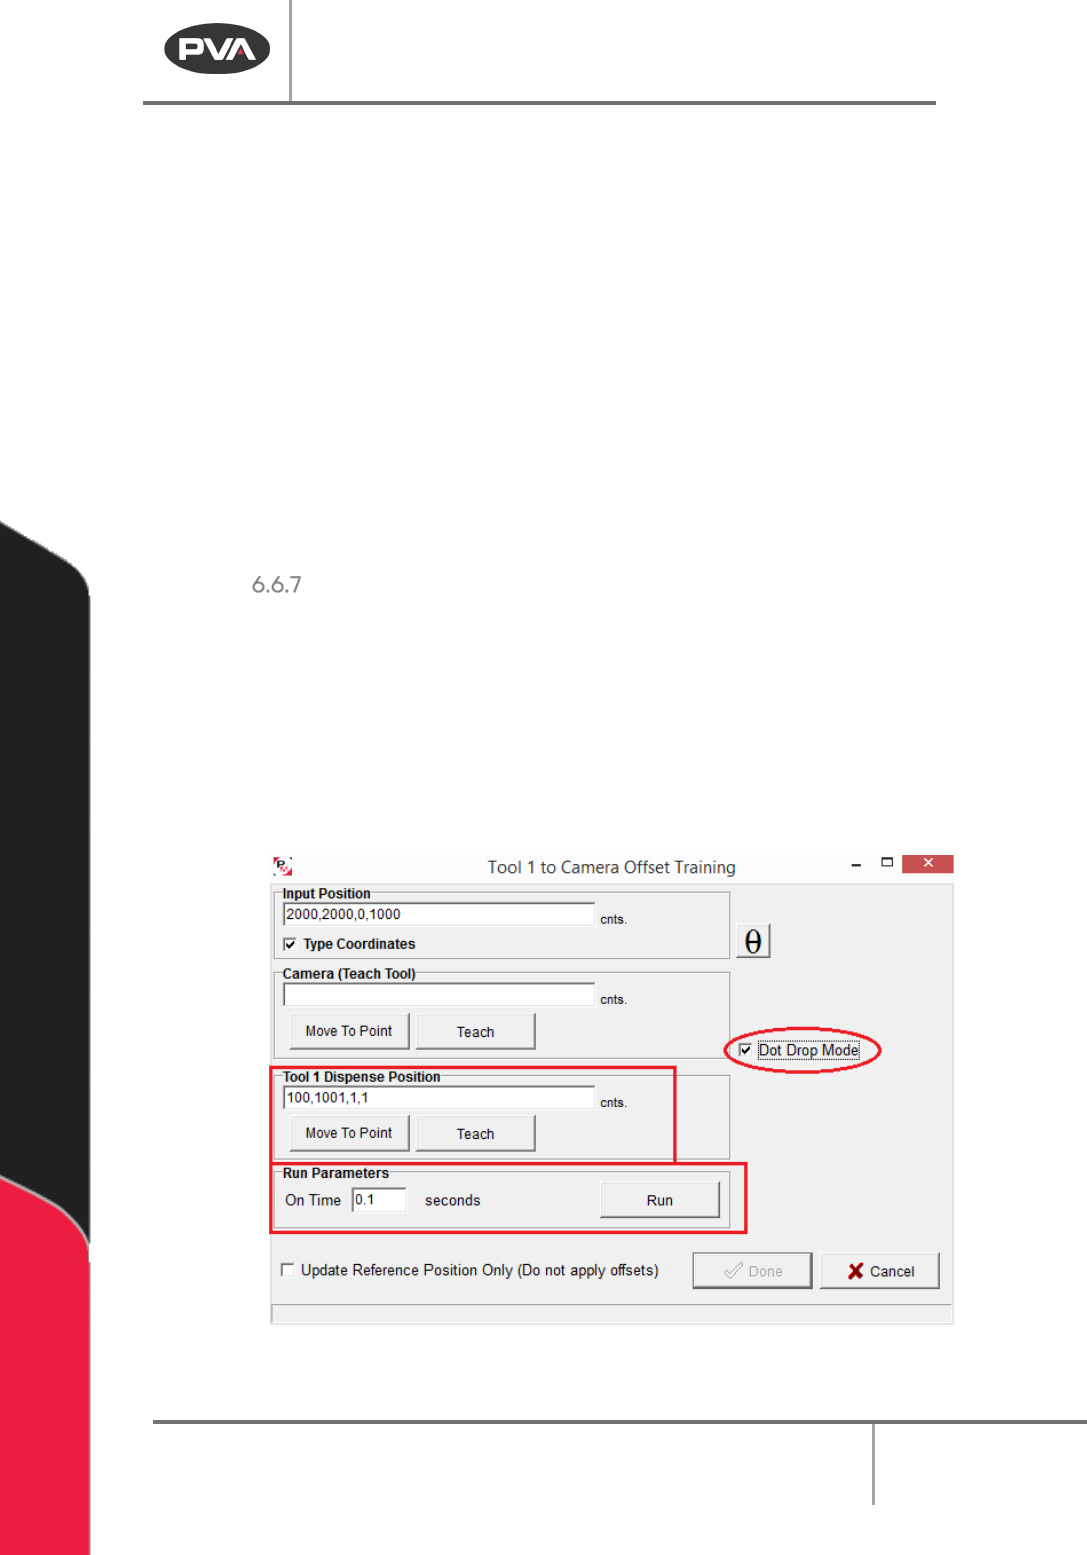
Dot Drop Mode
Dot Drop Mode is used to align the run tool and teach tool when the run tool cannot be
aligned with the reference point or fiducial because it does not have a protruding tip. It can
also be used if the operator prefers it.
1. Select the Dot Drop Mode checkbox to enable this function. When you select the
check box, the
Dispense Position and Run Parameters will be shown in the Offset
Training window. If you select and save the values for dot drop mode, the settings
will be saved for future use with this tool.
Figure 54: Dot Drop Mode
Machine Operation Manual
Revision L /
February 2020
Page 59 of 200
2. Teach the Dispense Position with the teach button, this is the location the dot will
be dispensed. The dispense position is stored for this tool.
3. Set the On Time in seconds. This is how long the tool will operate to dispense the
dot.
4. Select “Run” to dispense the dot for the set On Time.
5. Move the teach tool to the dispensed dot and teach the position.
6. When the tool offsets have been taught for each tool, select the “Done” button, or
select
“Cancel” to exit and not save changes.
NOTE: If Dot Drop Mode is enabled for a tool, that tool will reference Dot Drop mode when a
Tool Change is done.
NOTE: If a Dispense Position is taught, the Run Tool reference position will be calculated
automatically and can be used when you exit Dot Drop mode.
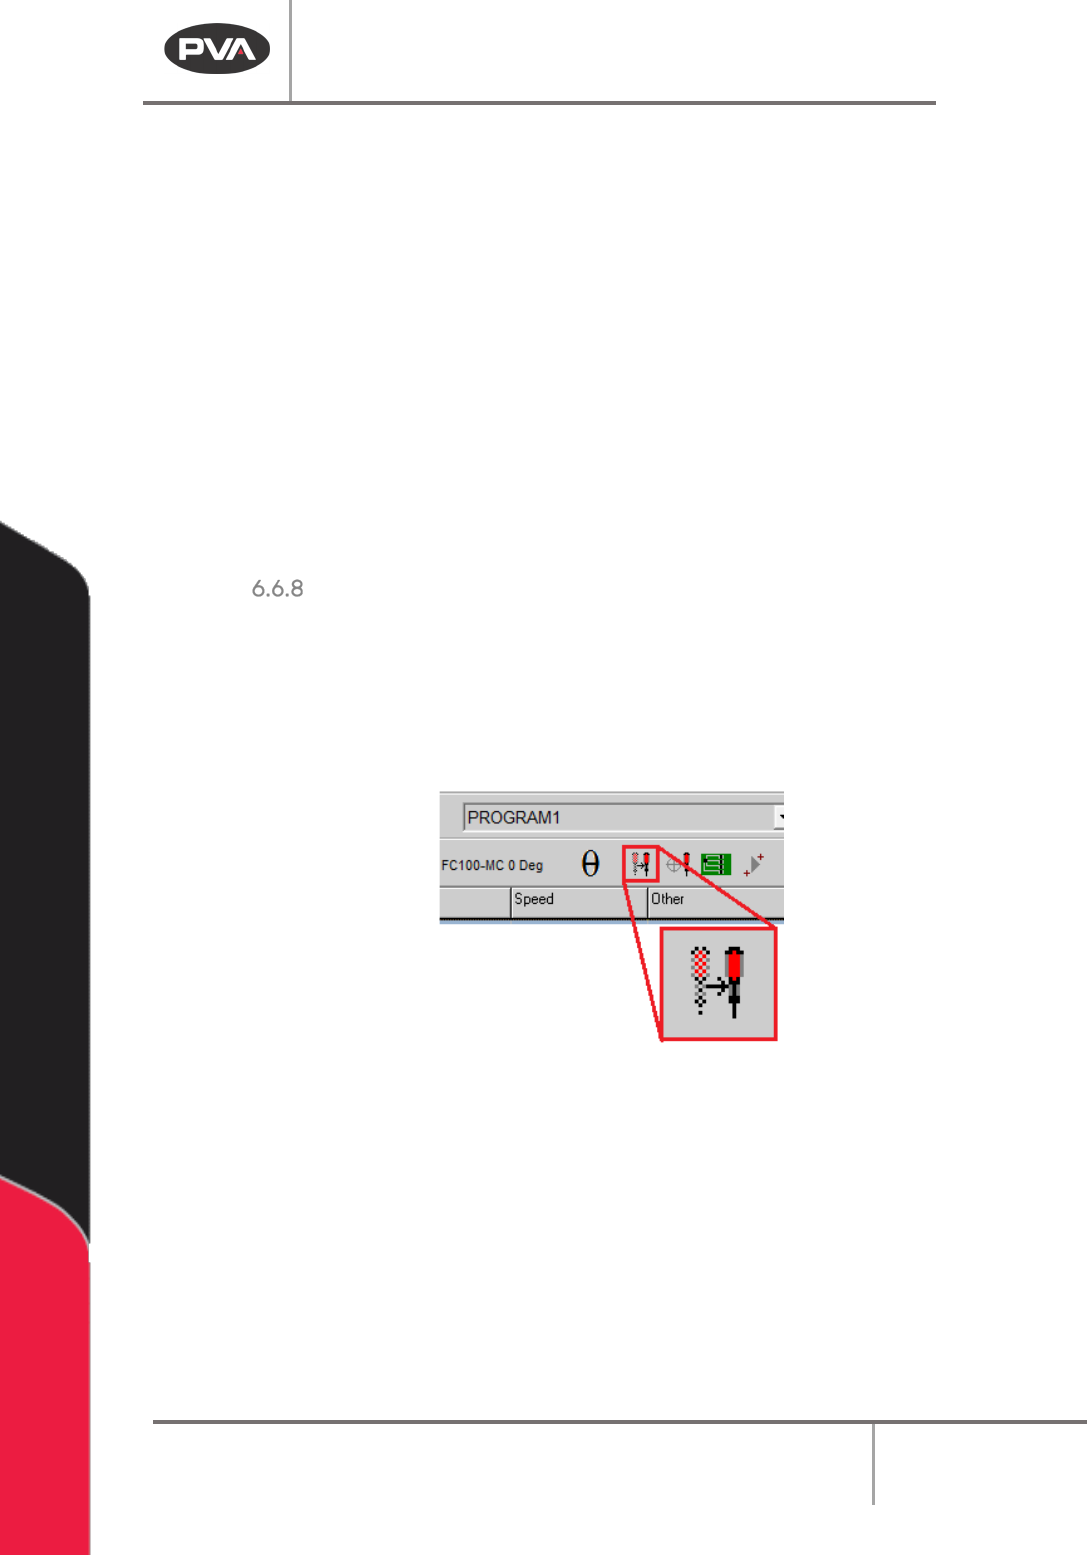
Tool Change
A Tool Change adjusts the tool offset and applies a program offset to correct the position
of a tool. A tool change should be done after a needle is changed, or if a tool installed after
maintenance has been done. A tool change should be done after any change in the
physical location of a tool tip.
NOTE: The teach tool option must be enabled to use the tool change function.
Figure 55: Tool Change Button
1. Select the Tool Change button on the main tool bar.
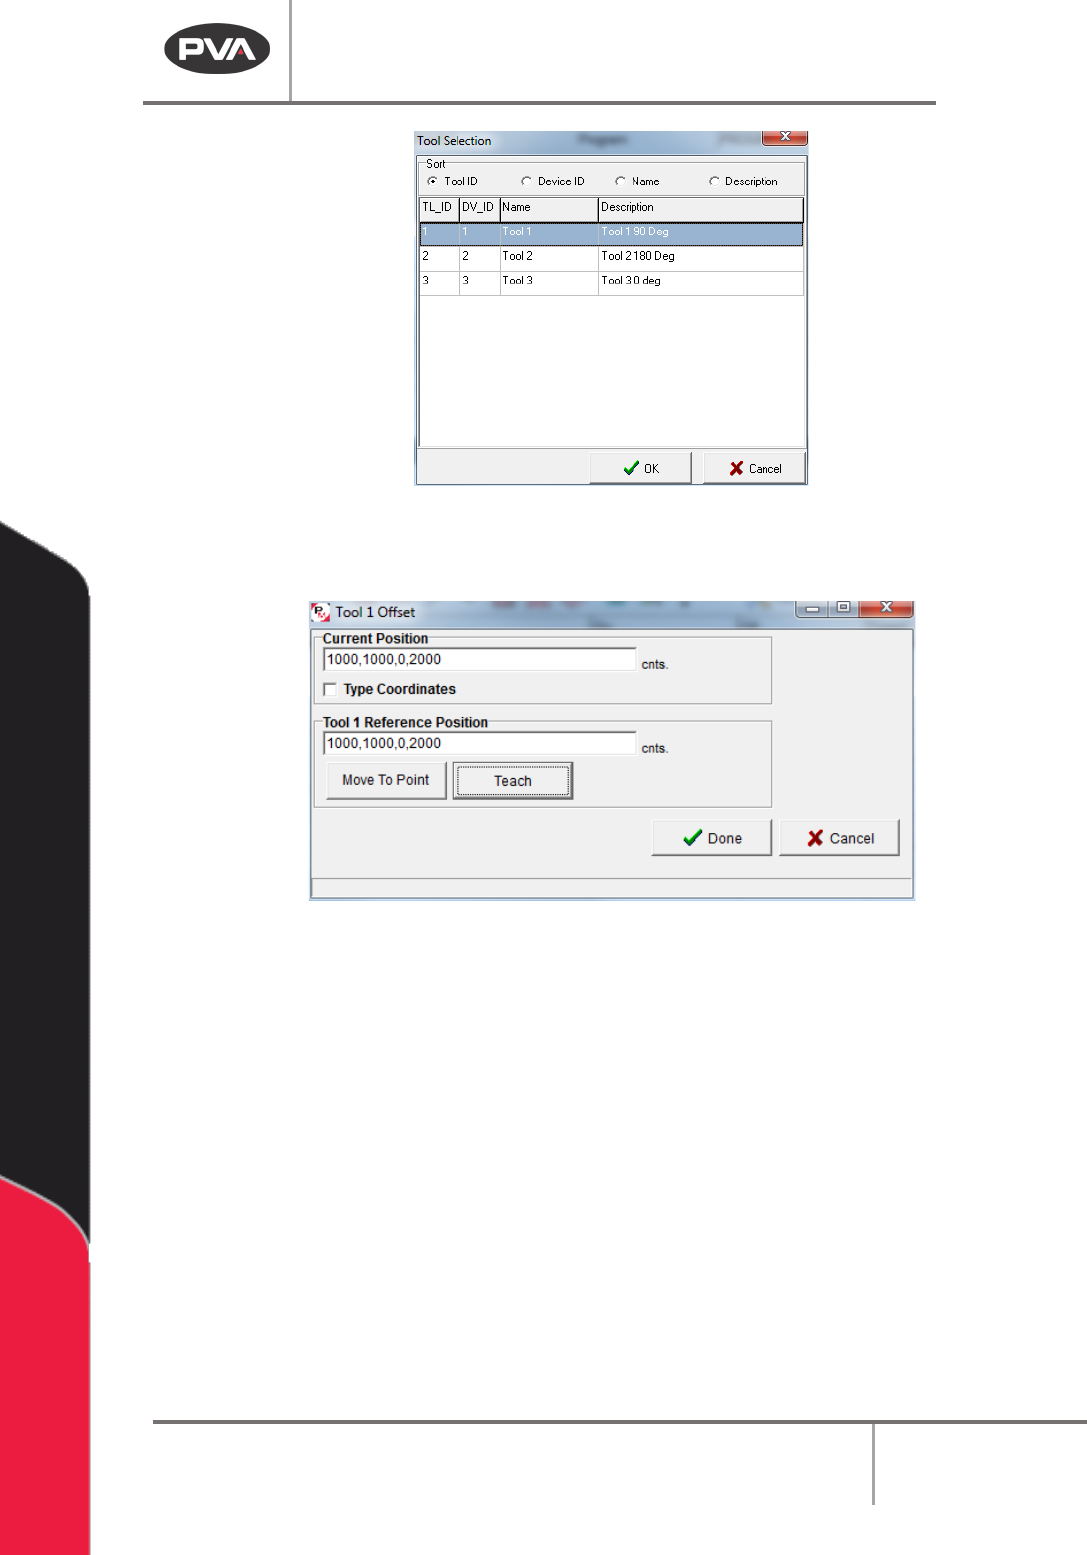
2. Select a tool from the Tool Selection window.
Machine Operation Manual
Revision L /
February 2020
Page 60 of 200
Figure 56: Tool Selection Window
3. Select the “OK” button.
Figure 57: Tool Offset Window
4. Align the selected tool with the reference position (the same position referenced by
the Teach Tool). You can use the “
Move To Point” button to move to the run tool
reference position.
5. Select the “Teach” button to teach the run tool reference position.
6. Select the “Done” button, or select “Cancel” to exit and not save changes.
7. If “Use Profile Calibration” is enabled on the current tool, the Tool Calibration for
changing the
Profile Offset will automatically run.