PathMaster-REV-L-4.5-1.pdf - 第32页
Machine Operati on Manual Revision L / February 2020 Page 32 of 200 Ma chin e P rogra m T ran spor t PathMa ster 4.4 ca n import da ta from pre vious version s of PathMa ster, but previou s version s of PathMa ster canno…
Machine Operation Manual
Revision L /
February 2020
Page 31 of 200
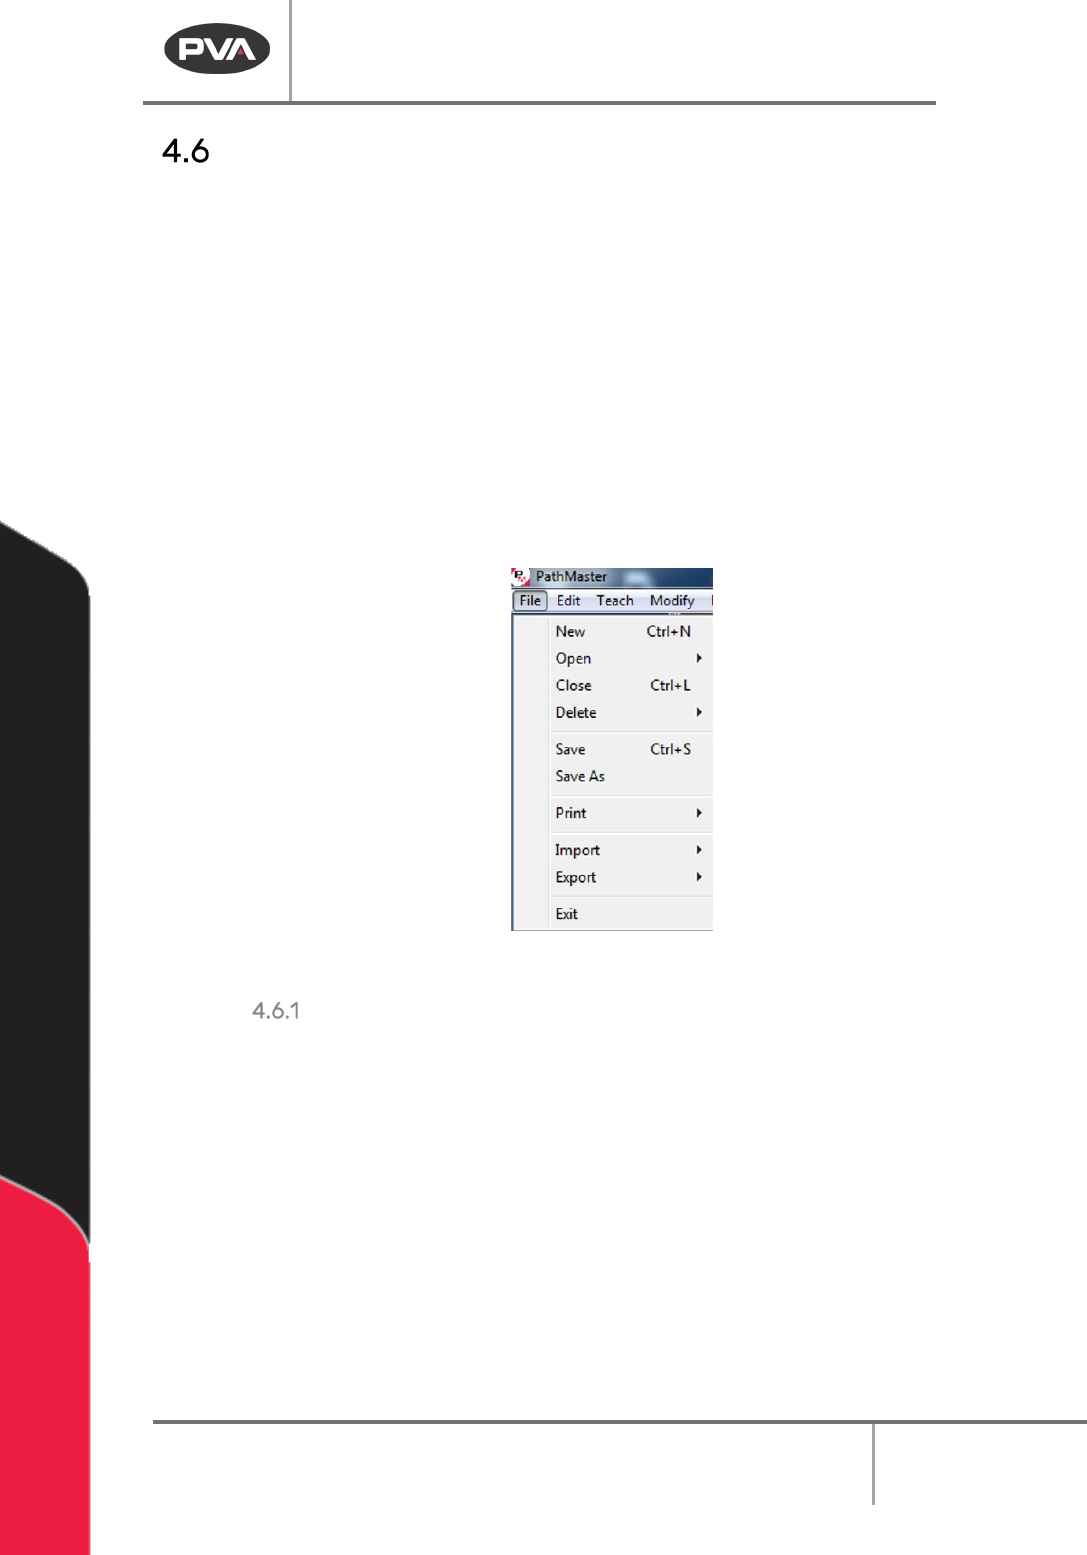
Save for Part Manager
When you select Save or Save As, the current project is saved and exported to a folder
hierarchy on the hard drive. The default location for the folder is in the ‘PathMaster.ini’ file.
PathMaster® can be configured to prompt the user for the folder location.
Example Save (for part manager) folder hierarchy: Project name: MyProject
• Select File -> Save or File-> Save As
A folder called MyProject (Project name) is created in the default project file output
location (C:\Program Files\PVA\PathMaster\Projects). In the MyProjects Folder, 30
individual files are created, one for each program in the project. The files names of the 30
program match the program name. If the program name contains characters that are not
allowed in file names, the character is replaced with the character ‘@’.
Figure 17: Save for Part Manager
INI Settings for ‘Save For Part Manager’
• Default folder location for Save For Part Manager: ProjectFileOutput=C:\Program
Files\PVA\PathMaster\Projects
• Set if the default location is used or if the user is prompted to select a location:
UseDefaultProjectFileOutput=1
CAUTION: The Path specified in the ‘[General]’ section of the ‘PathMaster.ini’ file with the
‘ProjectFileOutput’ key is for PathMaster® use only. This folder is an extension of the
PathMaster® database, for use with PVAPortal’s dependency, PartManager. Any external
data written to this folder or its children will be overwritten by PathMaster®!

Machine Operation Manual
Revision L /
February 2020
Page 32 of 200
Machine Program Transport
PathMaster 4.4 can import data from previous versions of PathMaster, but previous
versions of PathMaster cannot import data from PathMaster 4.4 or newer. This includes all
types of data imports (Machine, Program, Project, Subroutine).
WARNING: Tool Offsets and Workspace Reference positions must be correctly configured
on both the source and destination machine before a Machine Program Transport is done.
Refer to sections 6.4.7 and 6.6.5 for more information.
A machine program transport requires a transfer file (.tfr) from the source machine to be
imported onto the destination machine.
The Transfer file contains program data, Workspace Reference Position and the Z
component of Tool Offsets. The Import Machine Transfer function compares the source
machine Workspace Reference position (X,Y only) to the destination machine Workspace
Reference position (X,Y) and finds an appropriate global offset for the destination machine
programs. The Z component of tool offsets are also compared to find an appropriate Z
offset for each tool on the destination machine.
NOTE: When the configuration of systems is planned for Machine Program Transport, the
systems should be matched mechanically as much as possible. The Tool ID’s should also be
the same from one system to another. For example, if a dispense valve on the source
machine is the first virtual tool (TL_ID 1) and a spray valve is the second virtual tool (TL_ID
2), the destination machine must have the same tool relationship (1st tool = TL_ID 1, 2nd
tool = TL_ID 2), etc.
Machine Operation Manual
Revision L /
February 2020
Page 33 of 200
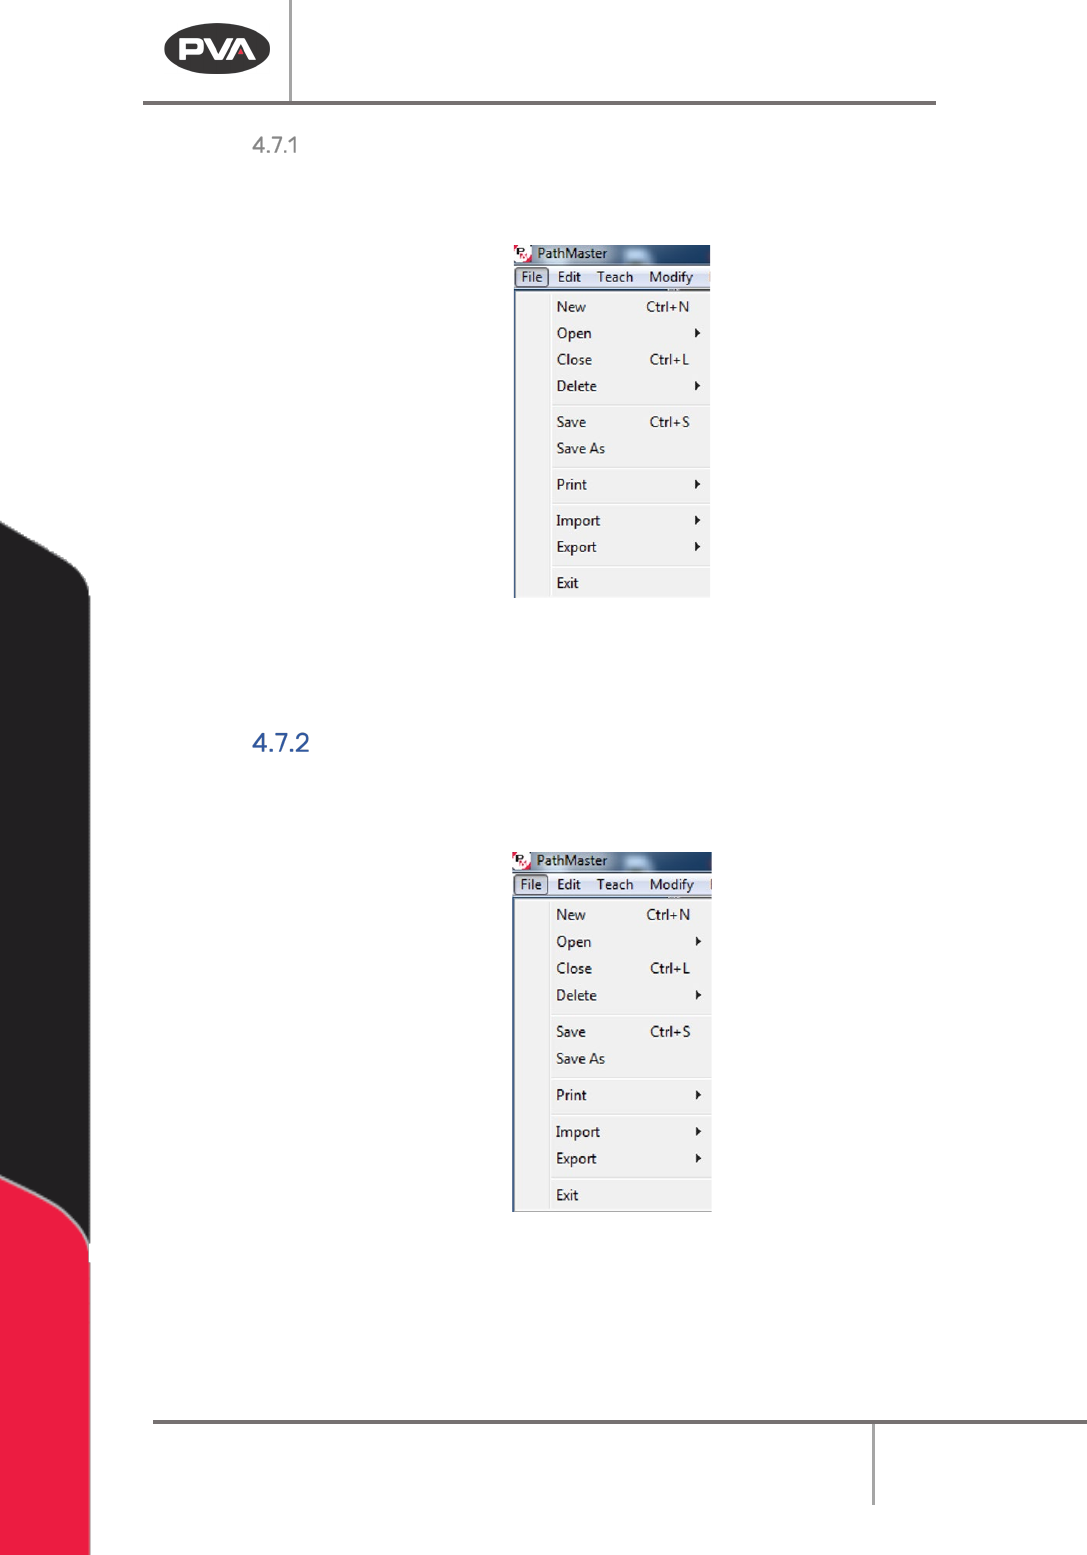
Exporting a Transfer File
1. To export a Transfer File, select File -> Export -> Machine -> Transfer from the main
menu.
Figure 18: Export Machine Transfer
2. A prompt will ask for a file name and destination. Name the file. The Transfer File will
have a ‘.tfr’ extension. The transfer file can be imported onto a destination machine.
Importing a Transfer File
1. To import a Transfer File, select File -> Import -> Machine -> Transfer from the main
menu.
Figure 19: Import Machine Transfer
2. A prompt will ask for a transfer file name. Select the necessary file. The transfer file
will have a ‘.tfr’ extension.