2OM-1075-002.pdf - 第356页
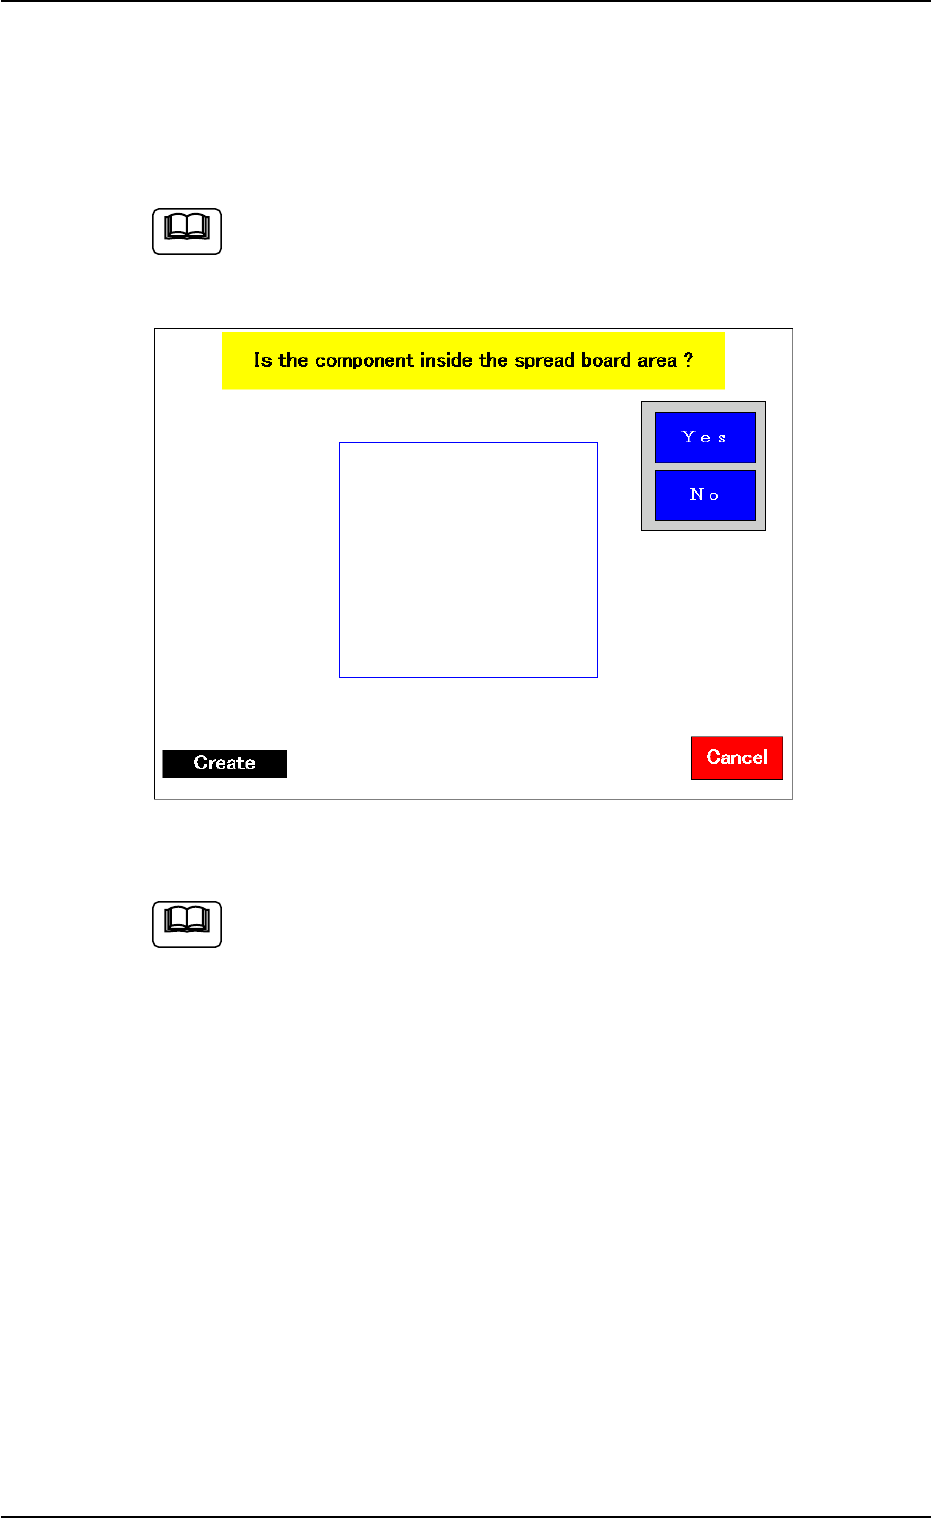
AHB01ESPP 5.2.6 "Recognition" Window When a teaching operation is executed while the "T each Library (New)" sheet is active, the "Recognition" window opens. Use the pointing device. When the…
AHB01ESPP
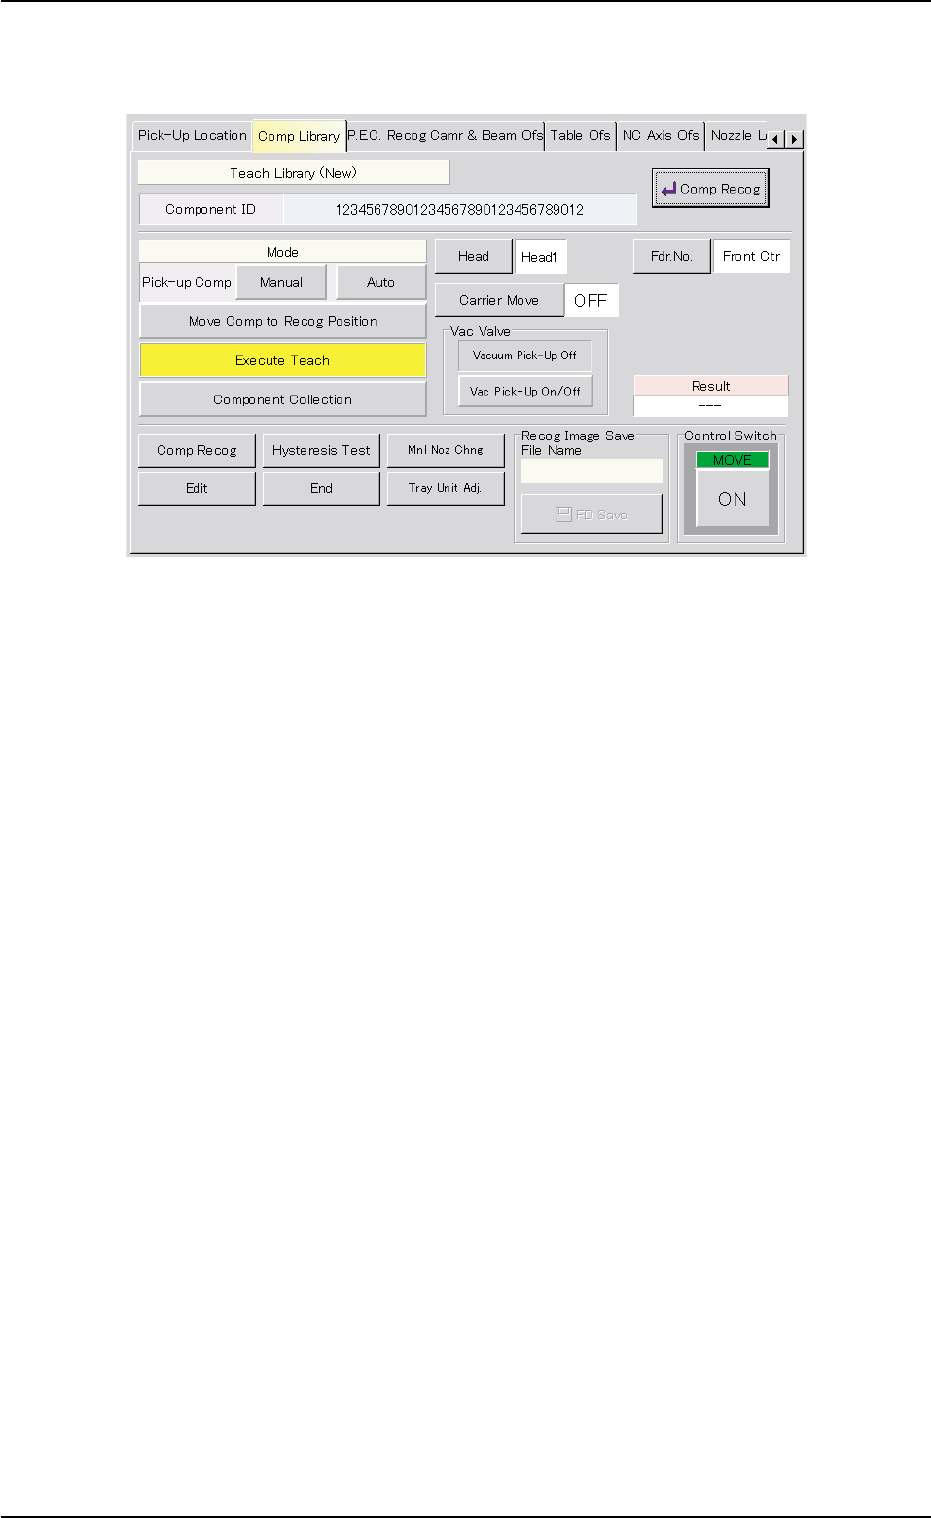
5.2.5.2 Execution of Teaching Function
Fig. 2F87 Sheet for Execution of Teaching Function
(Execution of Teaching Operation)
Operation Procedure
(1) Press the [Execute Teach] button.
(2) Press the [ON] button (entitled "MOVE"). In 2 seconds, press the
[ENABLE] button on the operation panel.
(3) The "Recognition" window automatically becomes active.
After this, the pointing device must be used to perform operations in
this window.
5.2 Library Teaching
0206-003 6-123
AHB01ESPP
5.2.6 "Recognition" Window
When a teaching operation is executed while the "Teach Library (New)"
sheet is active, the "Recognition" window opens.
Use the pointing device.
When the touch screen is pushed by finger, it shows no reac-
tion.
Fig. 2F88 "Recognition" Window
Refer to "5.2.10 Navigations in "Recognition" Window" for how
to navigate through the "Recognition" window.
5.2 Library Teaching
0308-004 6-124
Note
Note
AHB01ESPP
••
••
• New Data Creation
Operation Procedure
(1) When the teaching operation
starts, a window opens and
shows an image of the com-
ponent to determine if the
size of the component is
proper or not for a teaching
operation with the minimum
view function.
When the machine is not
equipped with the minimum
view function (option), this
window does not open. In
this case, the window in
Step (2) opens.
Confirm that the whole image of the component is inside the light
blue frame.
When the [Yes] button is pressed, "MIN VIEW" is selected and the
window in Step (3) opens.
When the [No] button is pressed, the window in Step (2) opens.
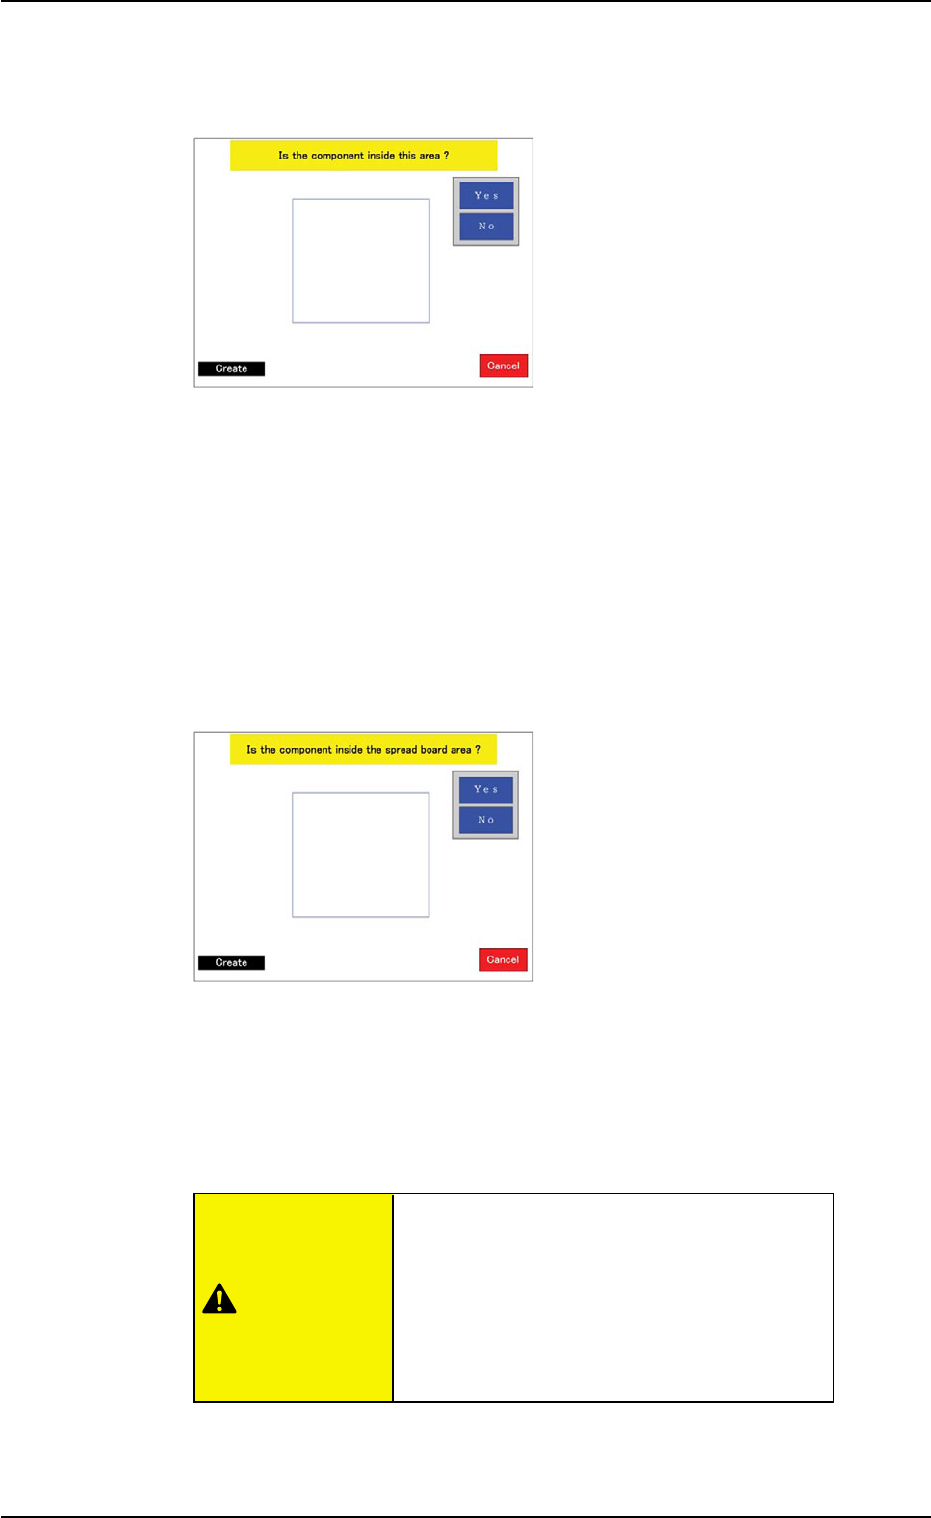
(2) A window opens and shows
an image of the component
to determine if the size of
the component is proper or
not for a teaching operation
with the minimum view func-
tion.
When the thickness (t + Ut)
of the component exceeds
"5 mm", this window does
not open. Instead, the win-
dow in Step (3) opens.
Confirm that the whole im-
age of the component is in-
side the light blue frame.
Check the component thickness data.
When a wrong component thickness (data)
is used and the [Yes] button is pressed in
this window, the movable camera might in-
terfere with the component, depending on
the size of the component.
When the [Yes] button is pressed, "MIN VIEW" is selected and the
window in Step (3) opens.
When the [No] button is pressed, the window in Step (3) opens.
5.2 Library Teaching
0308-004 6-125
Fig. 2F89
Fig. 2F90
CAUTION