00195941-03-UM SiplaceCA-EN.pdf - 第337页
User Manual SIPLACE CA 5 Tasks on the Machine Edition 08/2011 EN 5.2 T asks on the SWS 337 5.2.3 Refilling the Magazine Refill the magazine with the wa fer frames.The centerin g notches of the wafers frames must point …

5 Tasks on the Machine User Manual SIPLACE CA
5.2 Tasks on the SWS Edition 08/2011 EN
336
5.2 Tasks on the SWS
5.2.1 Switching on the SIPLACE CA
First switch on all SWSs of the SIPLACE CA.
The modules are starting up. As long as the placement machine is not yet switched on, an error
message will be displayed on the screen of the SWS module, which points out that the safety cir-
cuit is not closed.
Switch the placement machine on.
Station computer and machine controller are starting up.
As soon as the placement machine has been started up and the start button has been pressed,
the error message regarding the not-closed safety circuit vanishes from the SWS monitors. Initial-
ize the SWS module.
When the initializing process is completed, the SWSs are ready to operate and in standby.
5.2.2 Switching off the SIPLACE CA
Switching off the SWS
Complete all running processes at the SWSs.
In the GUI of the SWS computer switch in the Production -> Misc view and click the red stop
button.
SWS GUI and Linux are shut down properly. 5
Switch off the SWS at the main switch.
Repeat this, if necessary, for each other SWS module.
Switching off the Placement Machine
Close all current processes in the placement machine.
Shut down the station computer.
Switch the placement machine off at the main power switch.
User Manual SIPLACE CA 5 Tasks on the Machine
Edition 08/2011 EN 5.2 Tasks on the SWS
337
5.2.3 Refilling the Magazine
Refill the magazine with the wafer frames.The centering notches of the wafers frames must
point to the opening of the magazine.
NOTE 5
When using frame adapters for 5, 6 or 7 inch please take care to use each second slot only.
5.2.4 Inserting Magazines into the Magazine Lift
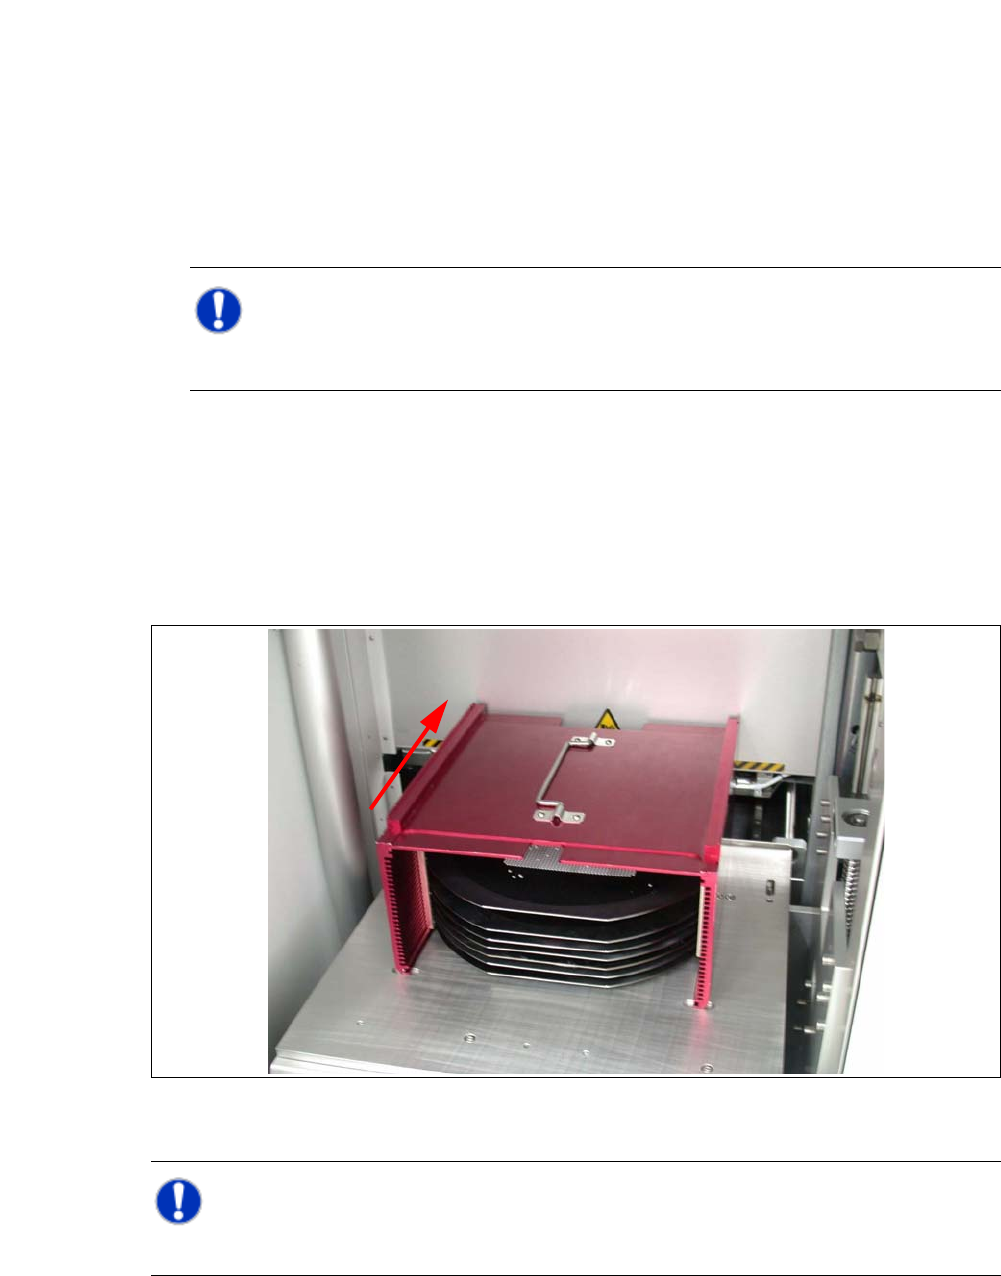
Open the sliding door of the magazine lift and place the magazine onto the plate. The center-
ing notches of the wafers must face the machine. Make sure that the magazine latches prop-
erly.
Fig. 5.2 - 1 Inserting the magazine
NOTE 5
While inserting the wafer frame the recesses of the wafer frame have to lie in feed in direction.
5 Tasks on the Machine User Manual SIPLACE CA
5.2 Tasks on the SWS Edition 08/2011 EN
338
5.2.5 Configuring the Needles of the Ejection System
In the SWS GUI switch to the Manual operations -> Wafer handling view and click the Go
to change position button.
The wafer table is removed.
Switch to the Service -> Galil I/O view and activate the D007 Cylinder DE UP/Down option,
to move the die ejector upwards.
Or
In the SWS GUI switch to the Manual operations -> Die handling view and select the Die
eject system tab.
5
5
Click the button.
The wafer table is removed, the die ejector is moved upwards can be accessed.
5
Switch off the placement machine and the SWS properly.
CAUTION 5
Do not move the wafer table by hand, while the die ejector is in an upward position there is dan-
ger of damage by collision with the wafer table!