JX-350_EPU使用说明书.pdf - 第147页
EPU Instruction M anual C hapter 4 Creating a Production Progr am 4- 99 2) Pick Data S pecif y whether to assig n feeder s according t o a feeder layout specified in the “ Side ” f ield on the “ Pic k” data screen or opt…
EPU Instruction Manual Chapter 4 Creating a Production Program
4-98
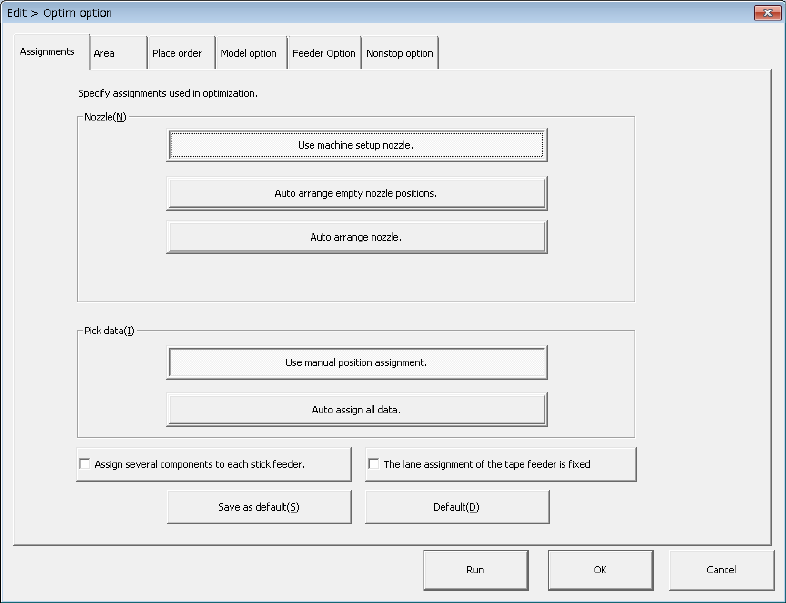
(1) “Assignments” option
Set "Nozzle layout" and "Feeder layout" intended for dividing (optimizing) the program
data.
1) Nozzle
Select which nozzle layout you want to use, the nozzle layout set on the “EPU
setup” menu or the optimized nozzle layout.
a) Use machine setup nozzle:
The nozzle settings on the “EPU setup” menu will be used as they are. The
current nozzle layout can be used as it is. This option does not need any
changeover time, and thus select this option for flexible manufacturing.
b) Auto arrange empty nozzle positions:
The permanent nozzles set on the “EPU setup” menu are used as they are,
and the nozzles required as the result of optimization are assigned to the
empty area of the ATC. If your system has enough nozzles to do this
operation, select this option. Note that you have to change the settings on
the “EPU setup” menu to set the additionally assigned nozzles if you select this
option.
c) Auto arrange nozzle.
The nozzle layout is optimized with ignoring the settings of the nozzles made
on the “EPU setup” screen.
In this case, the production tact becomes speedier but nozzle re-layout and
EPU setup setting changes are required. Accordingly, preparation may take
more time.
EPU Instruction Manual Chapter 4 Creating a Production Program
4-99
2) Pick Data
Specify whether to assign feeders according to a feeder layout specified in the
“Side” field on the “Pick” data screen or optimize the feeder layout with ignoring
this layout.
a) Use manual position assignment:
Perform the specified feeder layout as specified and optimize only the feeder
layout set to "Auto selection."
b) Auto assign all data:
Ignore the specified feeder layout and optimize the whole feeder layout.
Once you execute the optimization function, its result will be reflected in the “Side” field of
the “Pick” data screen also. To retry optimization from the beginning after data editing is
finished after this, select "Distribute all." To perform additional layout for only changed
portions, select "Distribute items in the "Auto selection" status."
3) Put stick components together in the same feeder.
For using multiple old stick feeders (which feeds multiple sticks to one stick
feeder), put the stick components of the same type together into a single stick
feeder.
If you remove the check mark, the stick components of the same type are
arranged so that they may be picked up simultaneously.
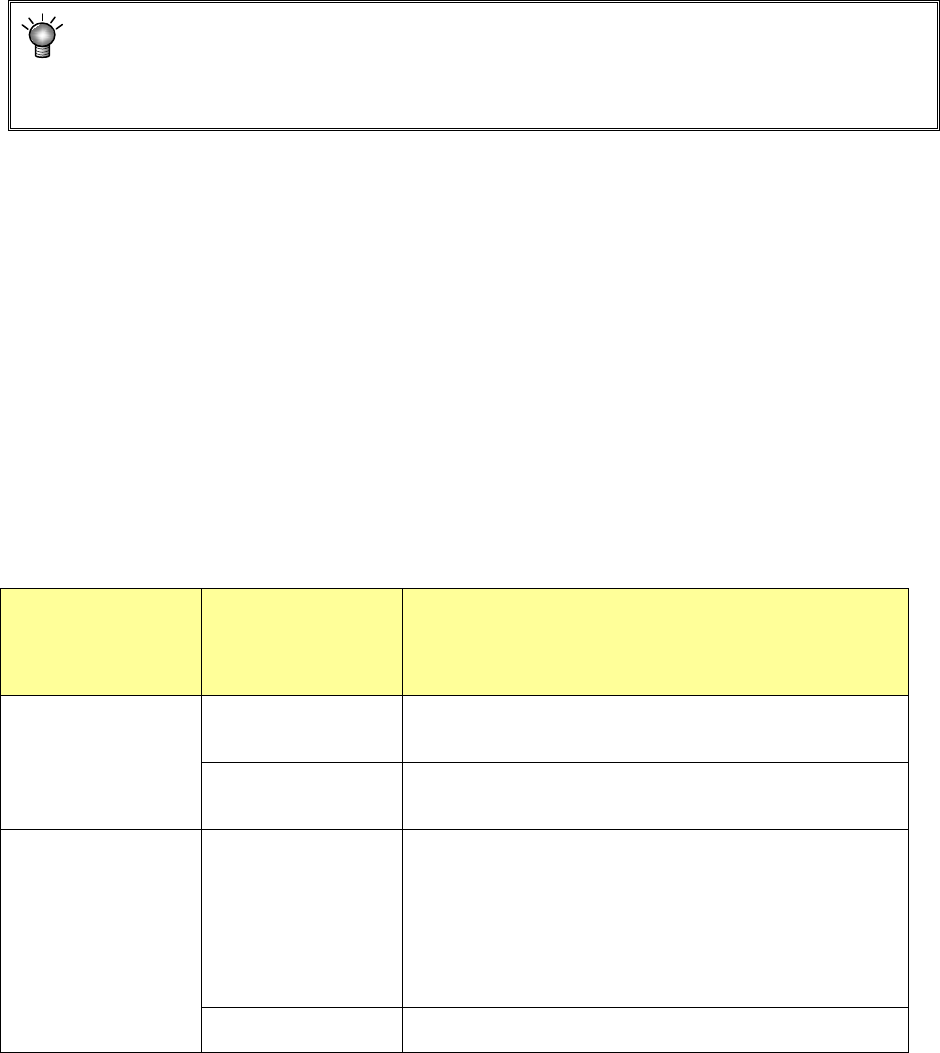
4) The lane assignment of the tape feeder is fixed
When you use an 8-mm electric double tape feeder, the system changes only the
feeder assignment while maintaining the lanes already assigned. Actual
assignment varies depending on the setting of the “Pick Data” options.
Example: when one lane of an electric double tape feeder (ETF8D)
is already assigned and a component has to be assigned
additionally to an 8-mm tape feeder
“Pick Data” option
Setting of the “The
lane assignment of
the tape feeder is
fixed” check box
Result of optimization
“Use manual
production
assignment”
Checked
Any additional component for an 8-mm feeder will not be
assigned to an unoccupied lane of an ETF8D whose one
lane has been already occupied.
Not checked
An additional component for an 8-mm feeder will be
assigned to an unoccupied lane of an ETF8D whose one
lane has been already occupied.
“Auto assign all data”
Checked
Any additional component for an 8-mm feeder will not be
assigned to an unoccupied lane of an ETF8D whose one
lane has been already occupied.
An additional component for an 8-mm feeder will be
assigned to another ETF8D.
Or such a component will be assigned to another position
while the current lane assignment of the ETF8D whose one
lane has been occupied is maintained.
Not checked
The system clears the current assignment, and reassigns all
feeders and lanes.
EPU Instruction Manual Chapter 4 Creating a Production Program
4-100
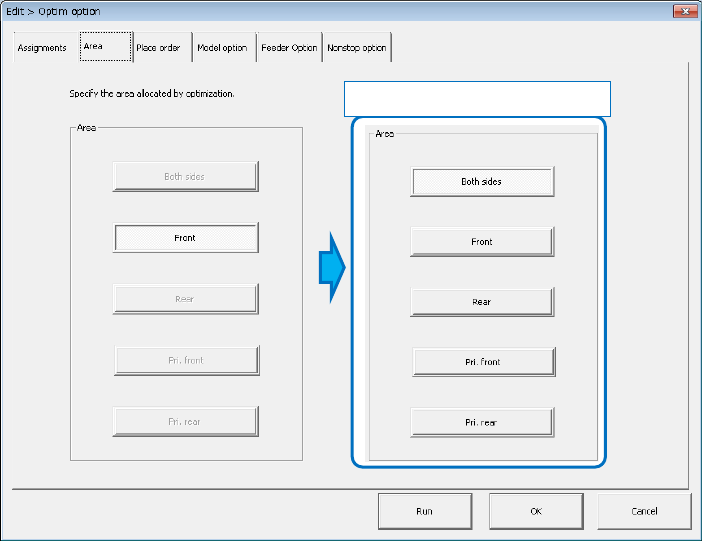
(2) "Area" option
Specifies the area to which a feeder can be assigned.
The default selection status and area to be selected may vary depending on the
"Rear feeder" option setting in the "EPU setup" menu.
<Rear feeder option>
Enabled: All selections from [Both sides] to [Pri. rear] can be selected.
(Default setting: [Both sides])
Disabled: Only [Front] can be selected. (Default: [Front])
1) Area
a) All areas: Feeders are arranged into the feeder banks of all areas.
For ordinary production, select this. Because there is no limitation on
optimization, the layout is advantageous to the tact.
b) Front: Feeders are arranged in only the feeder bank on the front
side.
c) Rear: Feeders are arranged in only the feeder bank on the rear
side.
All feeders can be arranged on only the front side or rear side.
If feeders are provided in the overall change table in advance, the time up to
the next start of production can be shortened. This makes a layout that
makes much of the workability.
In case all the number of feeders to be used cannot be put in the bank of one
side, this item cannot be used.
d) Front priority: Feeders are arranged by giving priority to the feeder bank
on the front side.
e) Rear priority: Feeders are arranged by giving priority to the feeder bank
on the rear side.
Feeders are arranged by using one bank with priority.
This makes an layout that makes much of the workability in consideration of
the number of feeders to be used.
Rear feeder option is enabled.