JX-350_EPU使用说明书.pdf - 第163页
EPU Instruction M anual C hapter 4 Creating a Production Progr am 4- 115 4.3 Ot her Functi ons 4.3.1 Editing 4.3.1.1 “ Edit ” menu This is the f unction that helps you create a program . * Selecting t he range of data T …
EPU Instruction Manual Chapter 4 Creating a Production Program
4-114
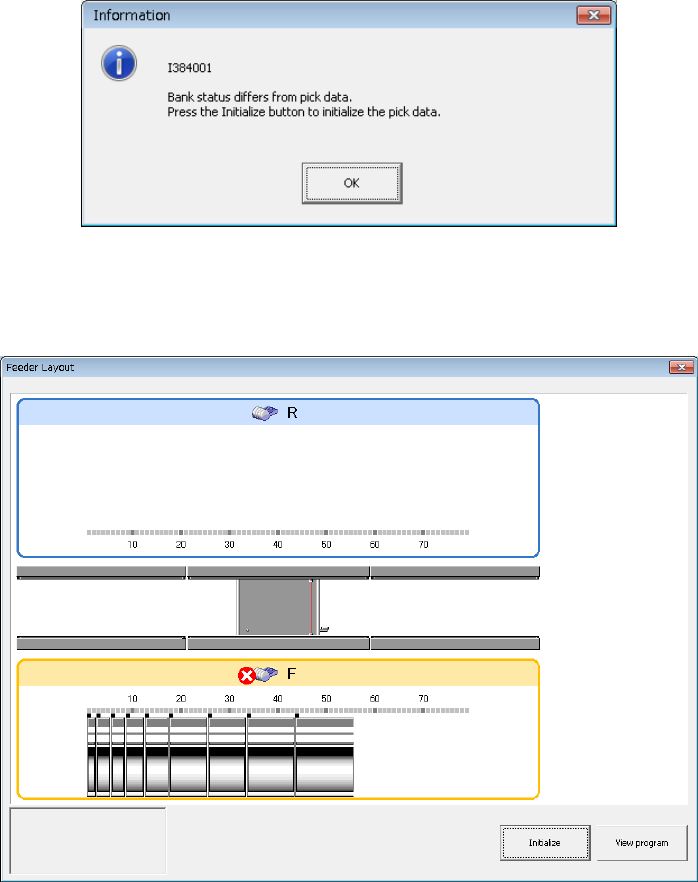
(3) Reference mode and initialization
If there is a difference in electric-powered system and mechanism between the supply
bank of the placer proper and the production program feeder type when the
production program is read and program editing is executed, a feeder layout appears
after a message is displayed.
Check the bank connection and the feeder type of pick data in the reference mode.
To change the program, initialize the pick data.
1) [View Program] button
editing is started in the reference mode and the contents of the program can be
checked.
At this time, program change and teaching operations are disabled.
2) [Initialize] button
The pickup data of a feeder in a different status is initialized and changed into
one initialization data of "Auto selection."
As a result, the number of component supply becomes one.
EPU Instruction Manual Chapter 4 Creating a Production Program
4-115
4.3 Other Functions
4.3.1 Editing
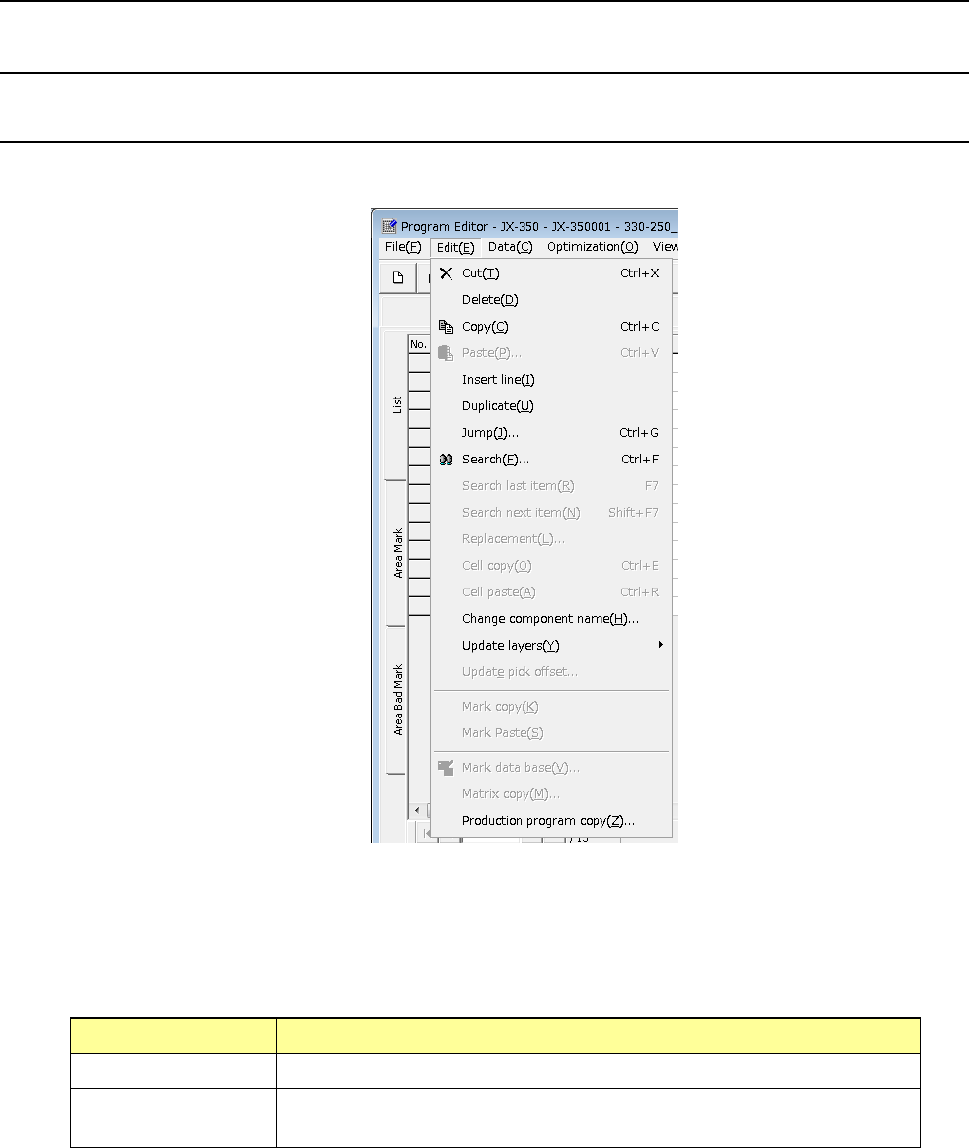
4.3.1.1 “Edit” menu
This is the function that helps you create a program.
* Selecting the range of data
To cut or copy data, select the range of data to be copied or cut in advance. This
range can be specified on a line-by-line basis.
How to select the range of data
Mouse (trackball) When you drag a mouse, the lines to be selected are highlighted.
Keyboard When you press the “↓” key or the “↑” key while holding down the “SHIFT”
key, the lines to be selected are highlighted.
EPU Instruction Manual Chapter 4 Creating a Production Program
4-116
(1) Cut
This command cuts the line(s) that is (are) selected.
* This command cannot be selected when you use the sort function.
(2) Delete
This command deletes the line(s) that is (are) selected.
* This command cannot be selected when you use the sort function.
(3) Copy
This command loads the selected data into the memory. To paste it to another
position, execute the [Paste] command described below.
(4) Paste
This command pastes the line data you have copied with the [Copy] command
described above.
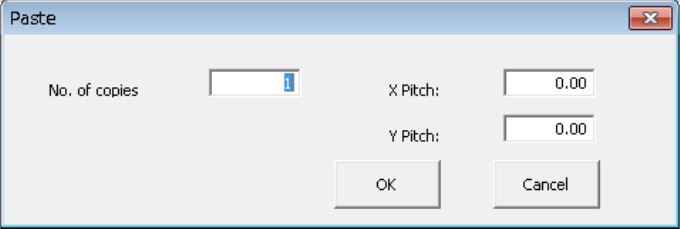
When you select the [Paste] command in the placement data, the following dialog box
appears on the screen.
① No. of copies: Specify the number of times you are to copy the data here.
② X Pitch: Specify the amount to increment or decrement the placement
position in the X direction.
③ Y Pitch: Specify the amount to increment or decrement the placement
position in the Y direction.
④ OK: This button executes the [Paste] command.
⑤ Cancel: This button cancels the [Paste] command.