JX-350_EPU使用说明书.pdf - 第164页
EPU Instruction M anual C hapter 4 Creating a Production Progr am 4- 116 ( 1) Cut This comm and cuts the line(s) that is (are) select ed. * T his command c annot be selected when you use the sort f unction. ( 2) Del ete …
EPU Instruction Manual Chapter 4 Creating a Production Program
4-115
4.3 Other Functions
4.3.1 Editing
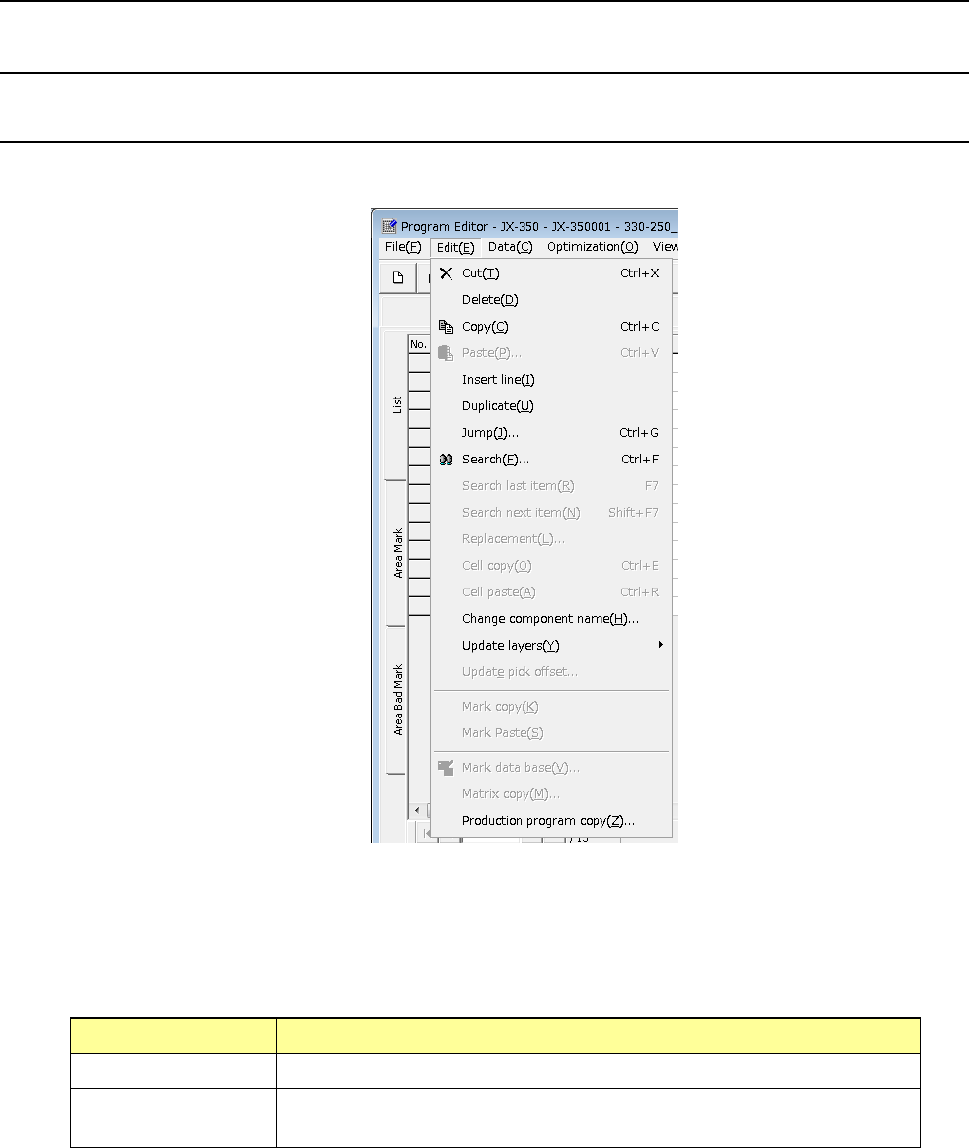
4.3.1.1 “Edit” menu
This is the function that helps you create a program.
* Selecting the range of data
To cut or copy data, select the range of data to be copied or cut in advance. This
range can be specified on a line-by-line basis.
How to select the range of data
Mouse (trackball) When you drag a mouse, the lines to be selected are highlighted.
Keyboard When you press the “↓” key or the “↑” key while holding down the “SHIFT”
key, the lines to be selected are highlighted.
EPU Instruction Manual Chapter 4 Creating a Production Program
4-116
(1) Cut
This command cuts the line(s) that is (are) selected.
* This command cannot be selected when you use the sort function.
(2) Delete
This command deletes the line(s) that is (are) selected.
* This command cannot be selected when you use the sort function.
(3) Copy
This command loads the selected data into the memory. To paste it to another
position, execute the [Paste] command described below.
(4) Paste
This command pastes the line data you have copied with the [Copy] command
described above.
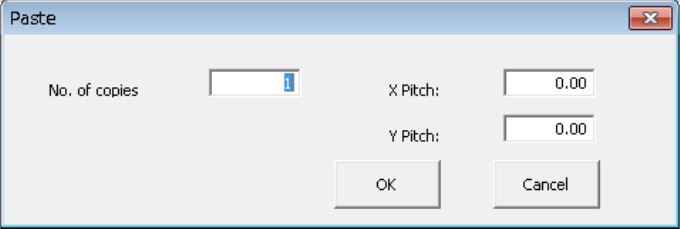
When you select the [Paste] command in the placement data, the following dialog box
appears on the screen.
① No. of copies: Specify the number of times you are to copy the data here.
② X Pitch: Specify the amount to increment or decrement the placement
position in the X direction.
③ Y Pitch: Specify the amount to increment or decrement the placement
position in the Y direction.
④ OK: This button executes the [Paste] command.
⑤ Cancel: This button cancels the [Paste] command.
EPU Instruction Manual Chapter 4 Creating a Production Program
4-117
• Example of the [Paste] command result
Component ID X Y Angle Component name
R1 5.00 10.00 45.00 1608-A
R2 10.00 10.00 0.00 1608-A
No. of copies X 3 X Pitch: 0.50
Y Pitch: 1.00
# 5.50 11.00 45.00 1608-A
# 10.50 11.00 0.00 1608-A
# 6.00 12.00 45.00 1608-A
# 11.00 12.00 0.00 1608-A
# 6.50 13.00 45.00 1608-A
# 11.50 13.00 0.00 1608-A
• The copied block is inserted above the specified line.
• All of the Component IDs are set to “#”.
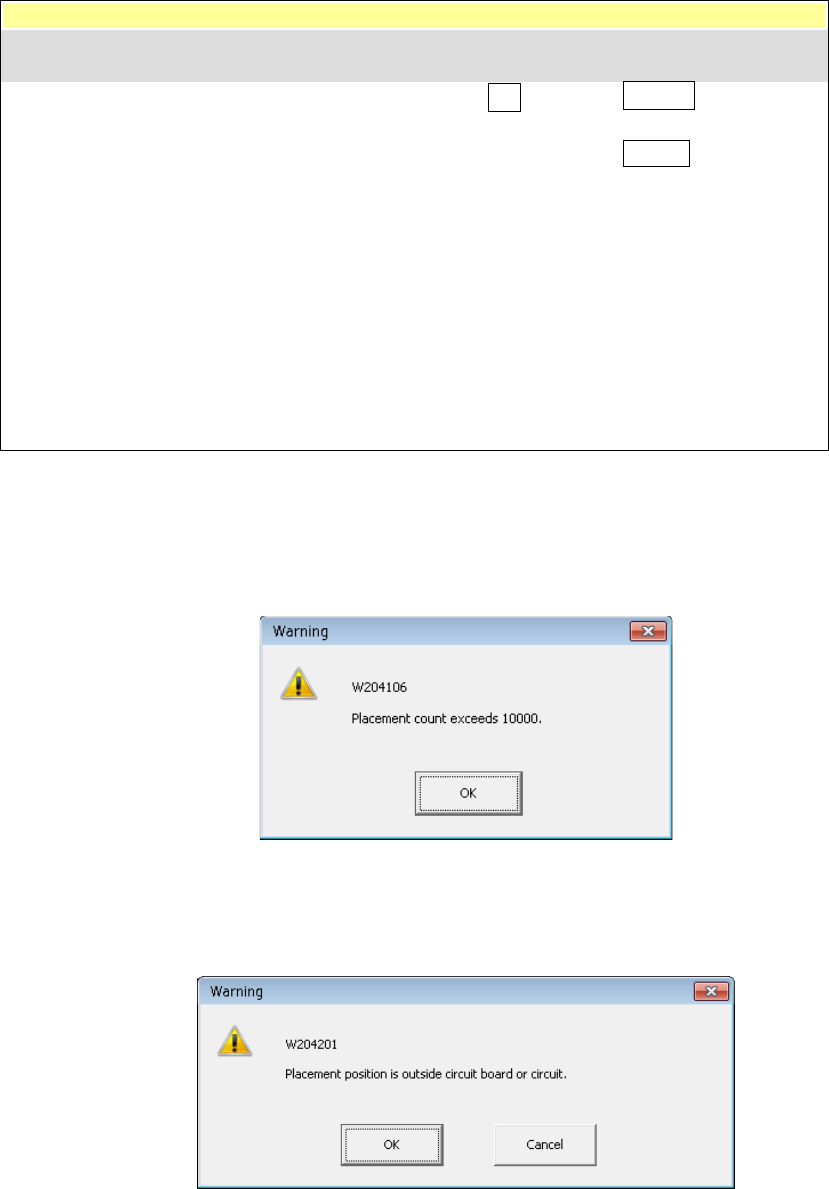
* In the following cases, an error occurs and the system displays the corresponding
error message on the screen.
① The number of data records you entered exceeds the maximum number of
records.
• OK: This button cancels your copy operation. No data is copied.
② The component placement position is outside a PWB or circuit.
• OK: This button continues copying data. However, the range over mark is
appended to the error data record.
• Cancel: This button cancels the copy operation.
Component ID X Y Angle Component name